Pete Martin The Painter Gloucester, MA

A fresh coat of paint can change the mood of a room.

Pete Martin the Painter, Gloucester, MA; Pete Martin the Painter, Rockport, MA; Pete Martin the Painter, Martin the Painter, Manchester, MA; Pete Martin the Painter, Essex, MA; Pete Martin the Painter, Ipswich, MA; Pete Martin the Painter, Wheham, MA;  Pete Martin the Painter, Hamilton, MA;  Pete Martin the Painter, Rowley, MA; Pete Martin the Painter, Beverly, MA;Pete Martin the Painter, Salem, MA:


Paint Samples--Use Them to Avoid Disaster (well not quite a disaster)

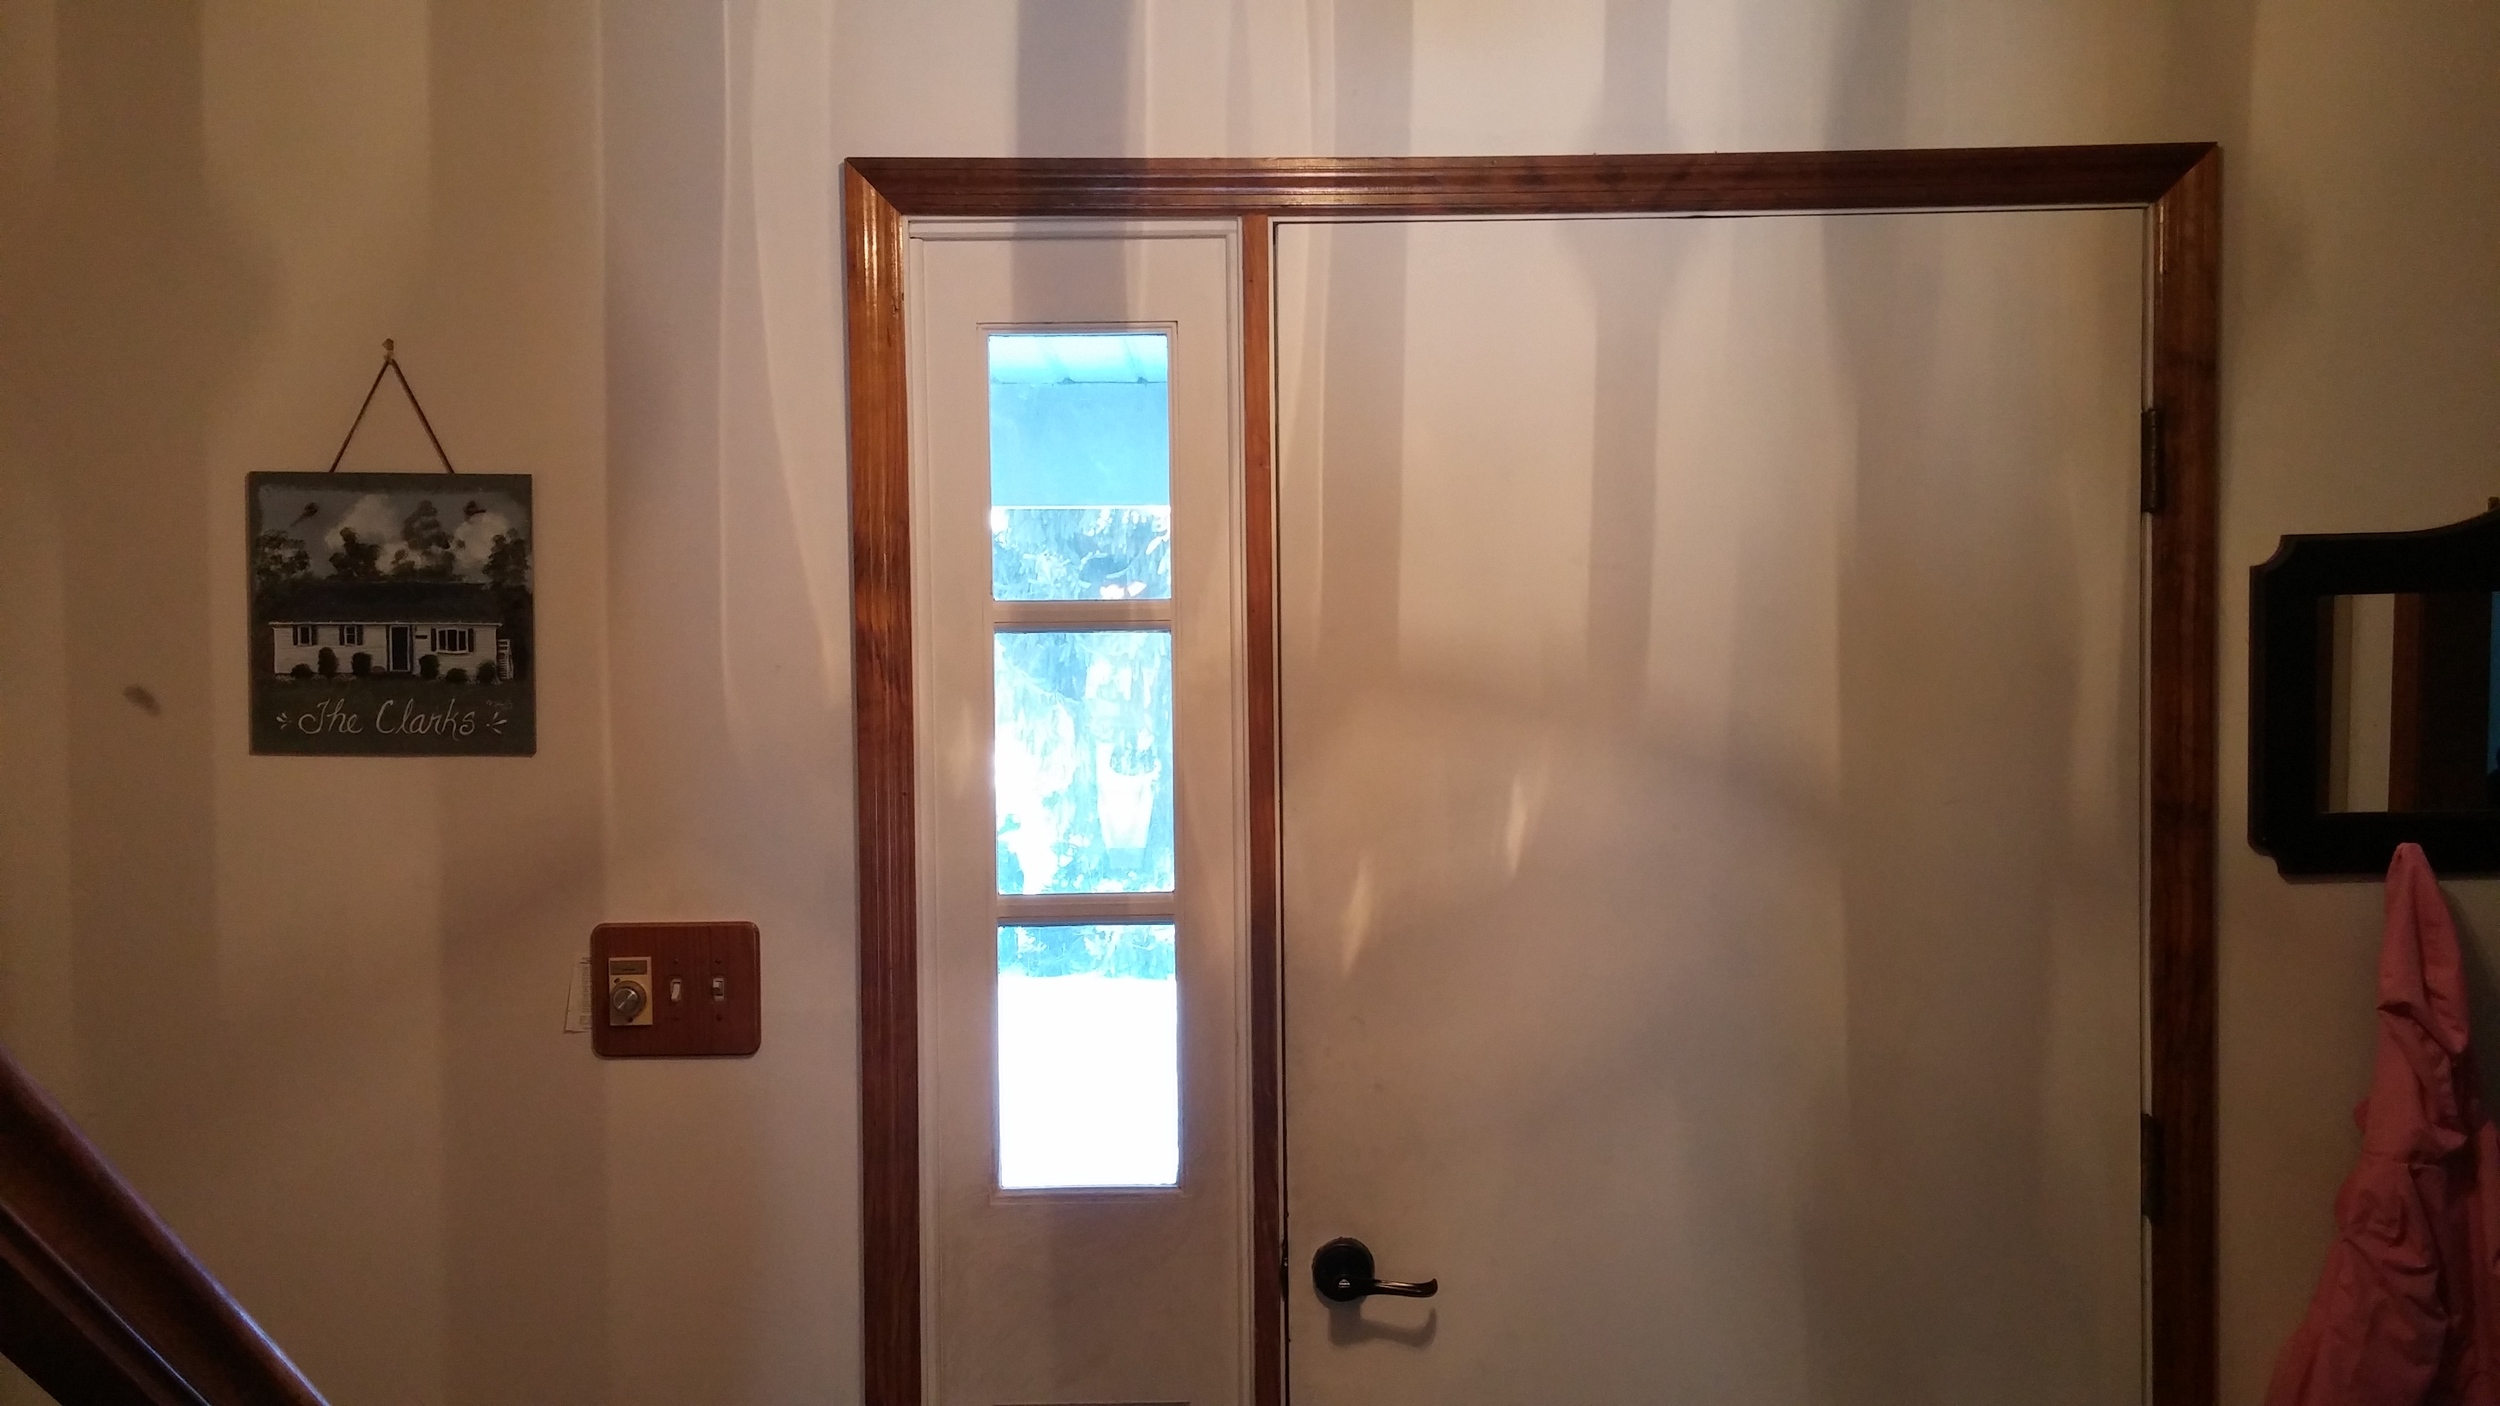
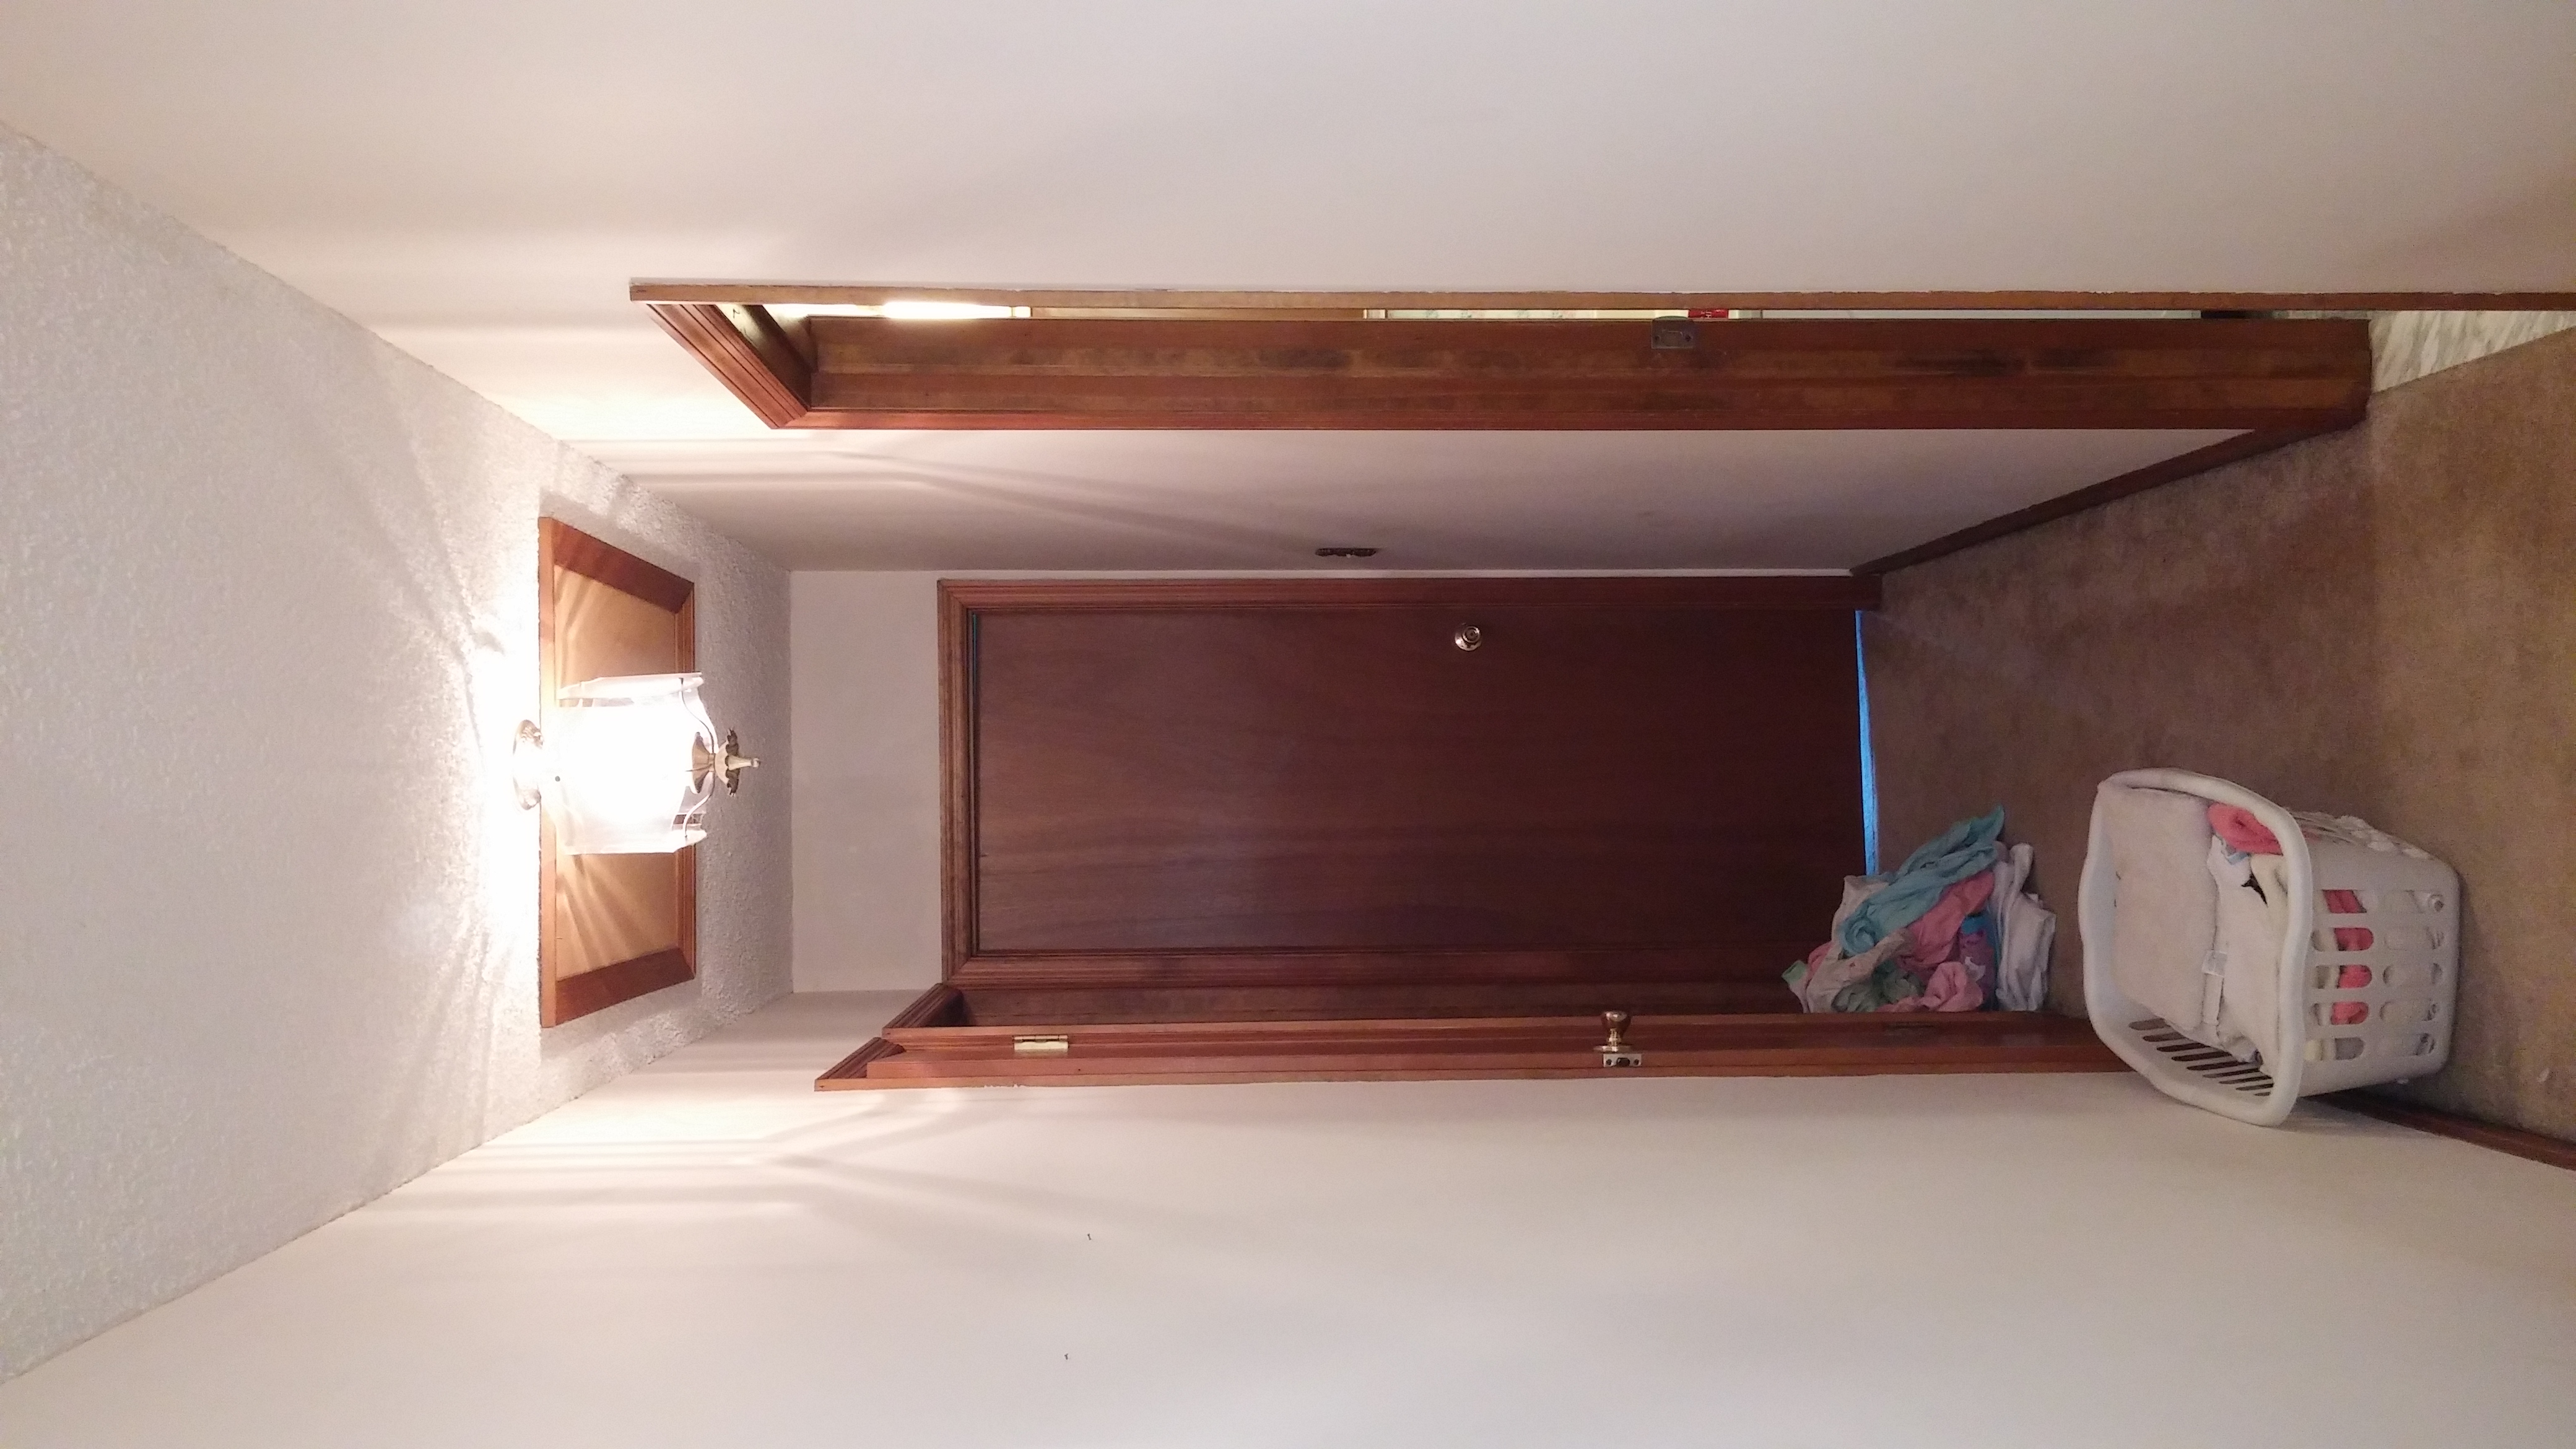
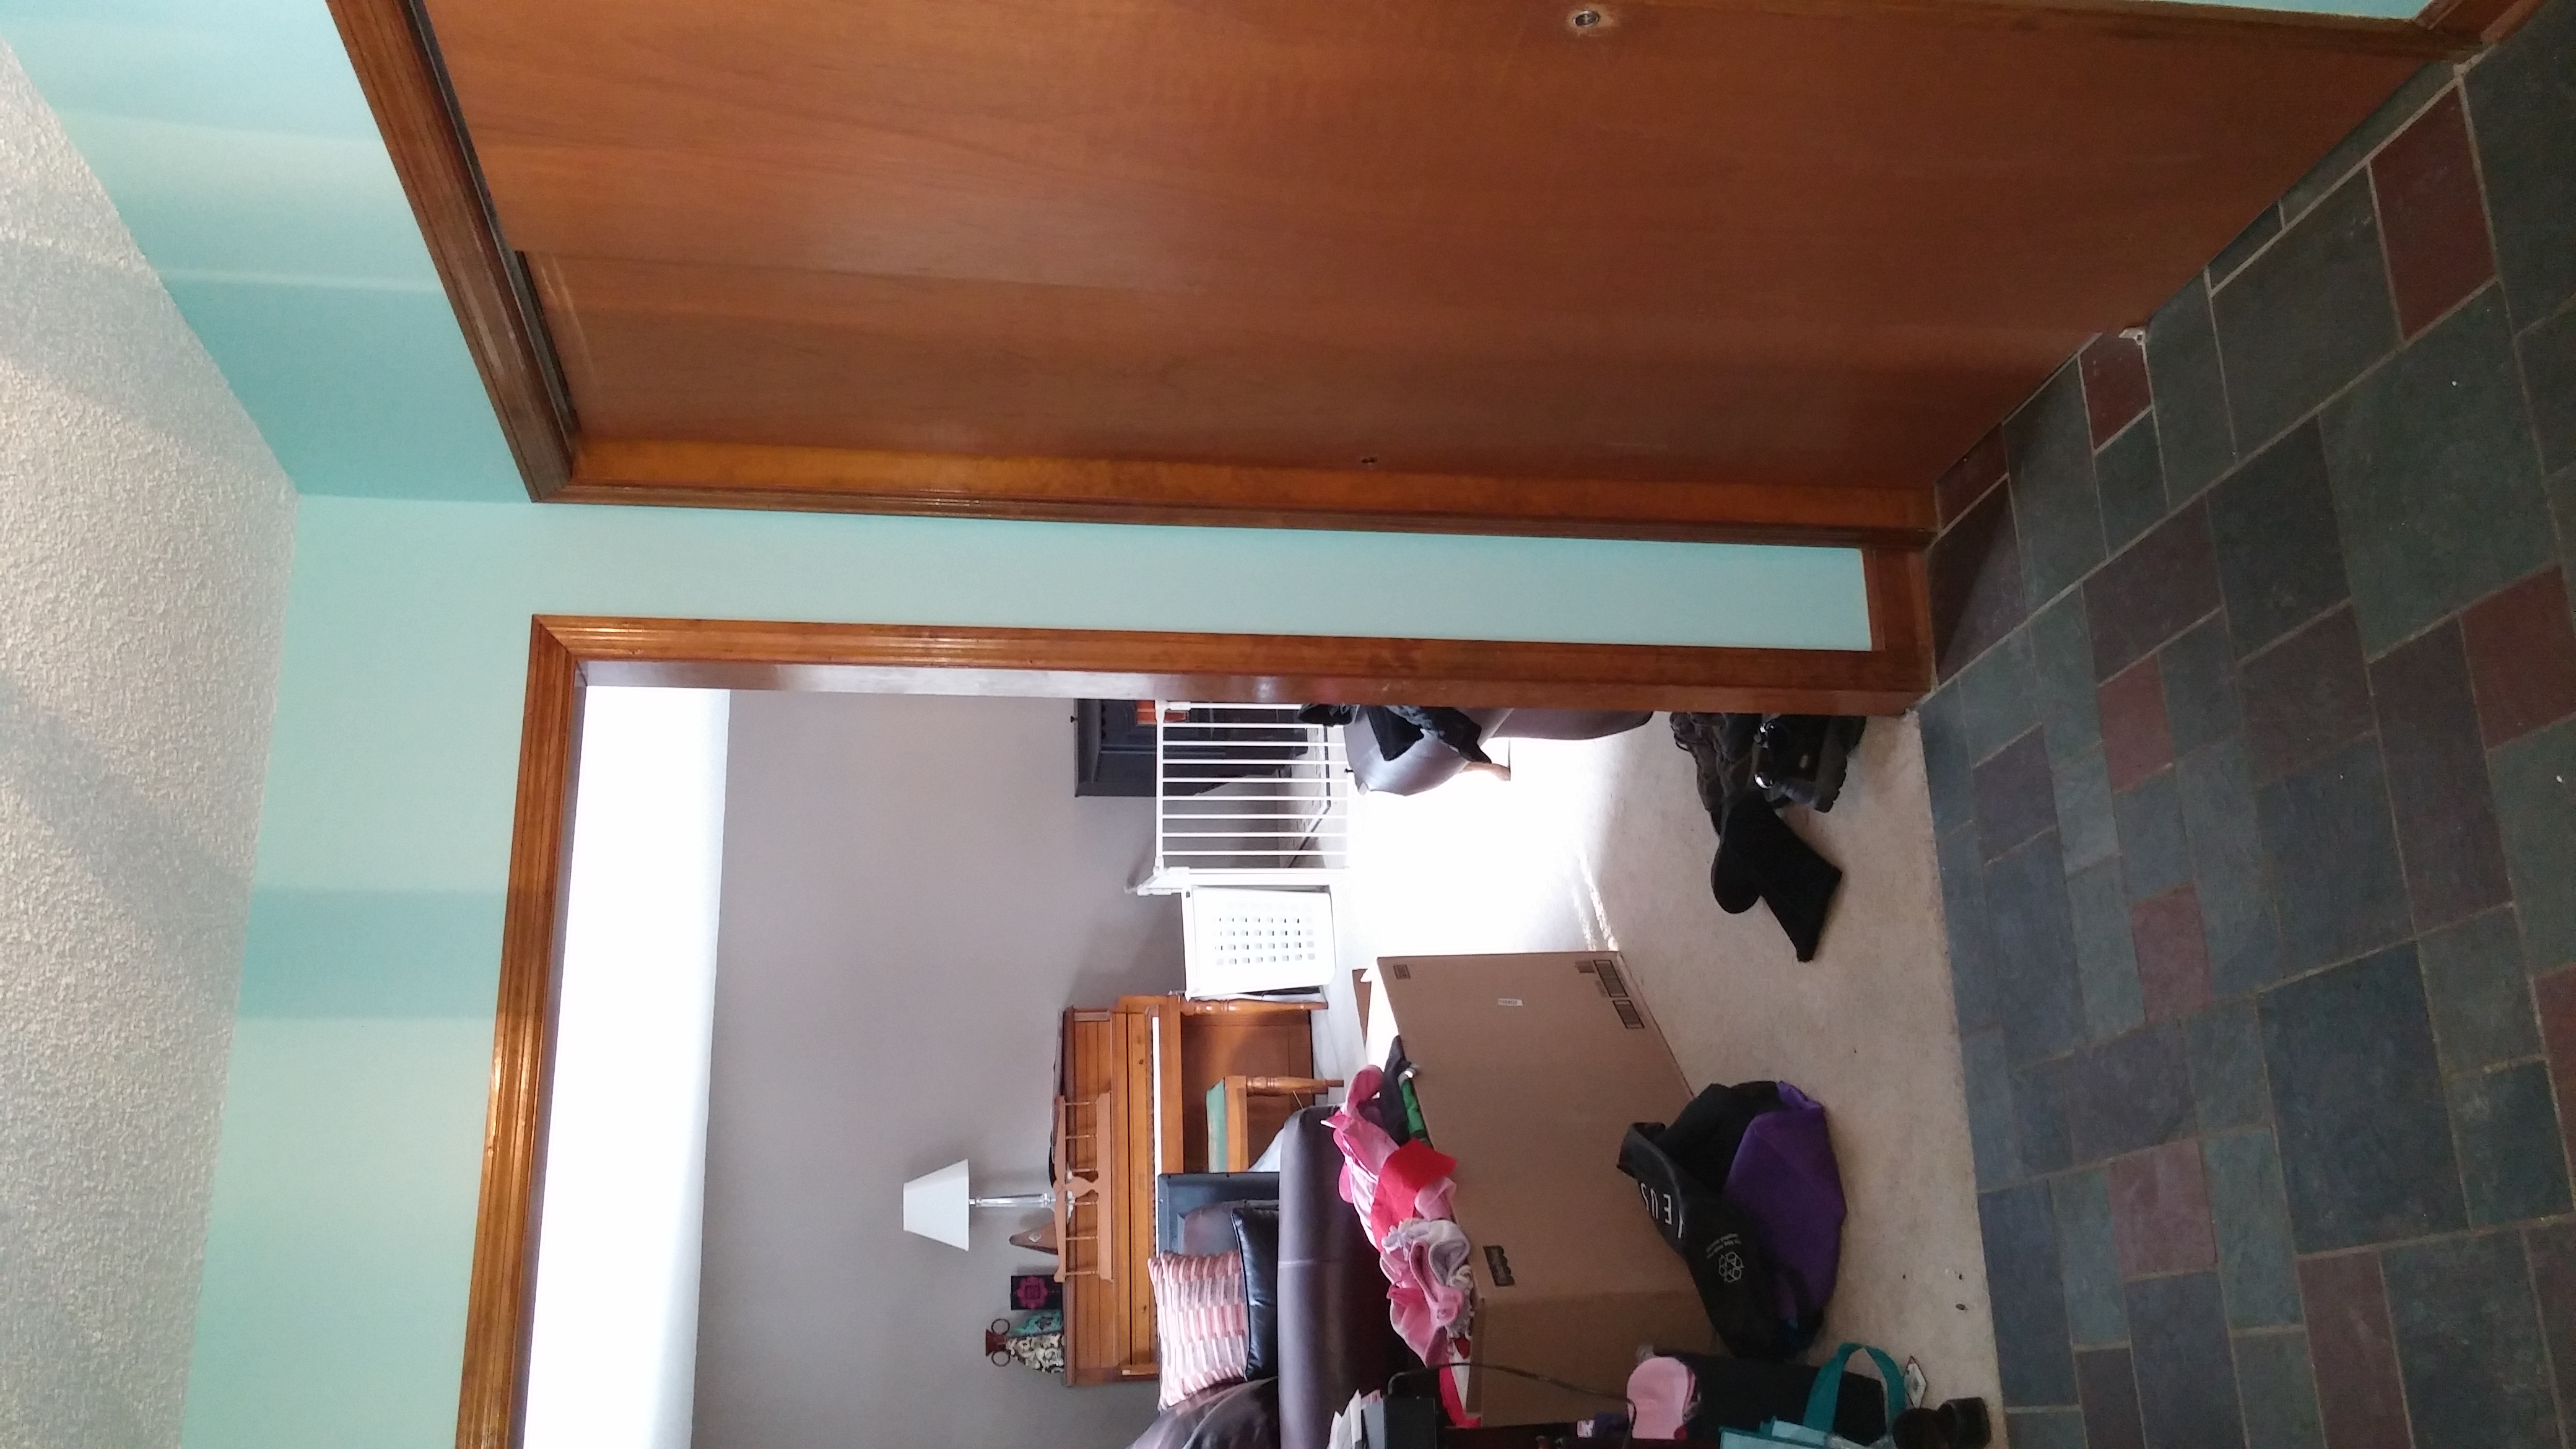
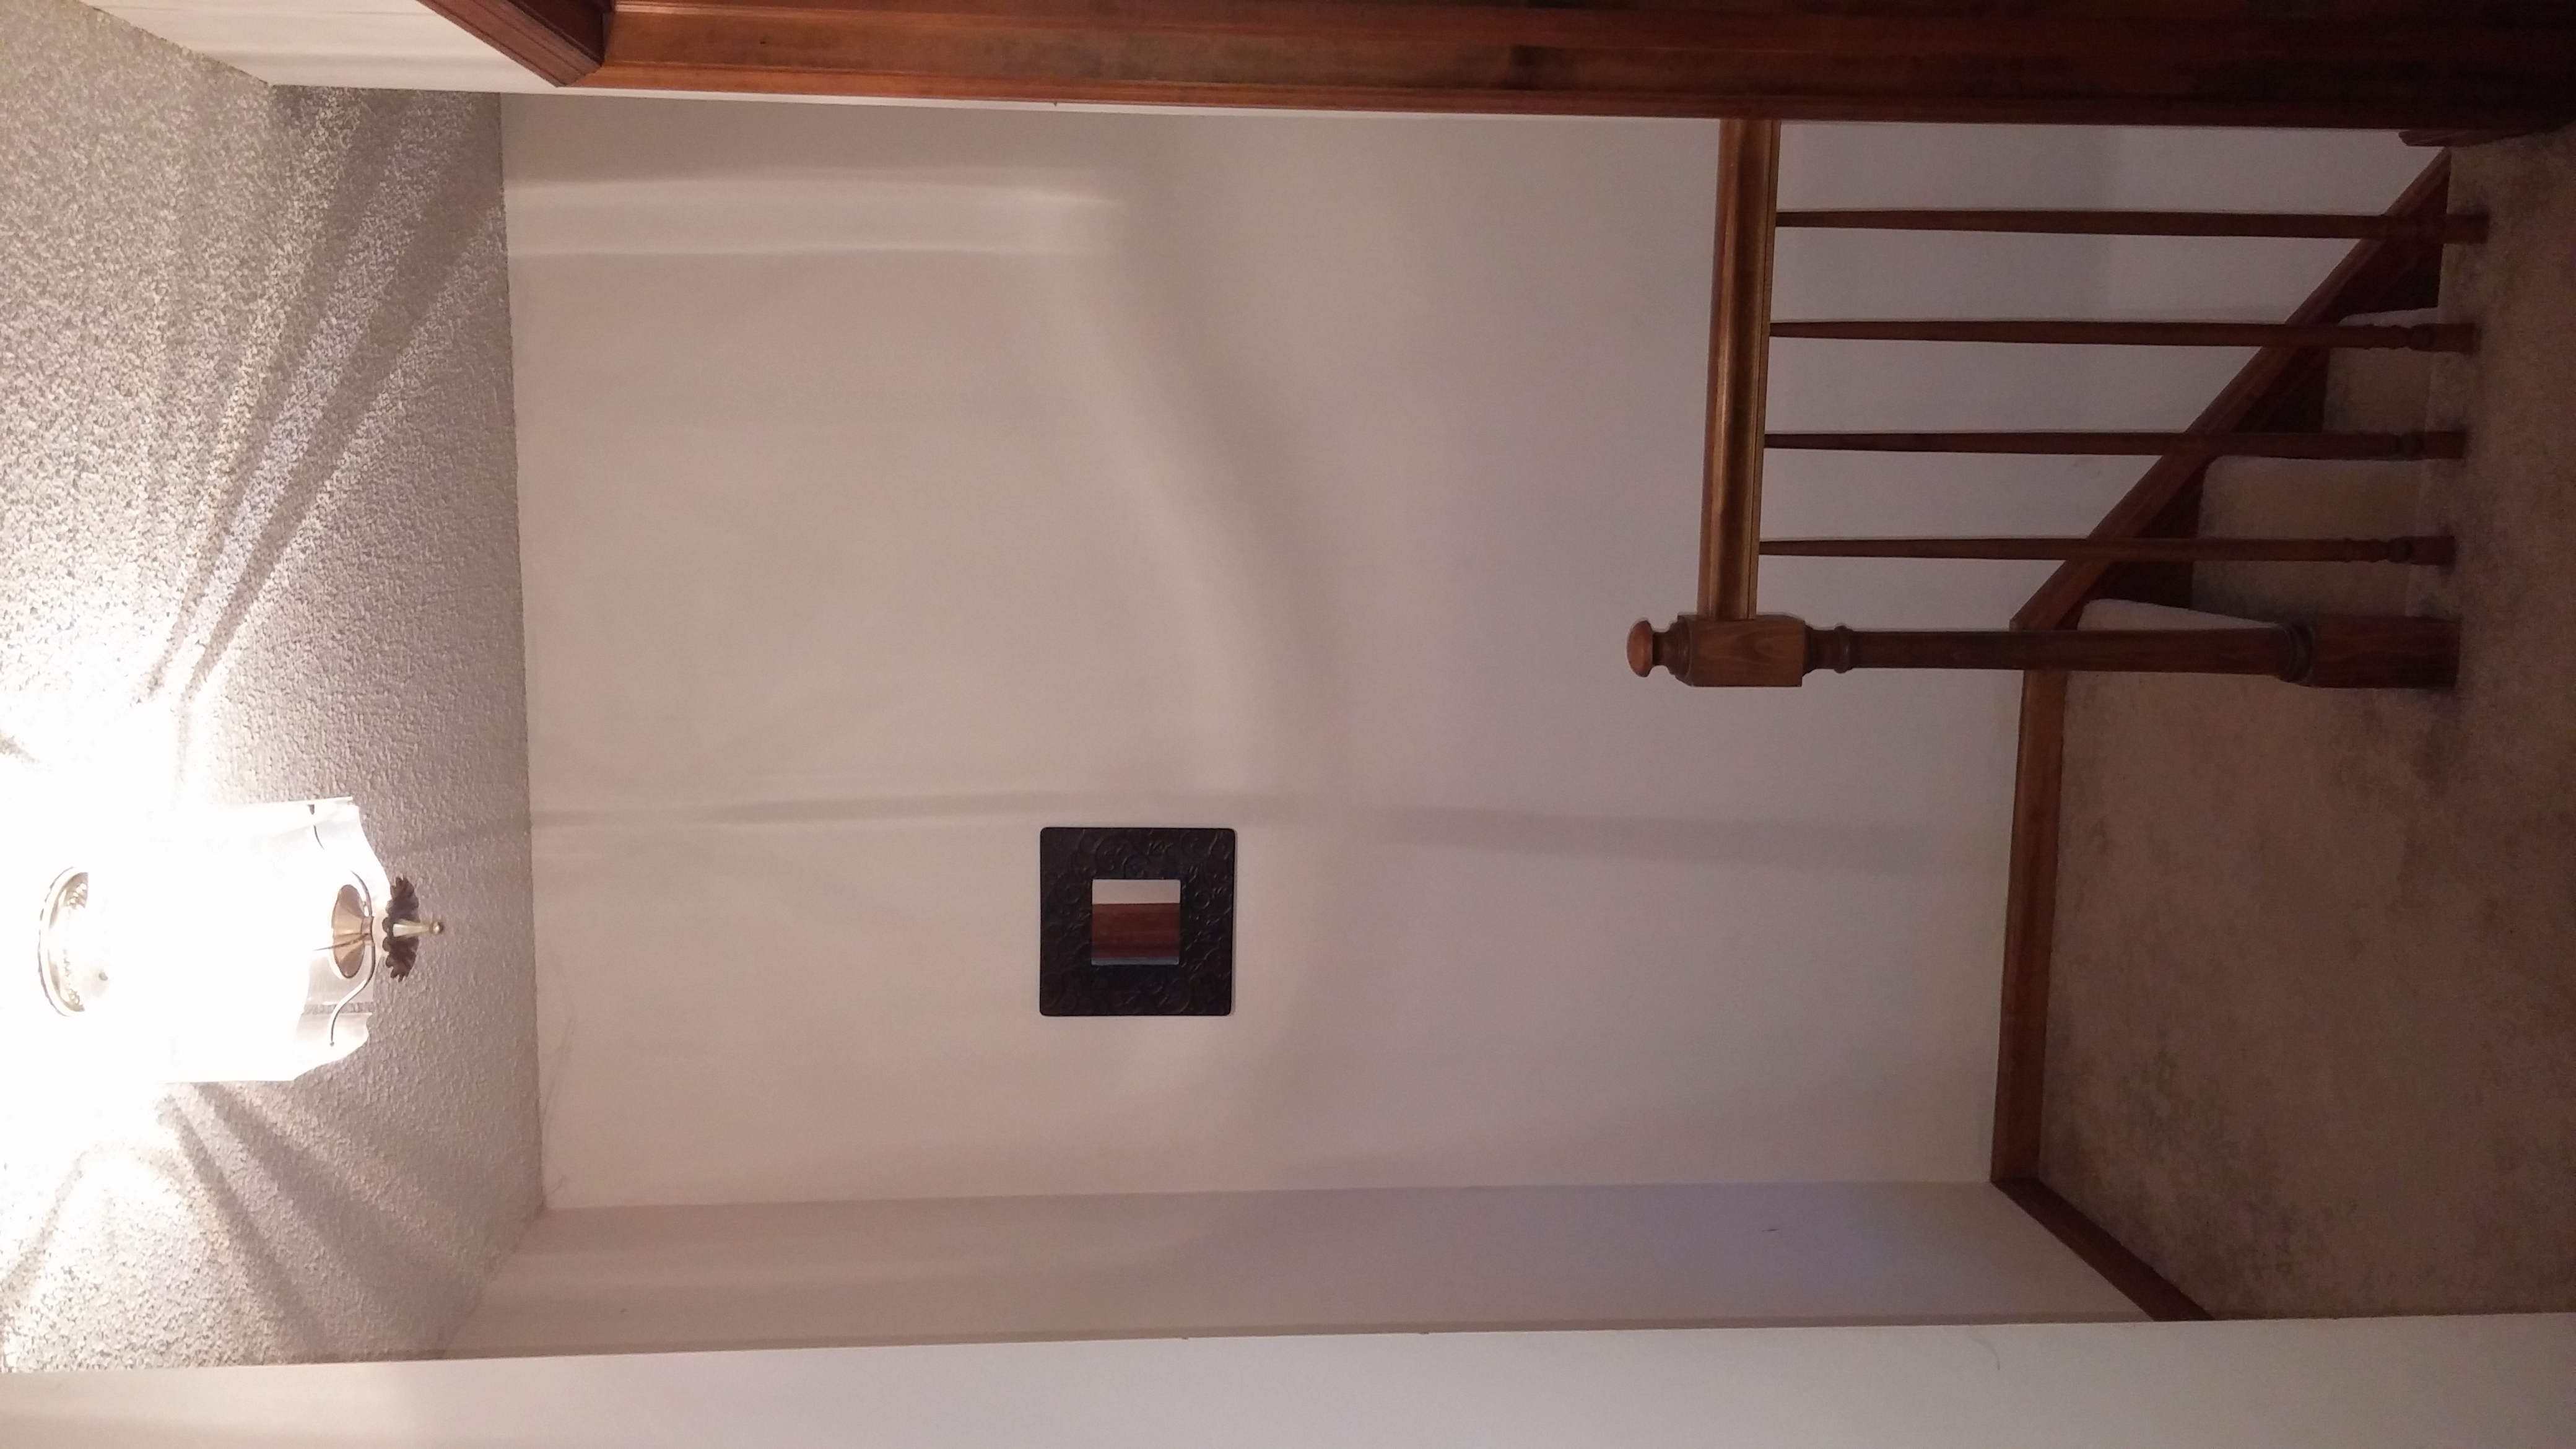
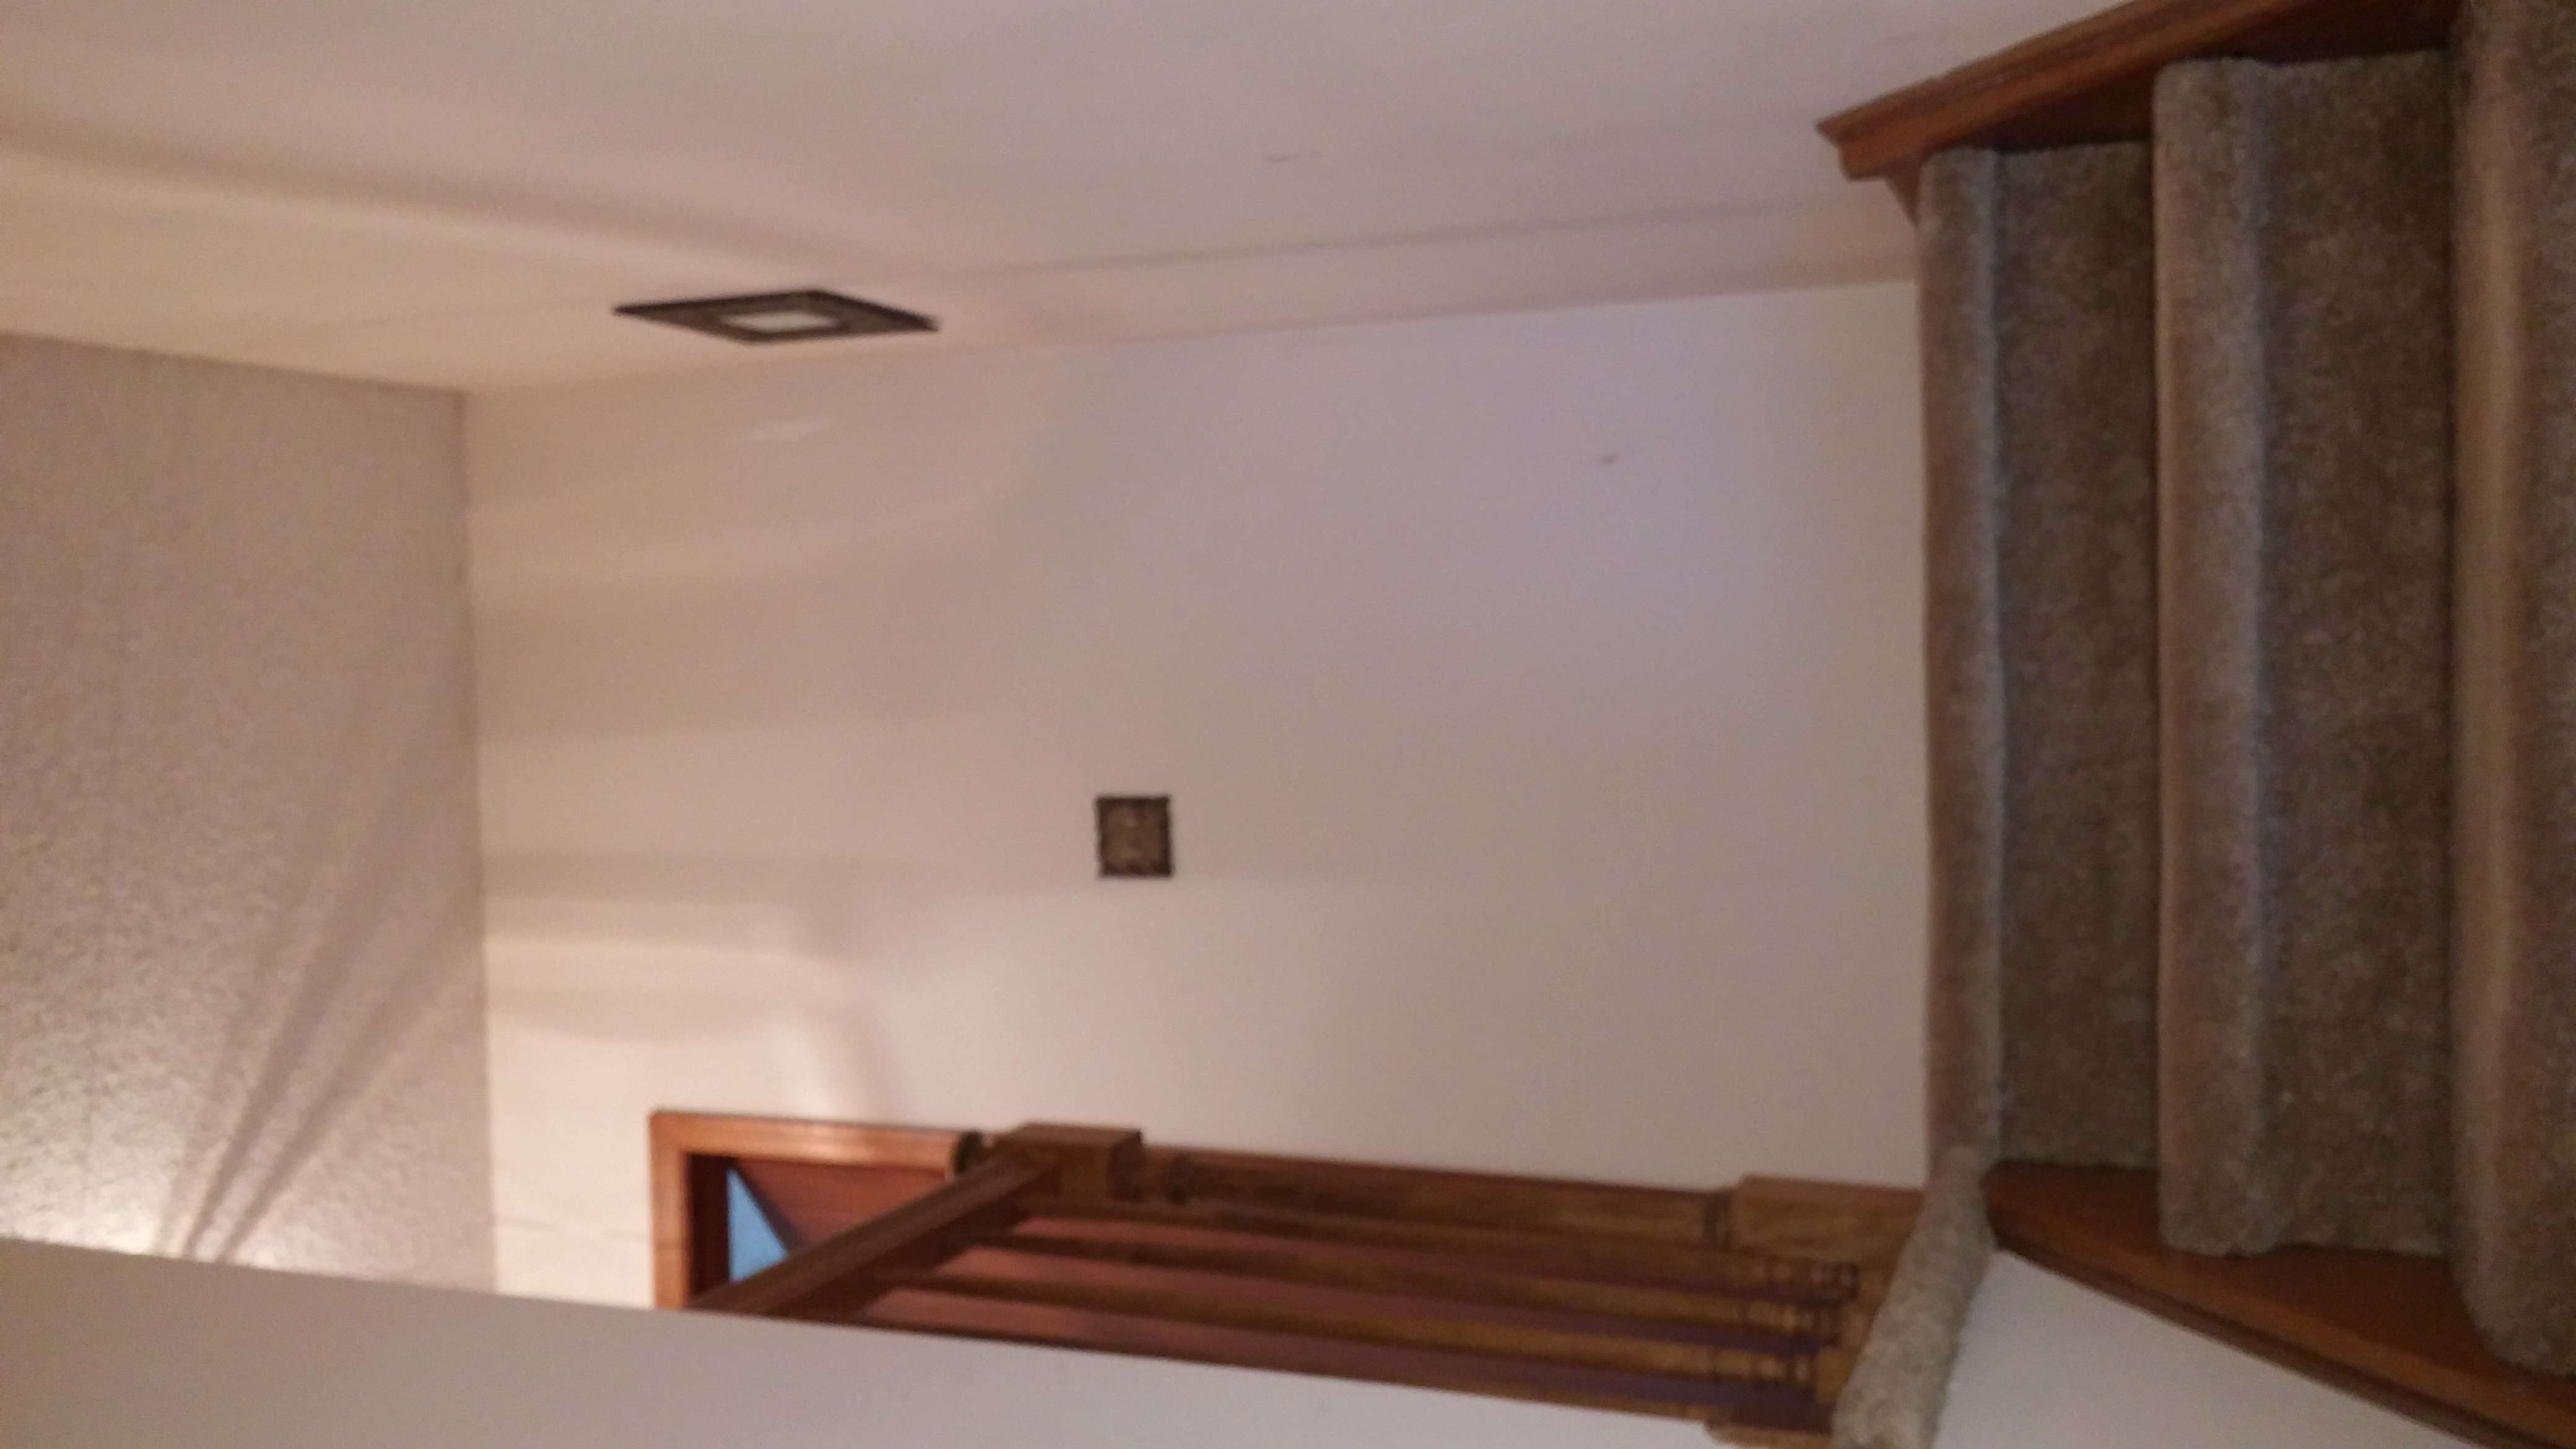
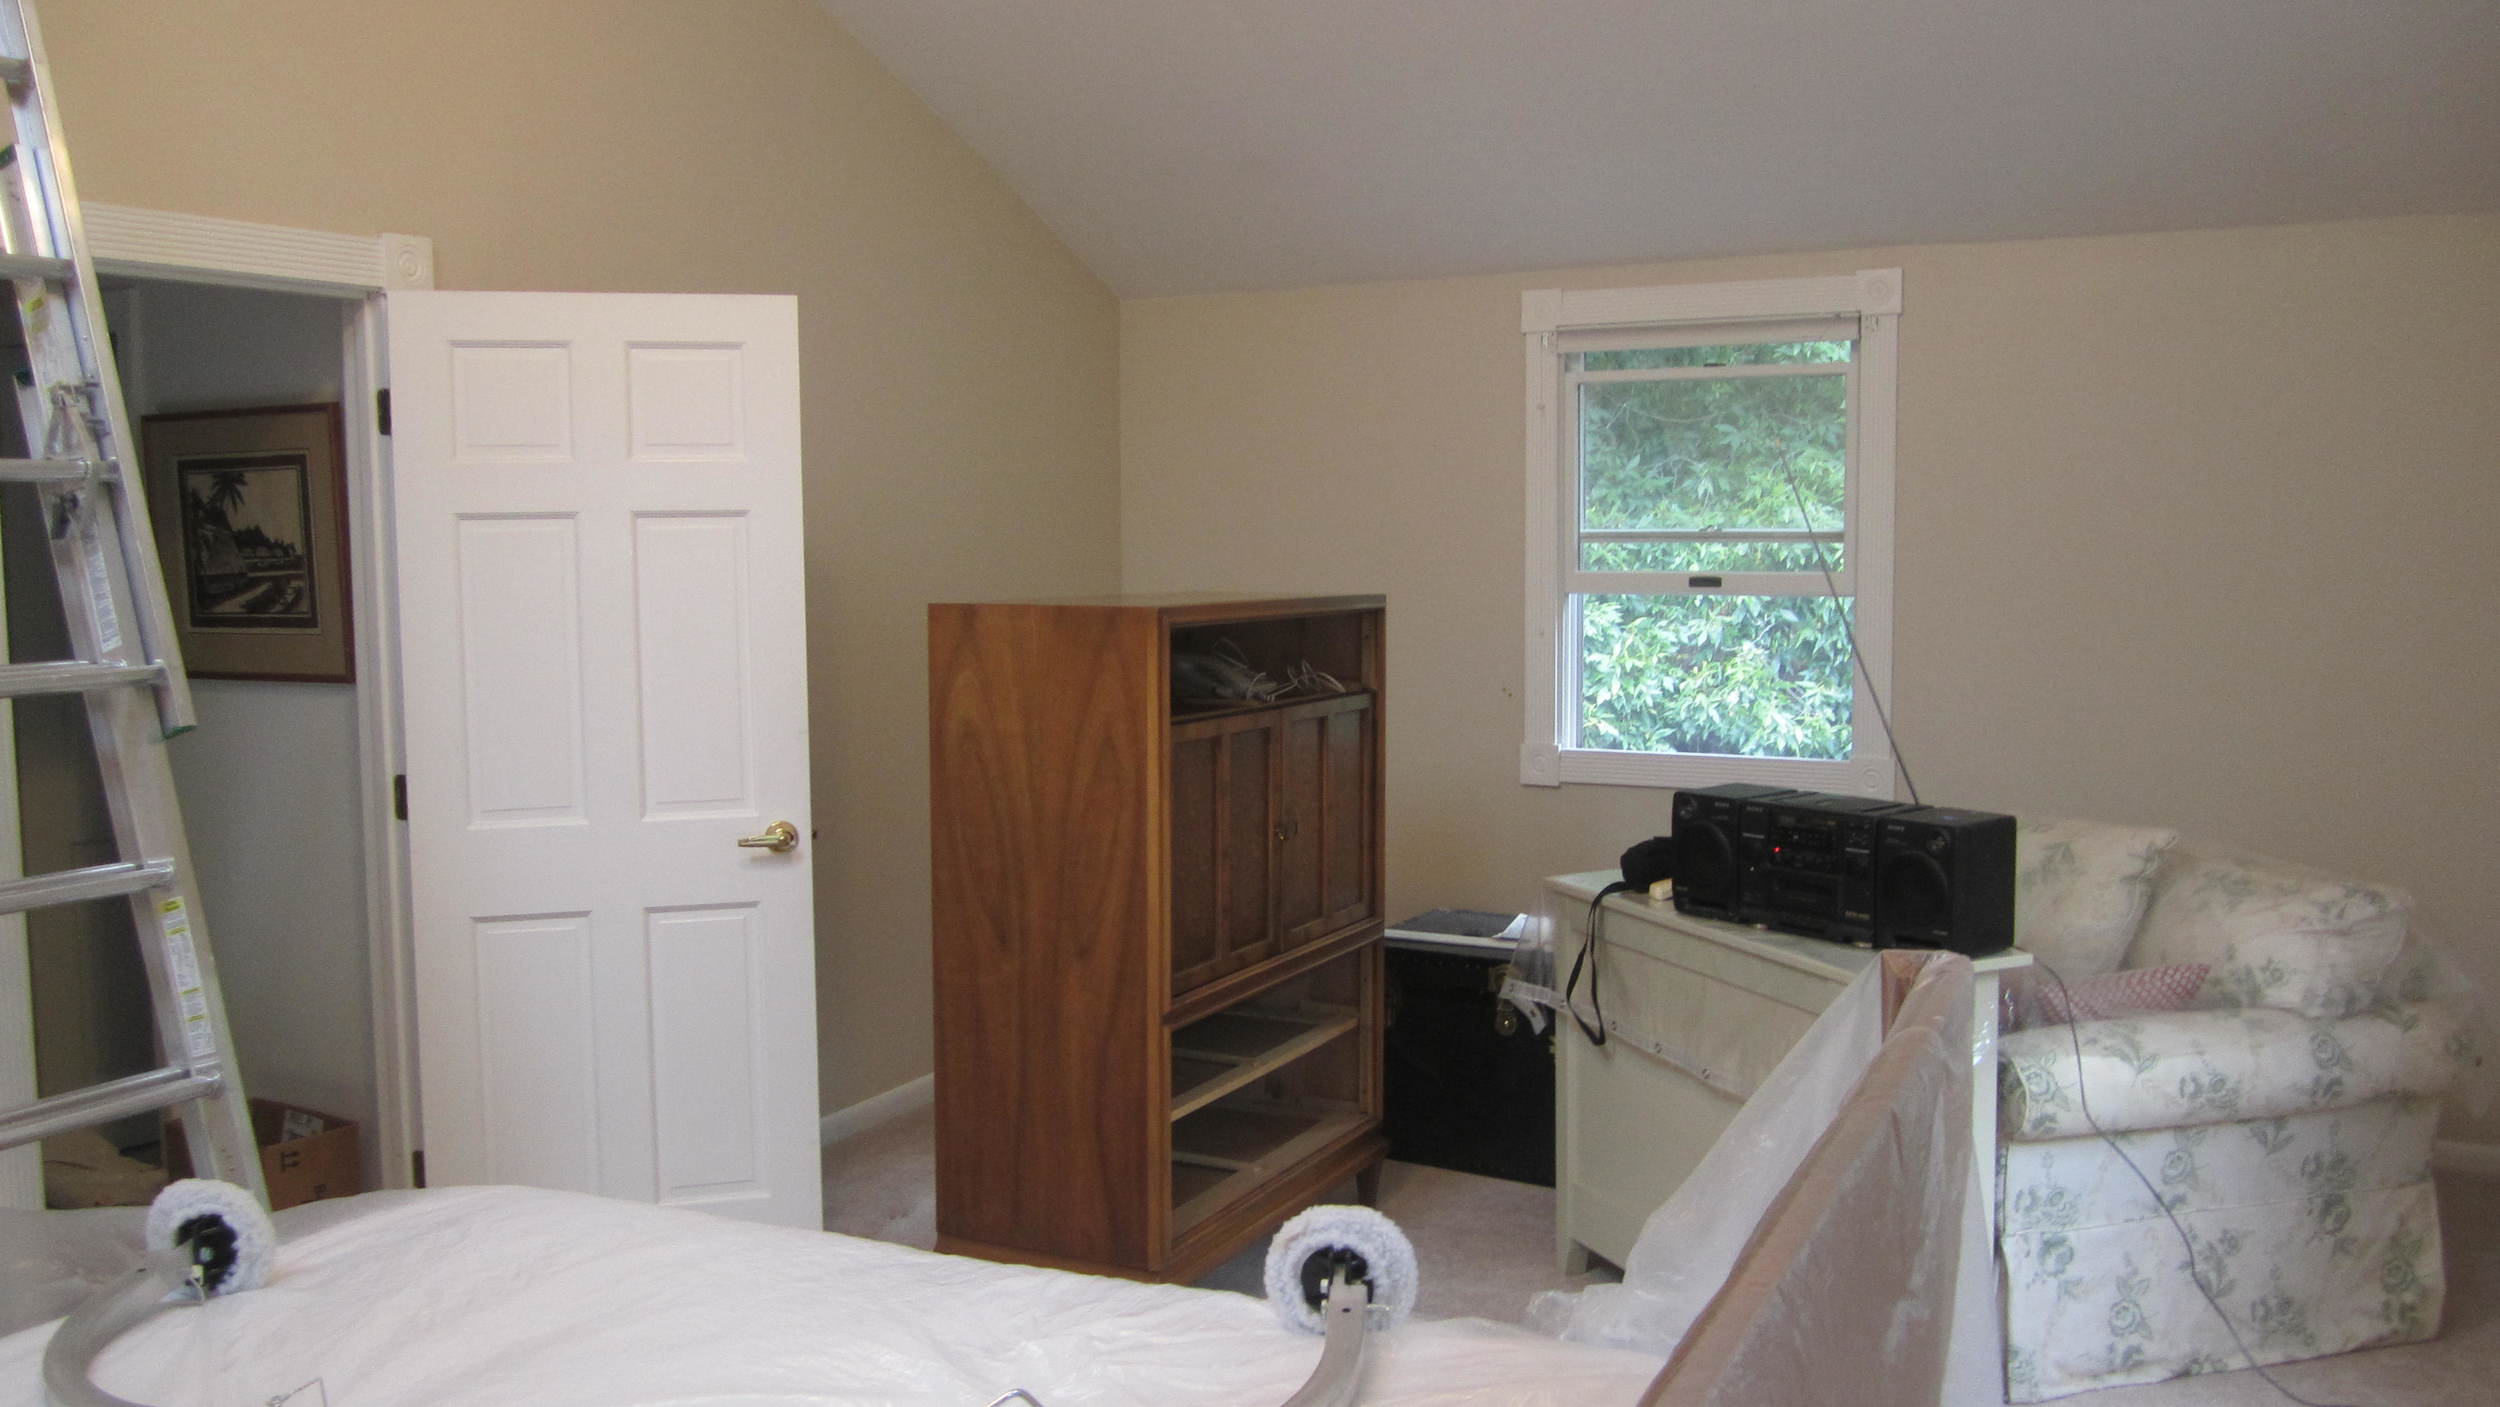
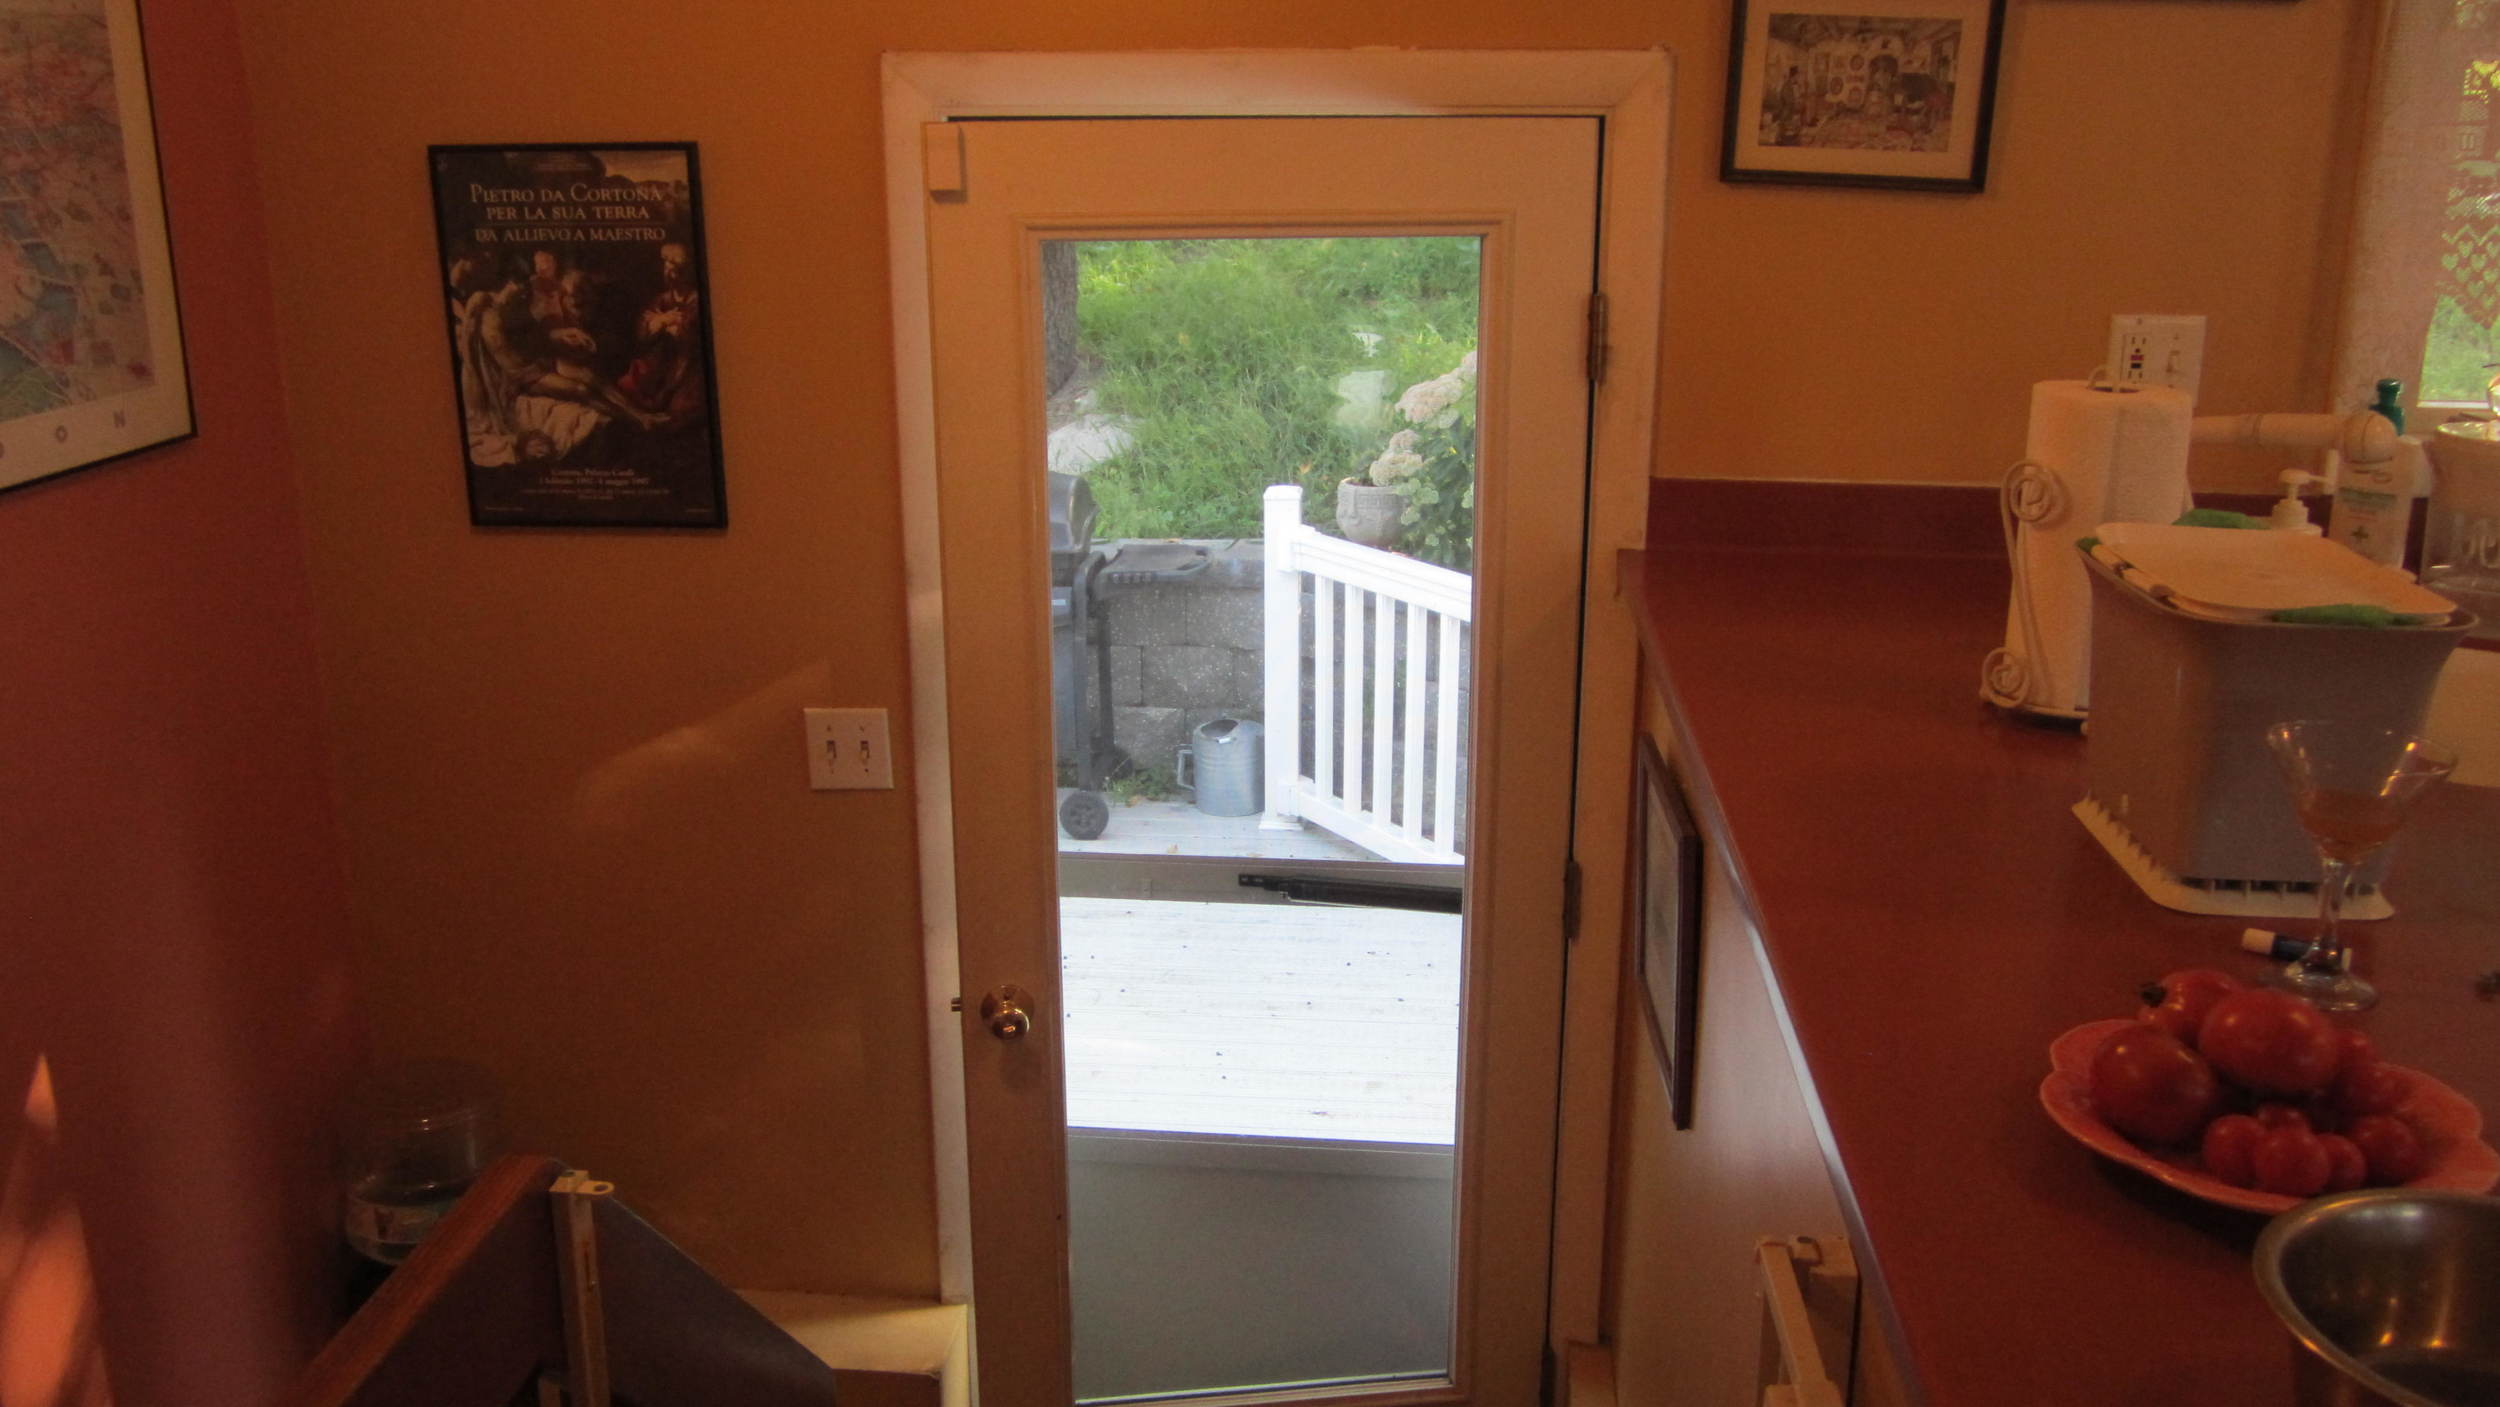
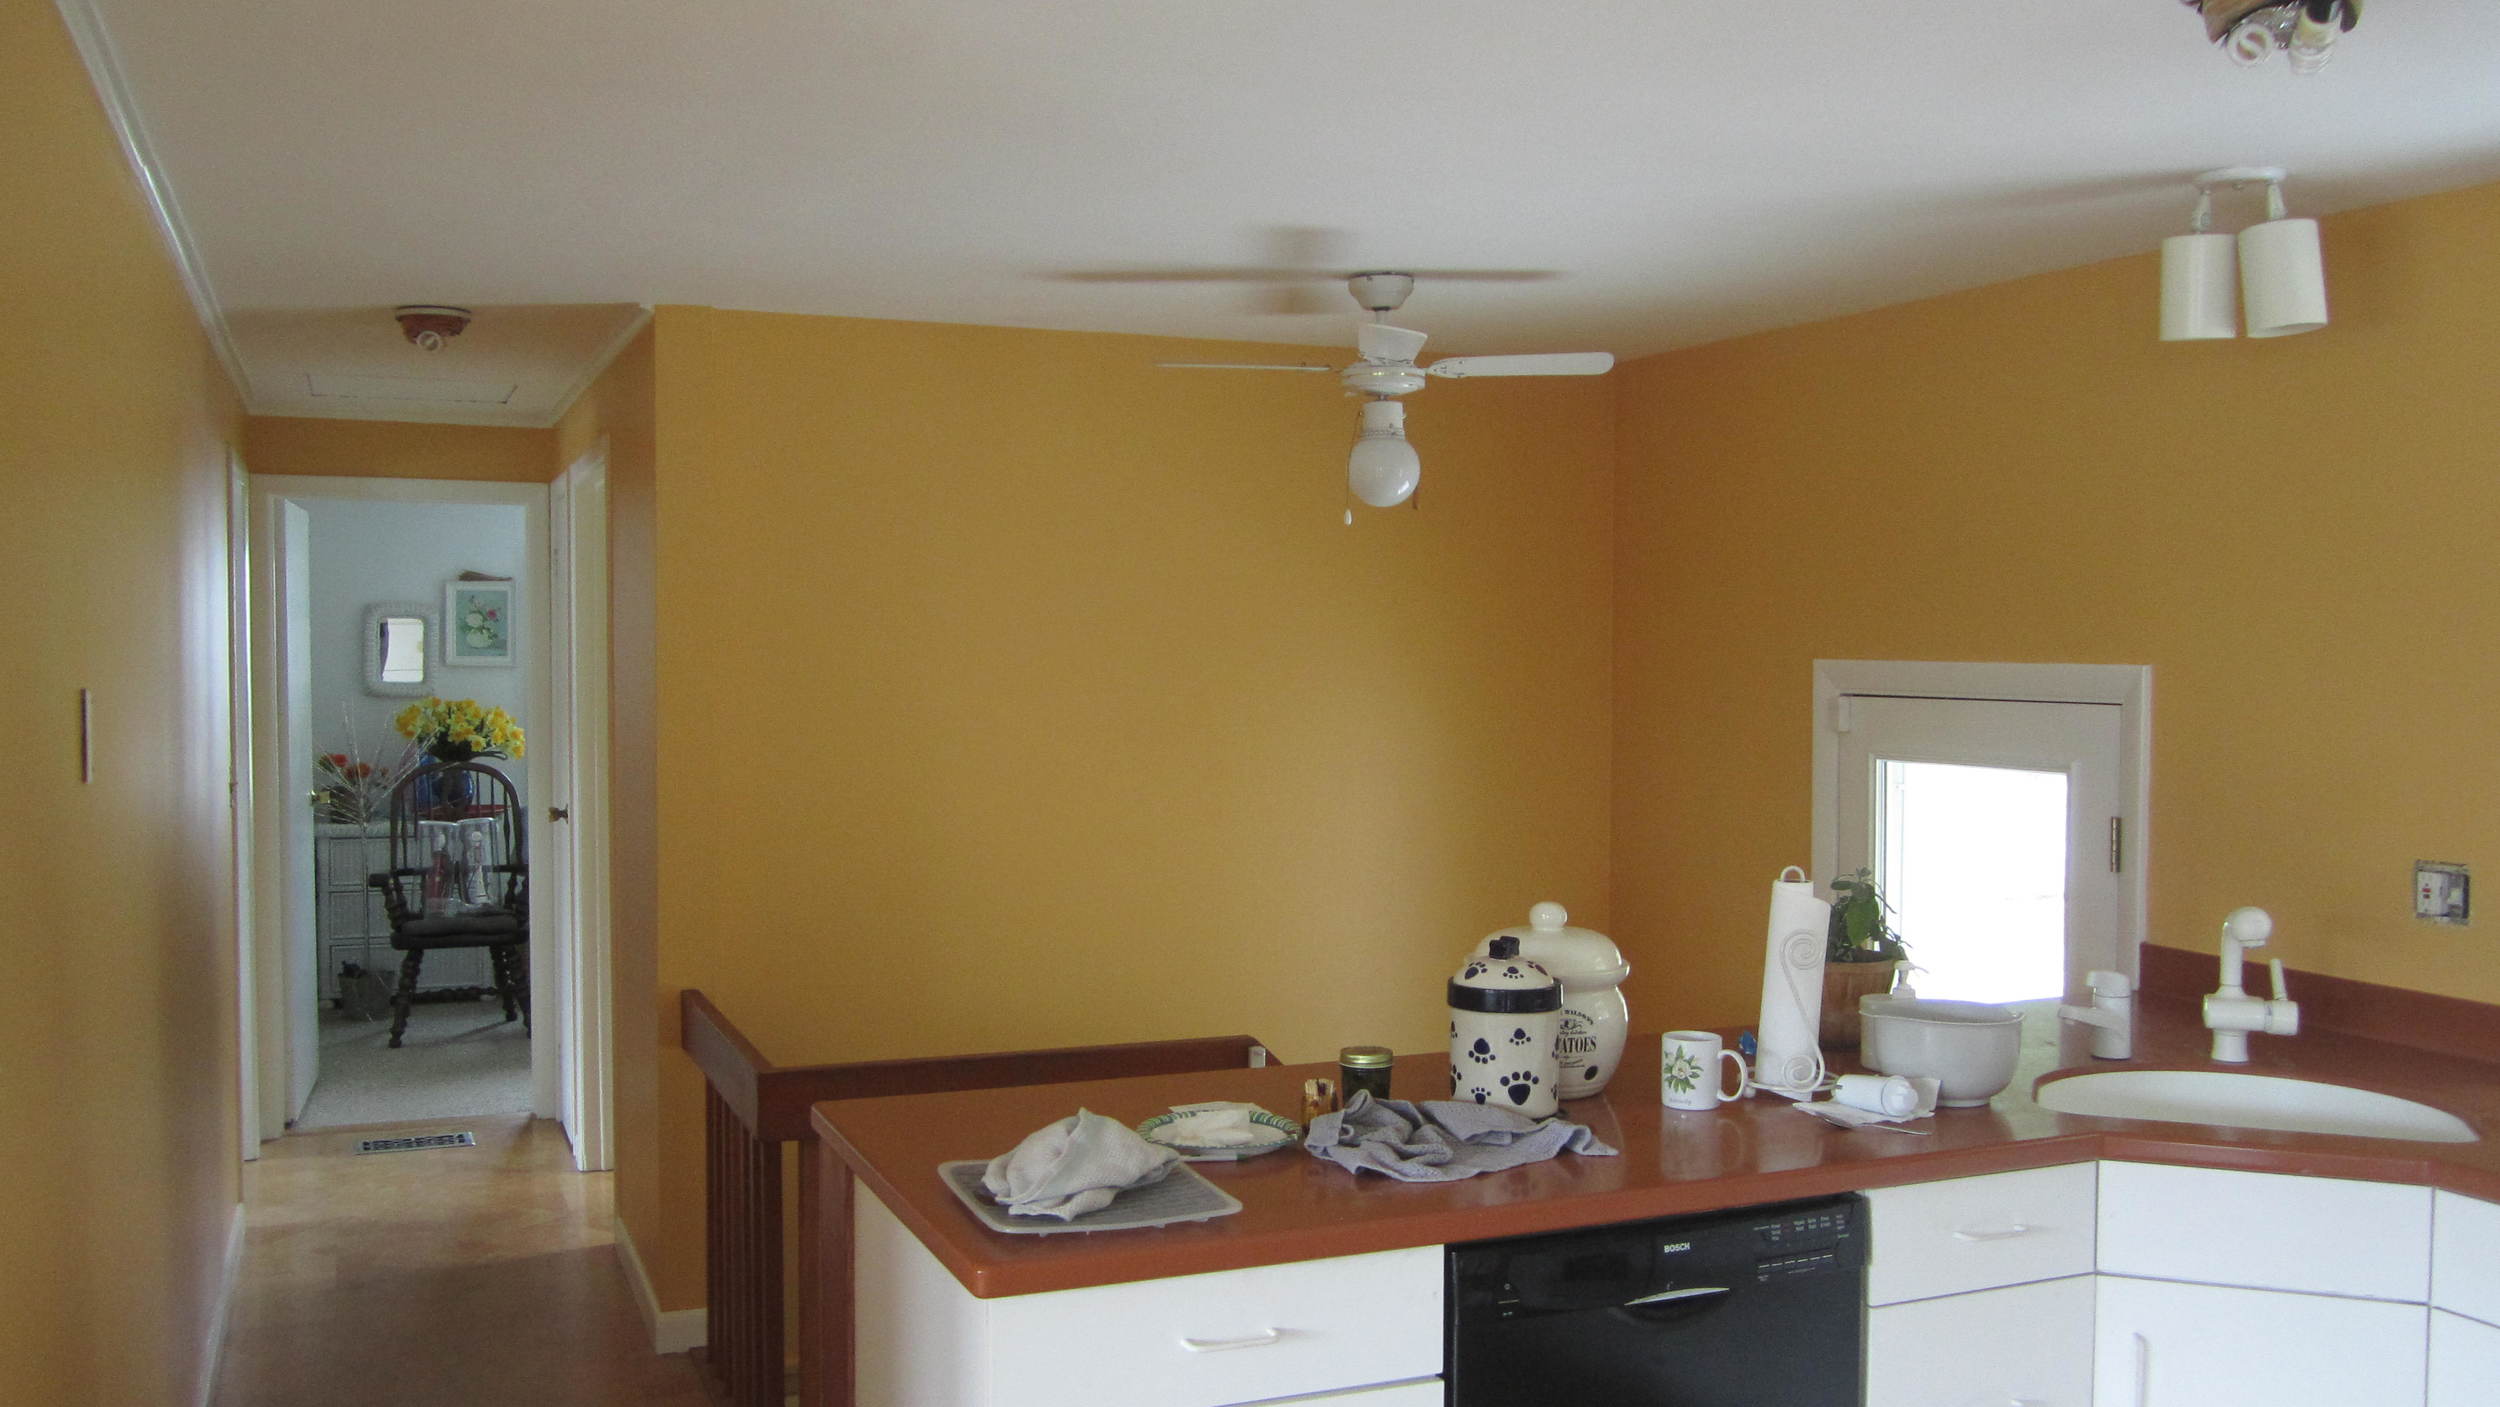
I just finished a job that took a bit less than two weeks.  The job consisted of a bedroom, what I have been calling an entrance hallway. and a medium sized bathroom.  The hallway is attached to the bedroom, so that when you walked through the bedroom door you have to walk about 10-15 feet before you actually get into the bedroom.

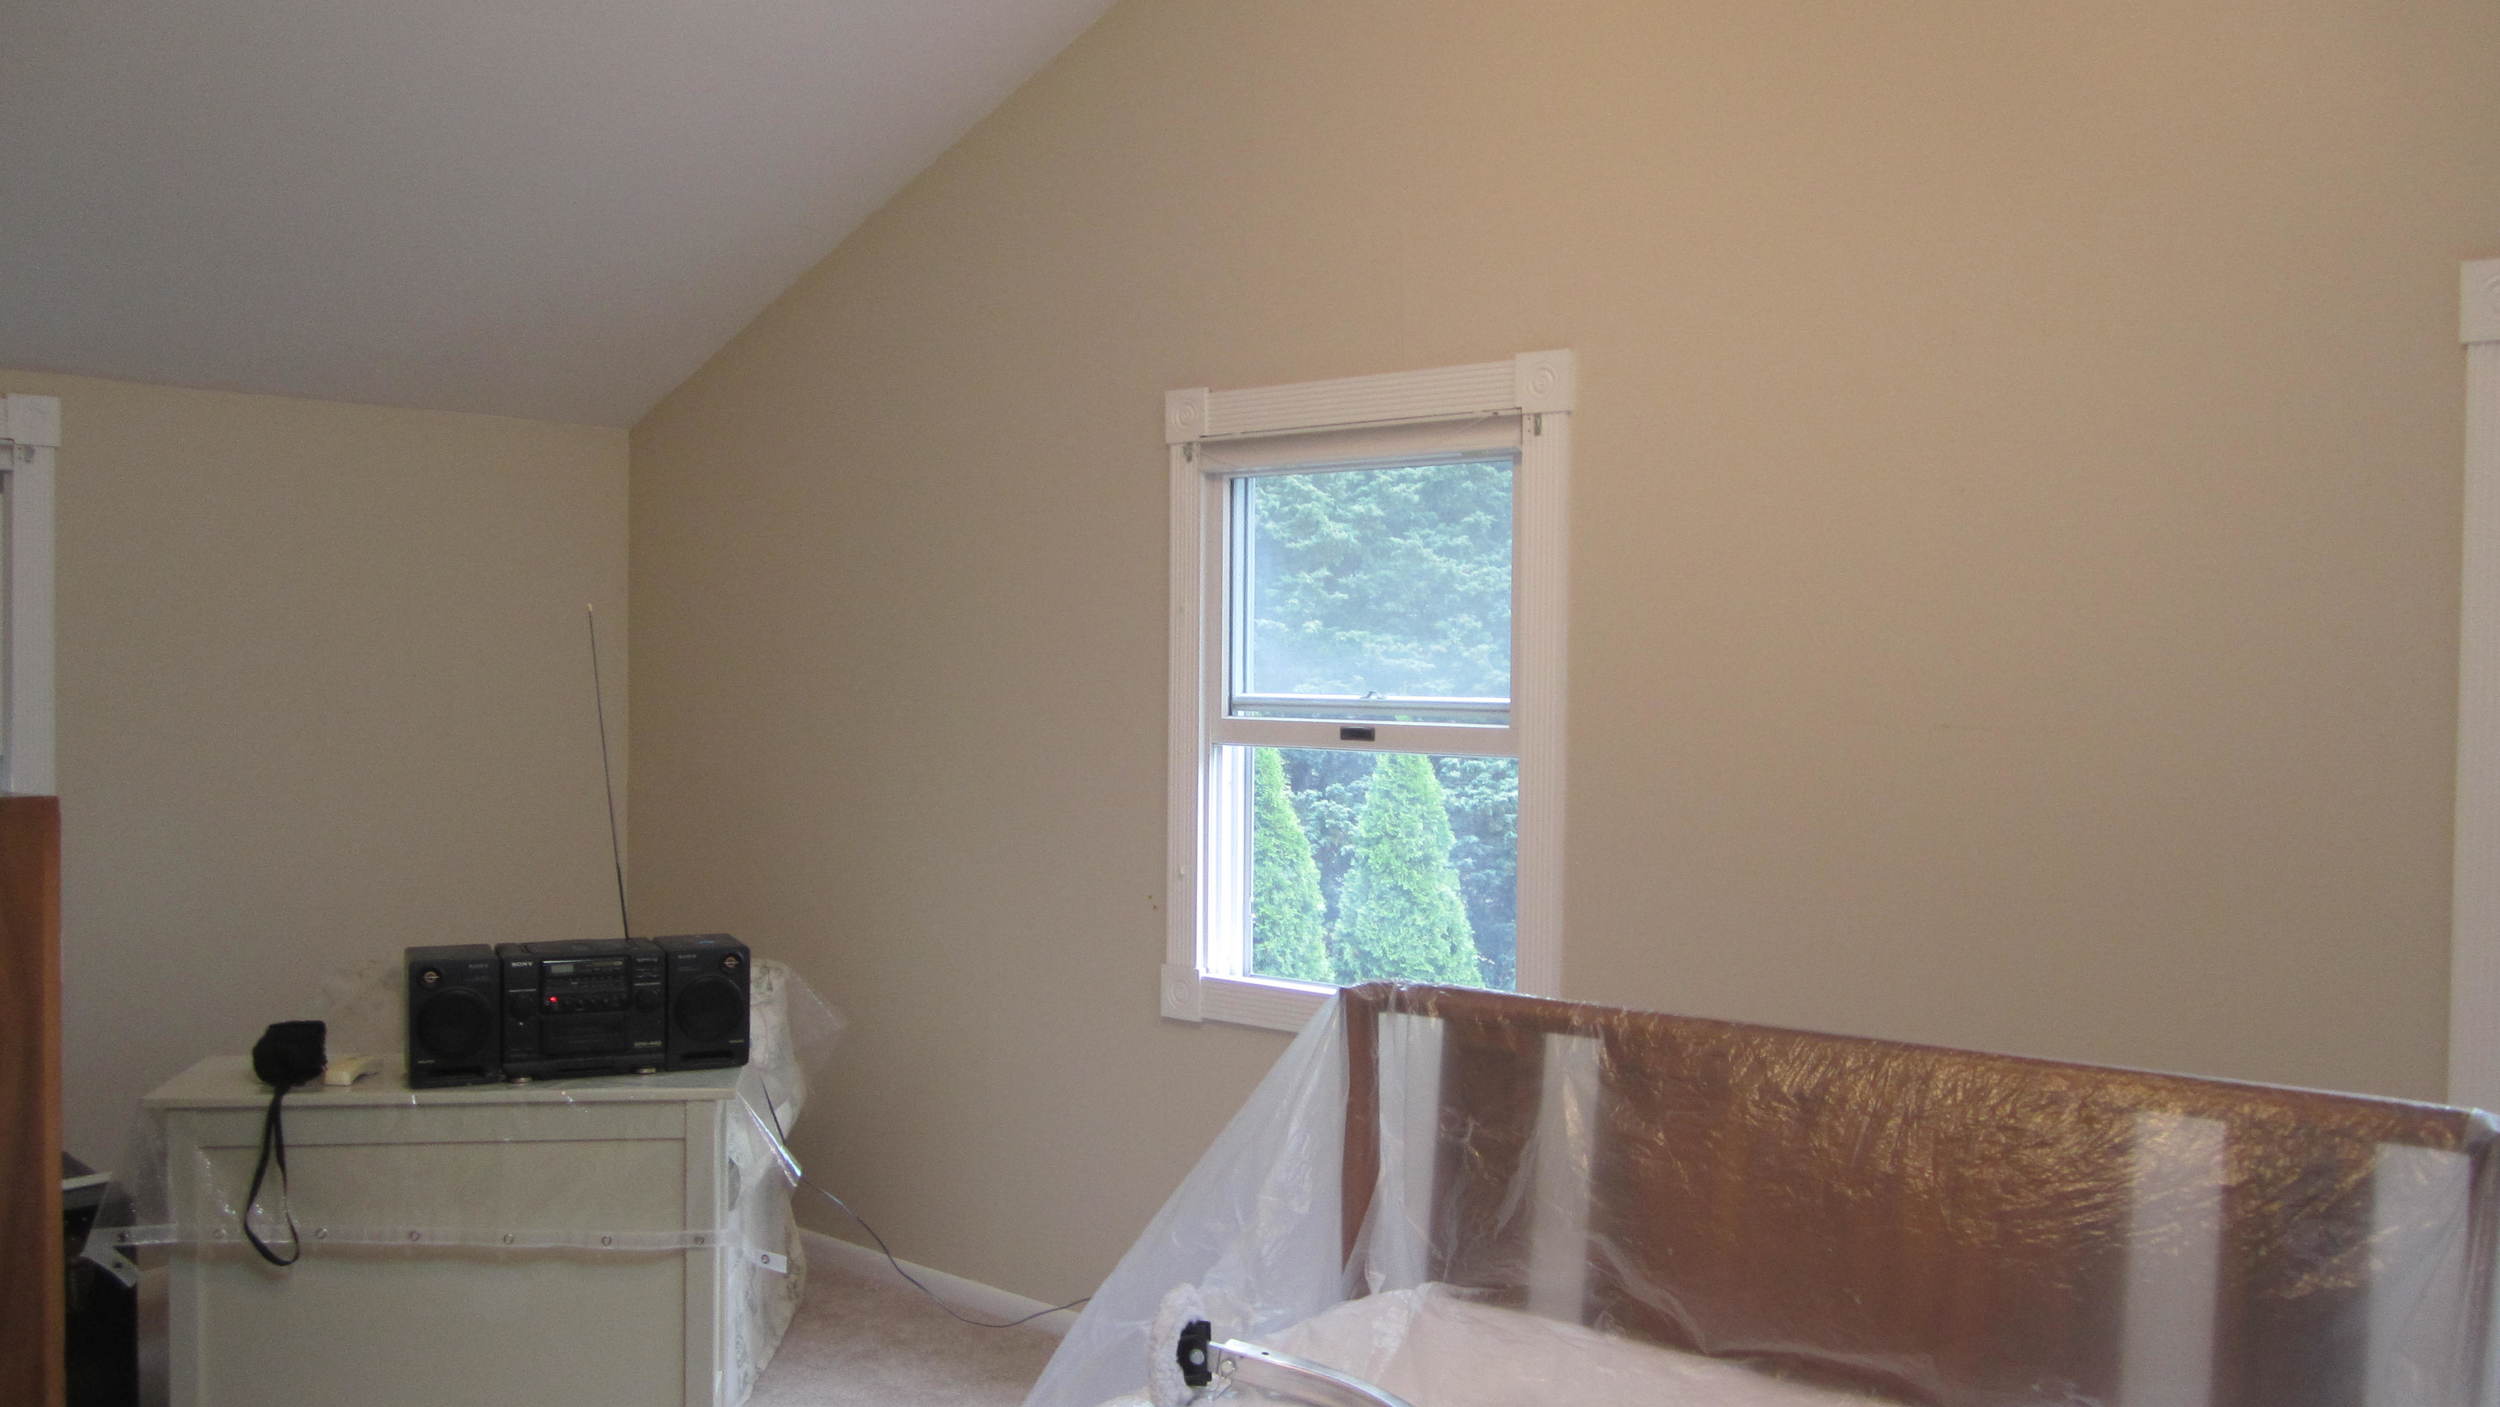
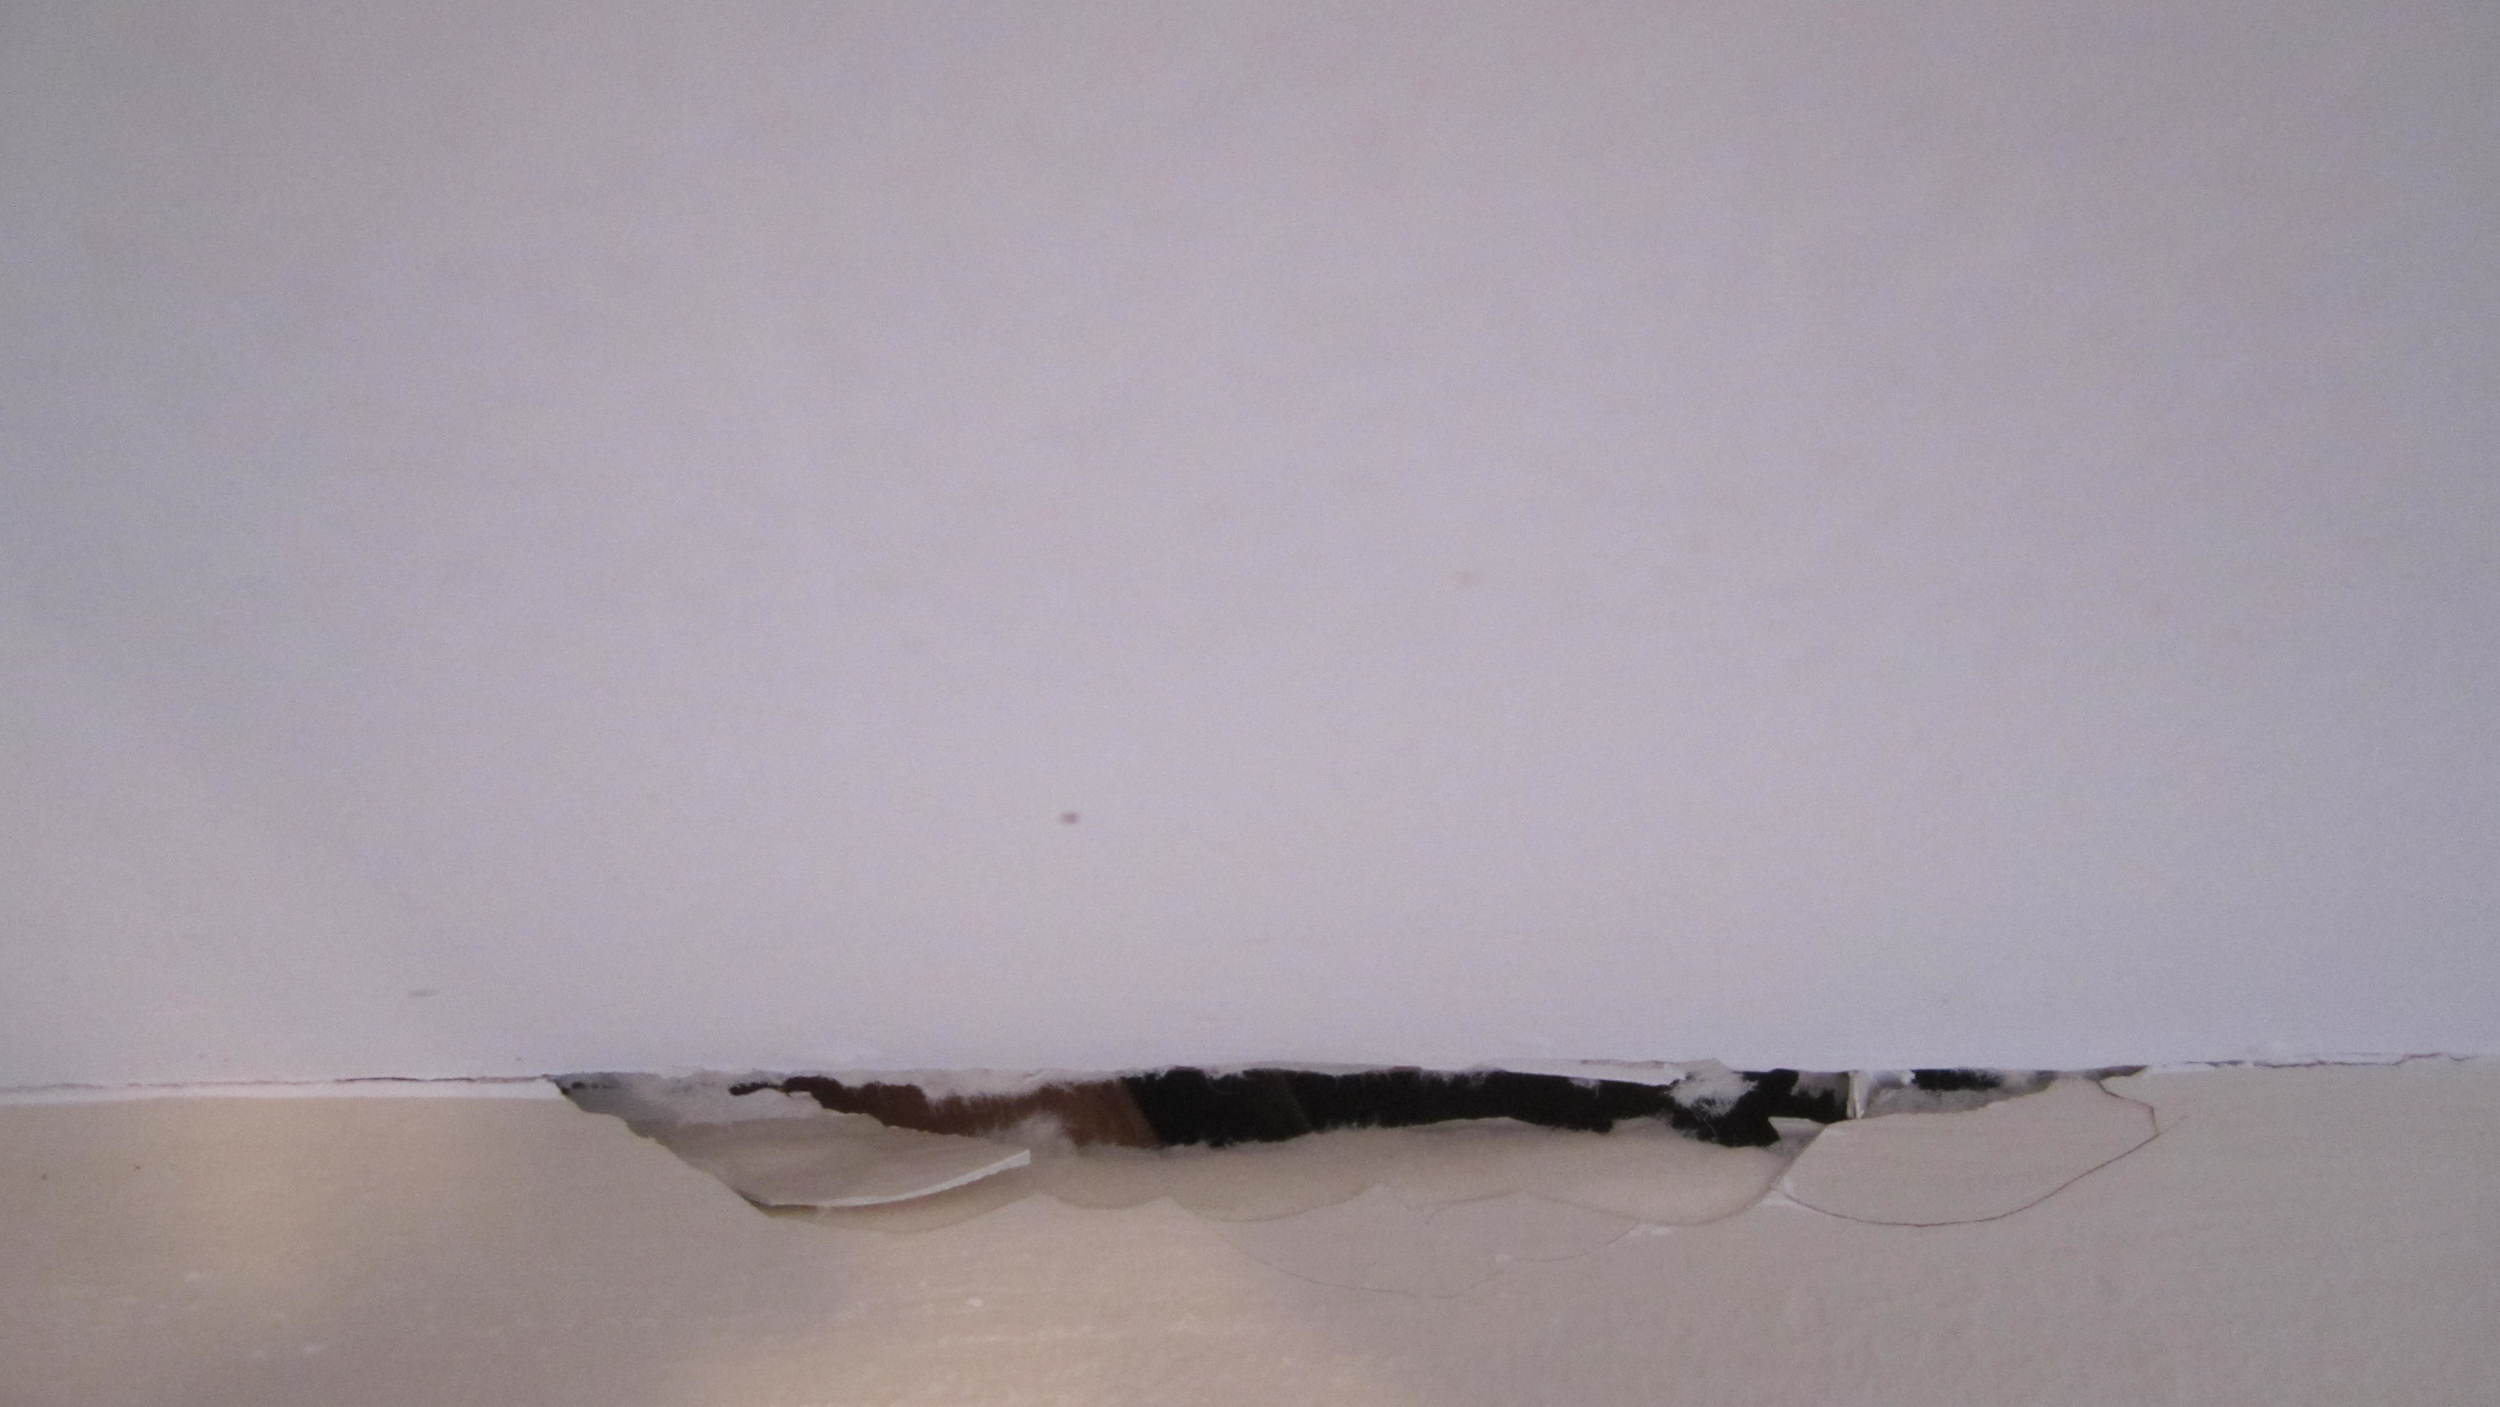
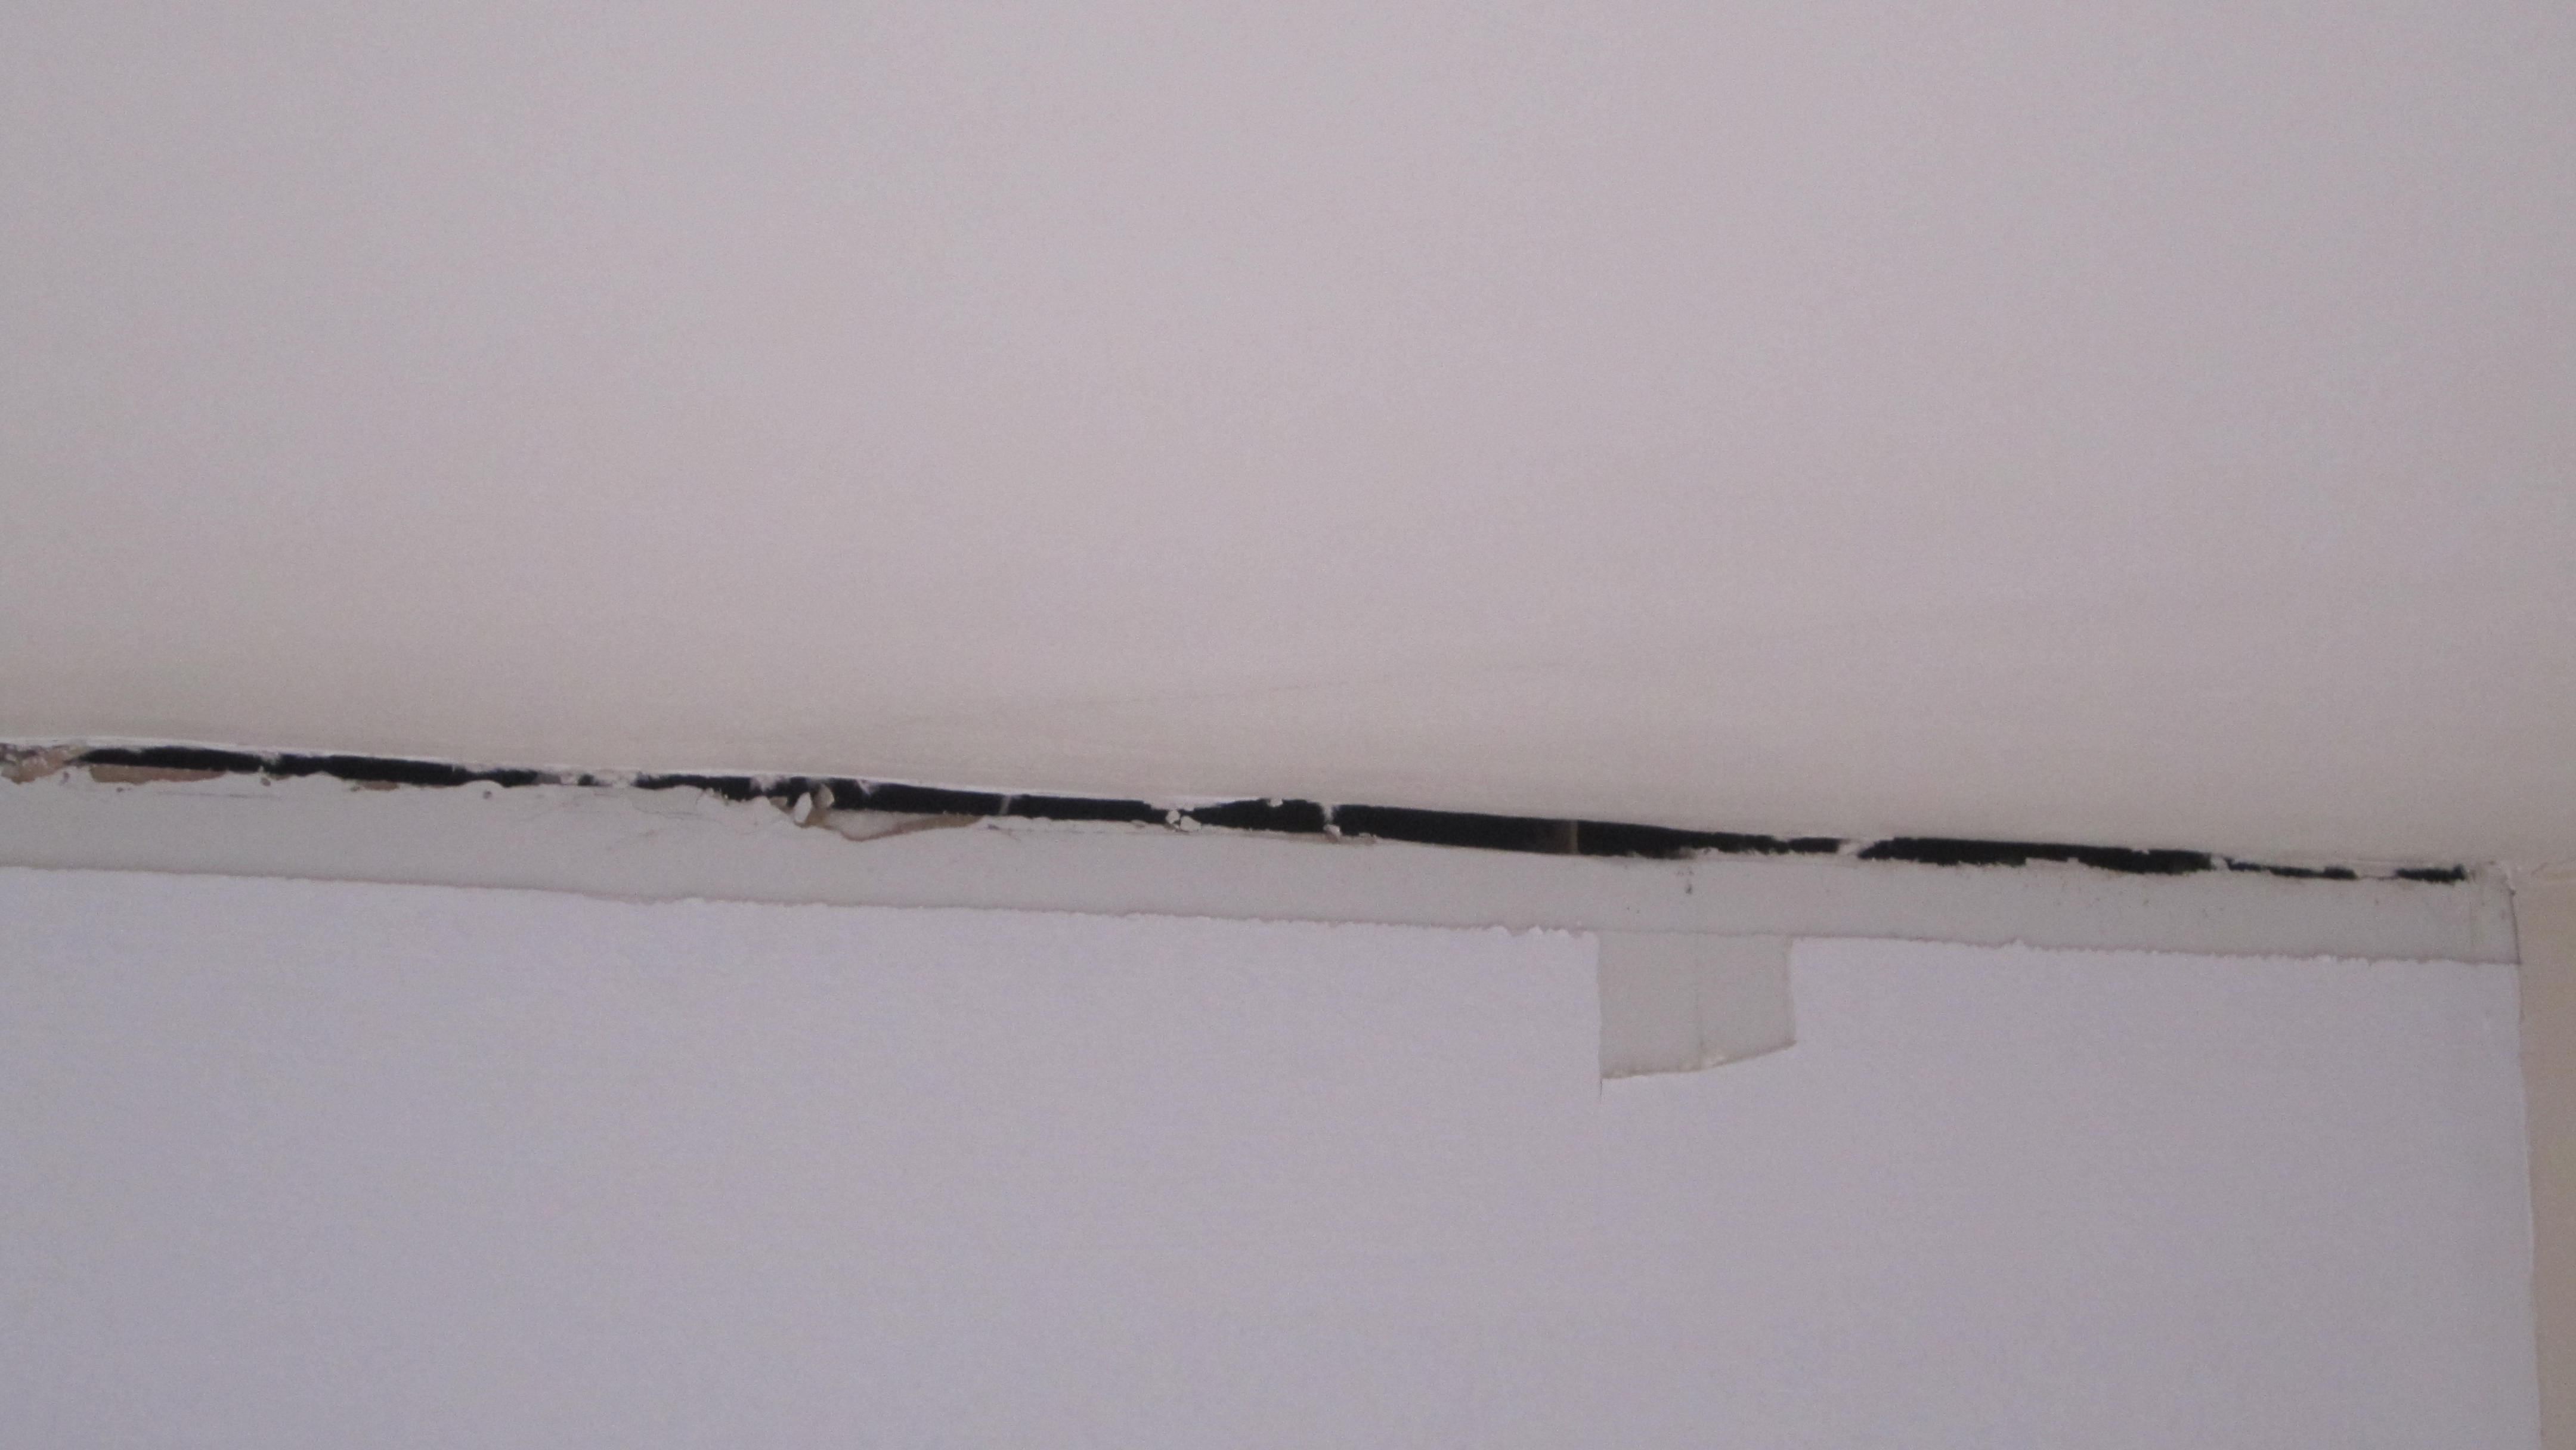
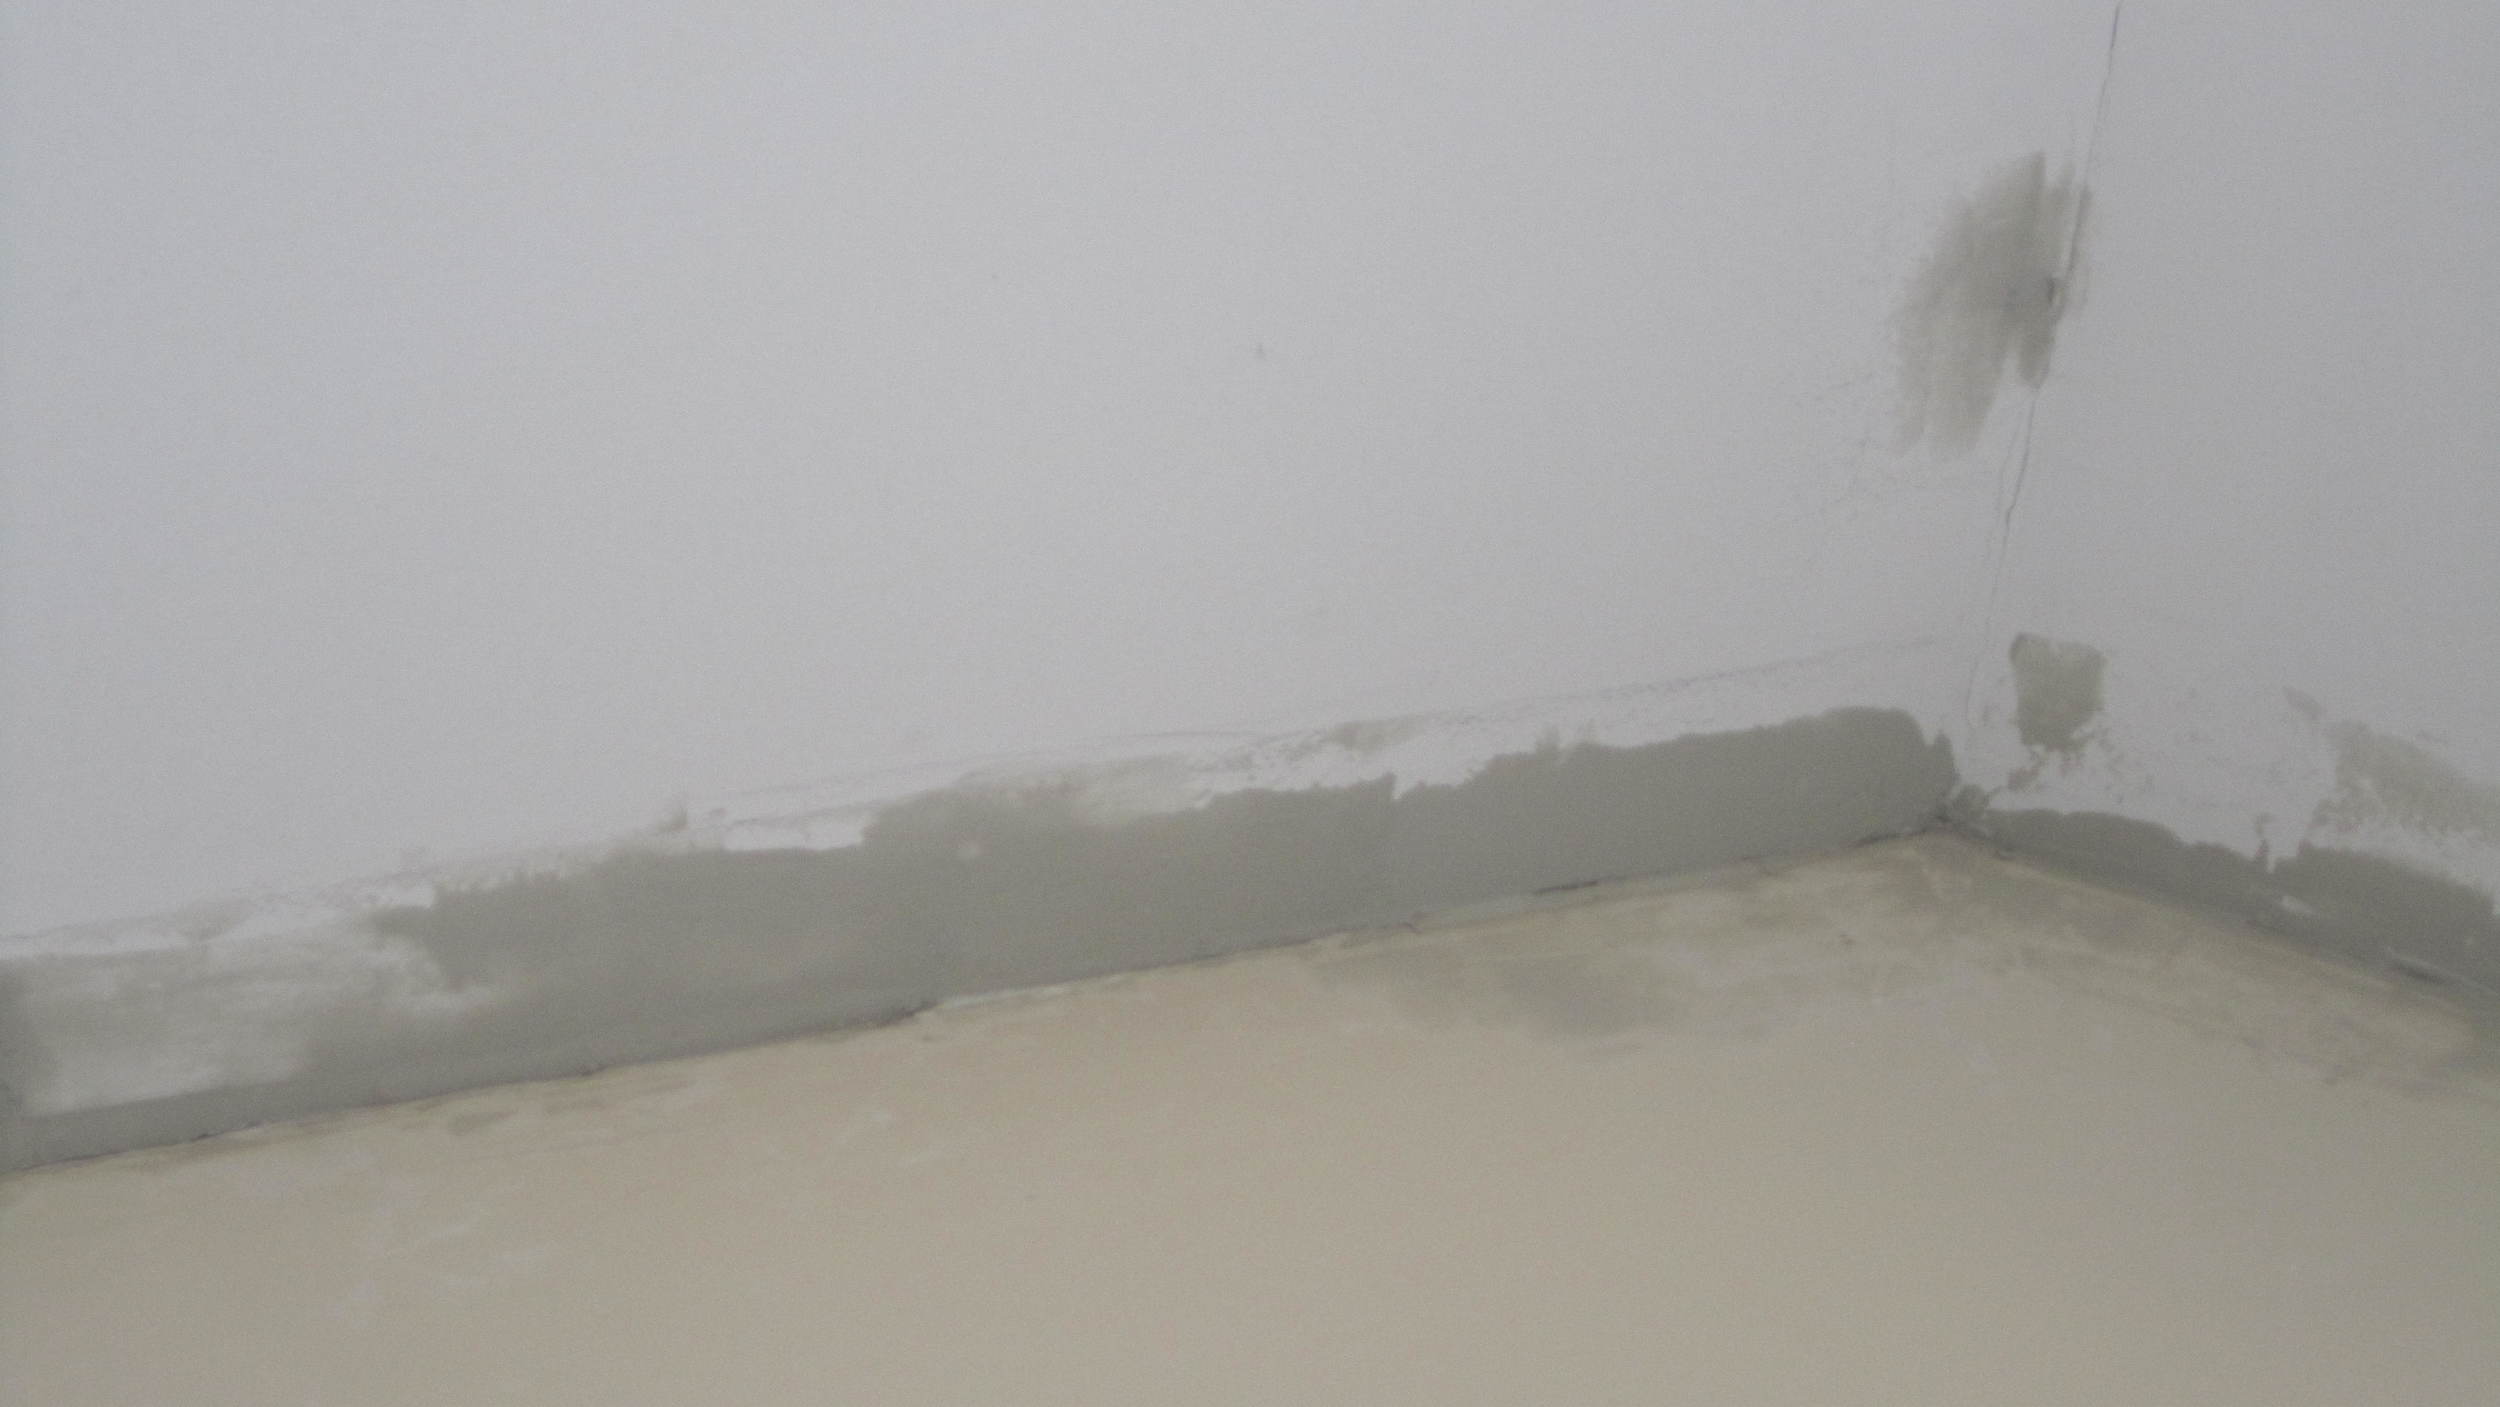
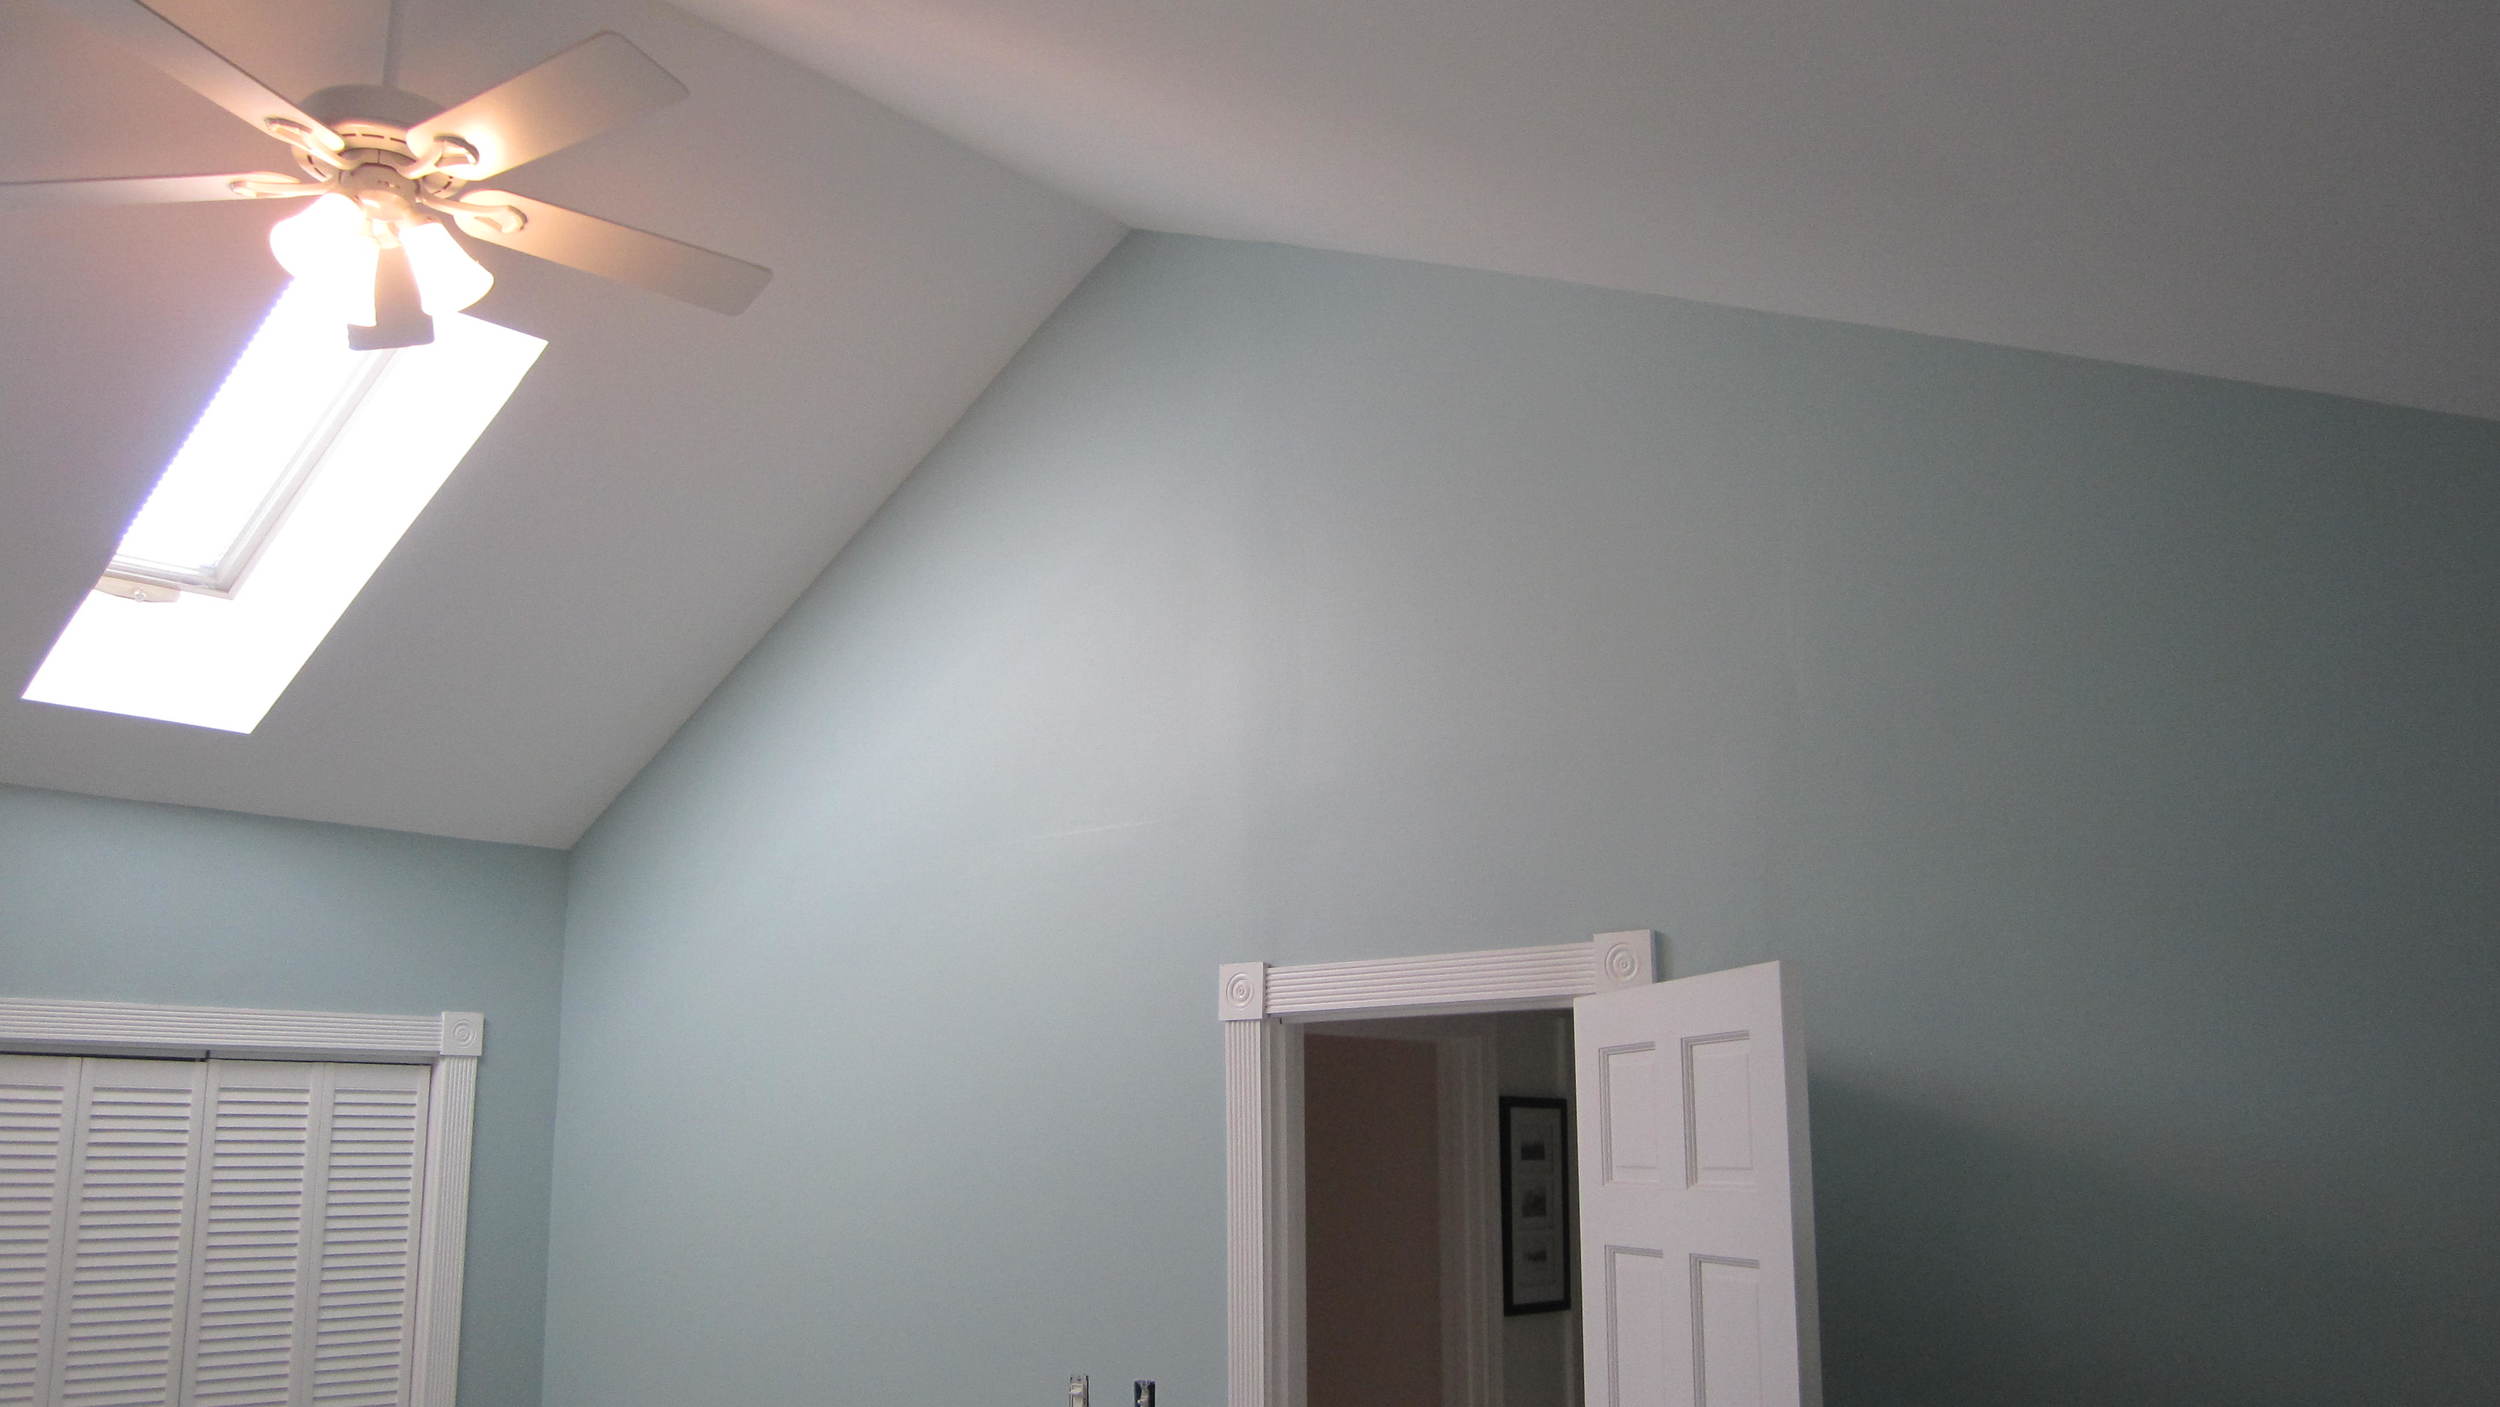
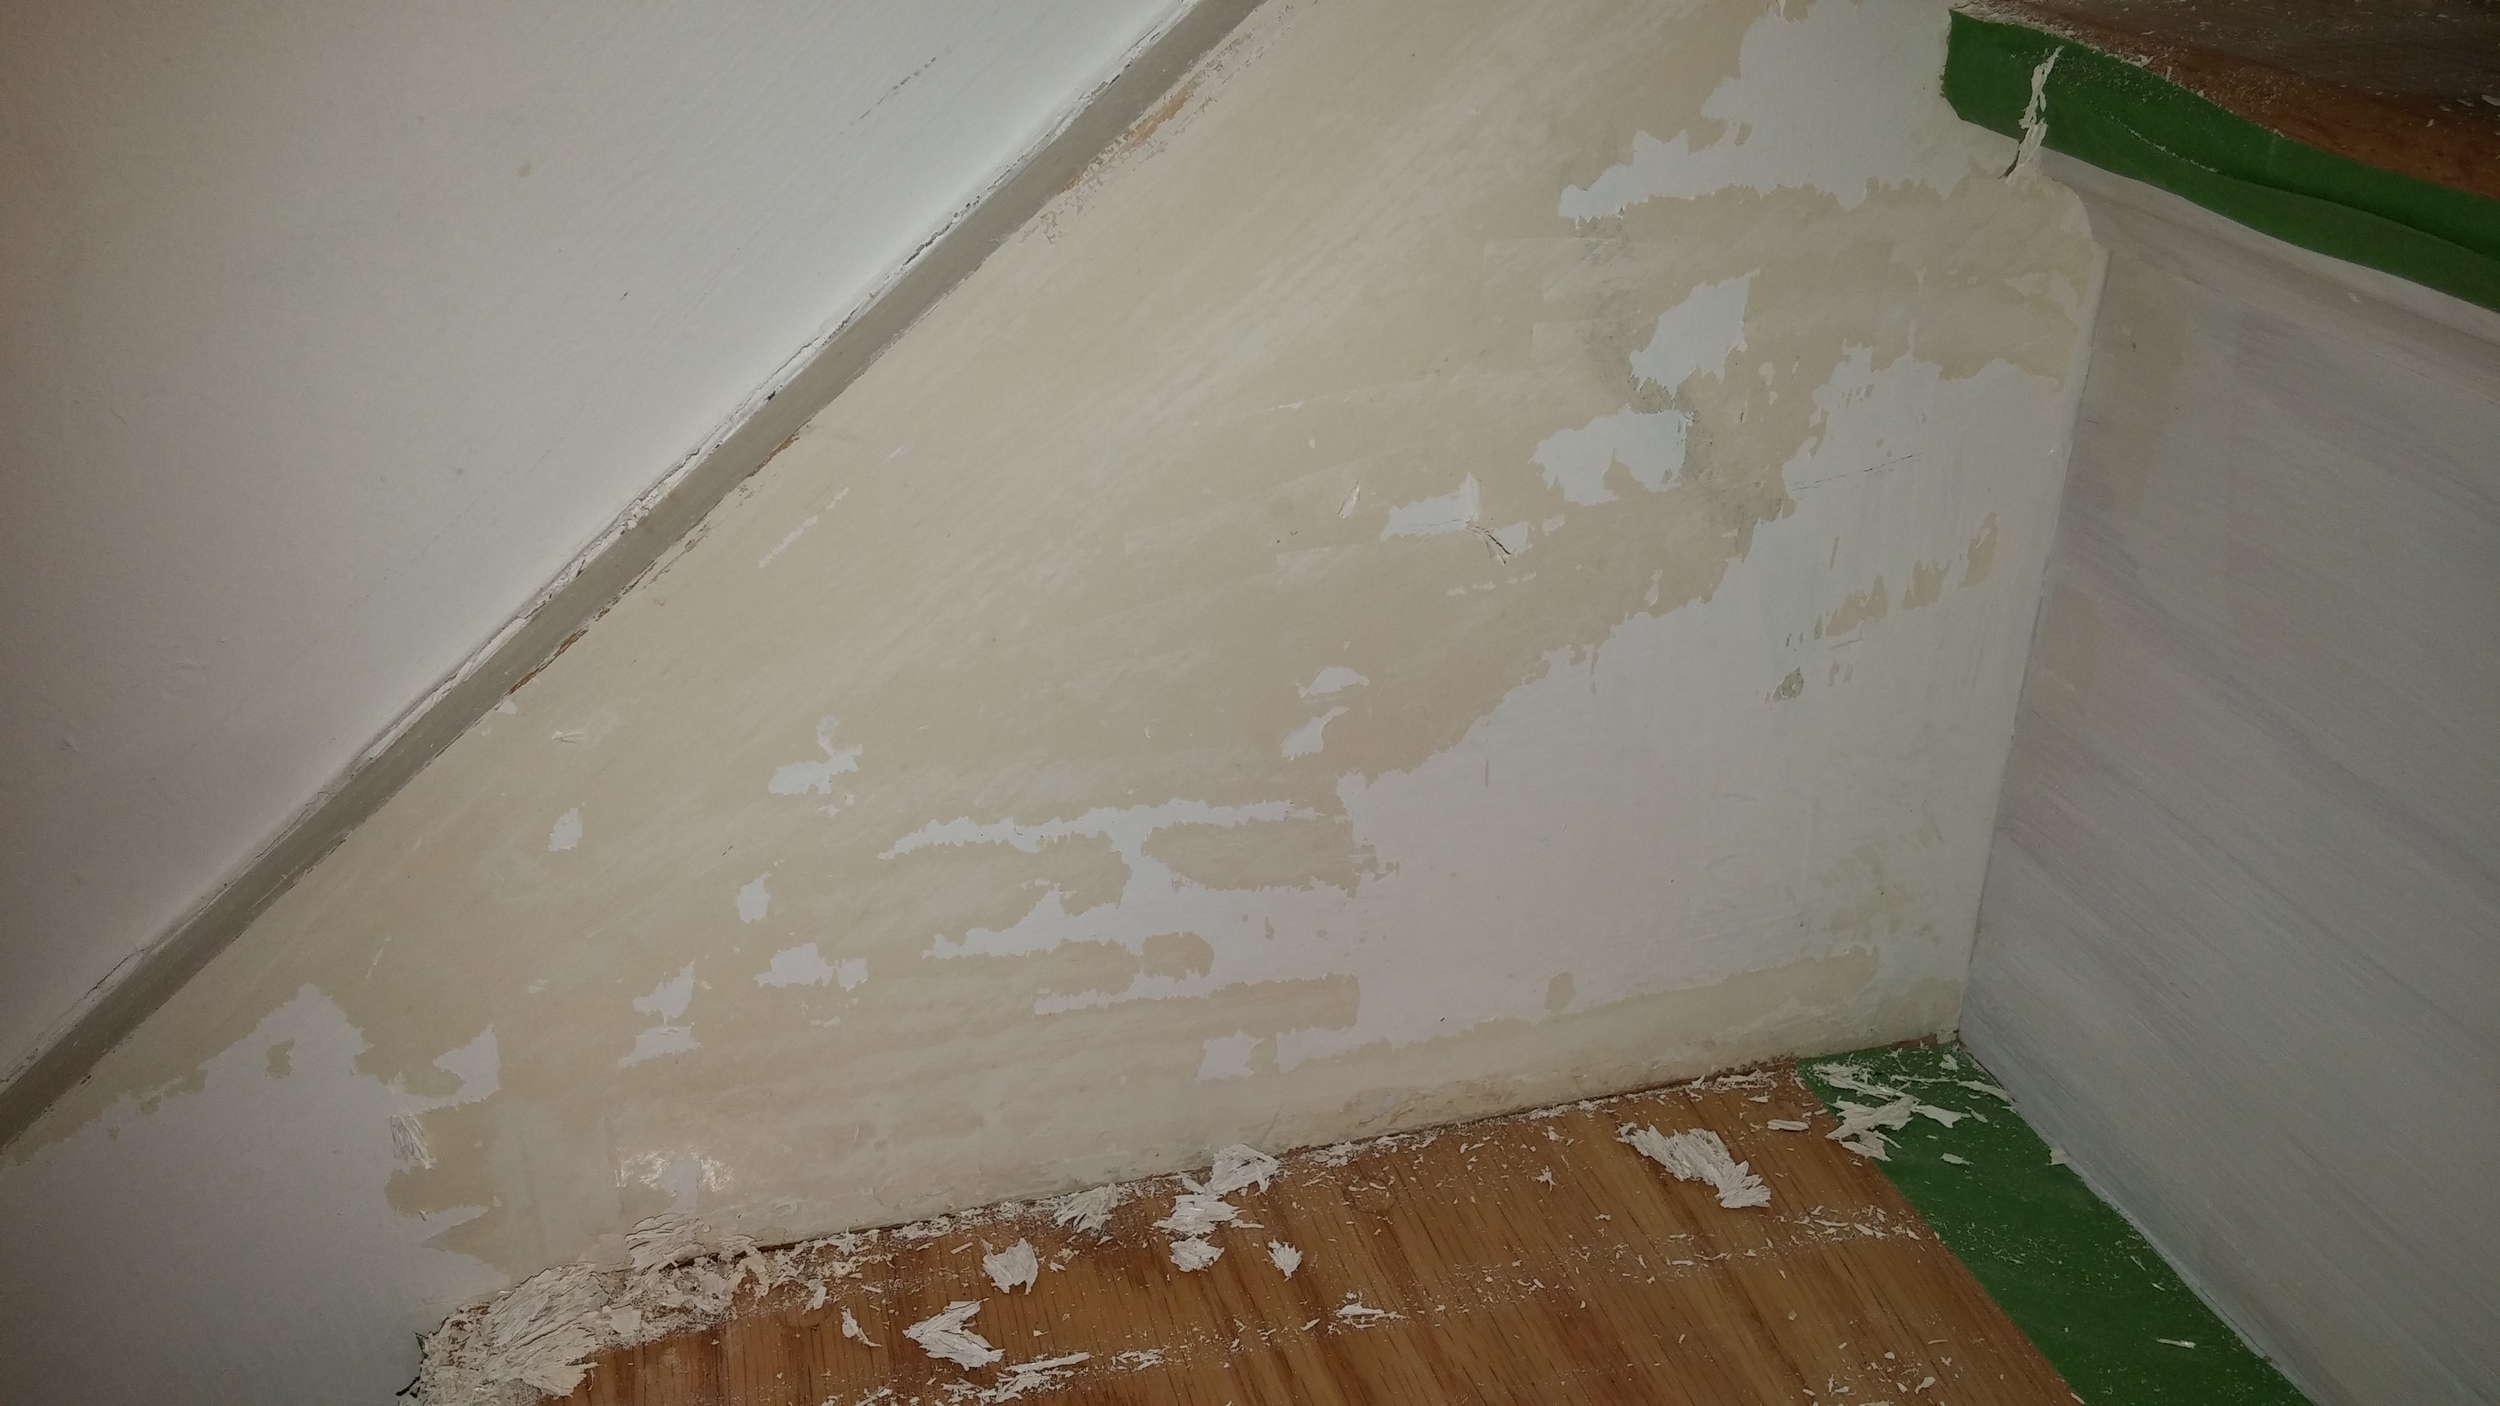
In the bedroom, where the wall meets the ceiling, all of the joint compound tape, was failing. The ceiling was slanted going from about seven feet to about 12 feet. There were also several areas in the hallway and bathroom that had failing joint compound tape. Plus the room was full of furniture..not easy to move around in.

Before any paint was put on the wall the joint compound had to be fixed. This involved removing the old tape, sanding the ridge resulting from the removal of the old tape.  I am not sure if all painters do this step, and I generally only do int on corners.  I find it often very hard to apply the new tape without applying too much mud. I also had to add the additional step of putting Durabond into the gaps between the wall and the ceilings. This job was very similar to a job that I did in the fall of 2014.  You can check out the blog on this job here. The gaps were most likely the reason that the tape failed. Once the new tape and mud was applied everything had to be cleaned, then sanded. All of the new joint compound had to be primed before it was painted (no paint in primer in one will not work). On the ceiling areas that were primer were painted with ceiling paint, and then the entire ceiling was give a coat of Benjamin Moore 508 ceiling paint...great paint...usually one coat will do.  All of the trim was give one coat of Benjamin Moore Advance semi-gloss.

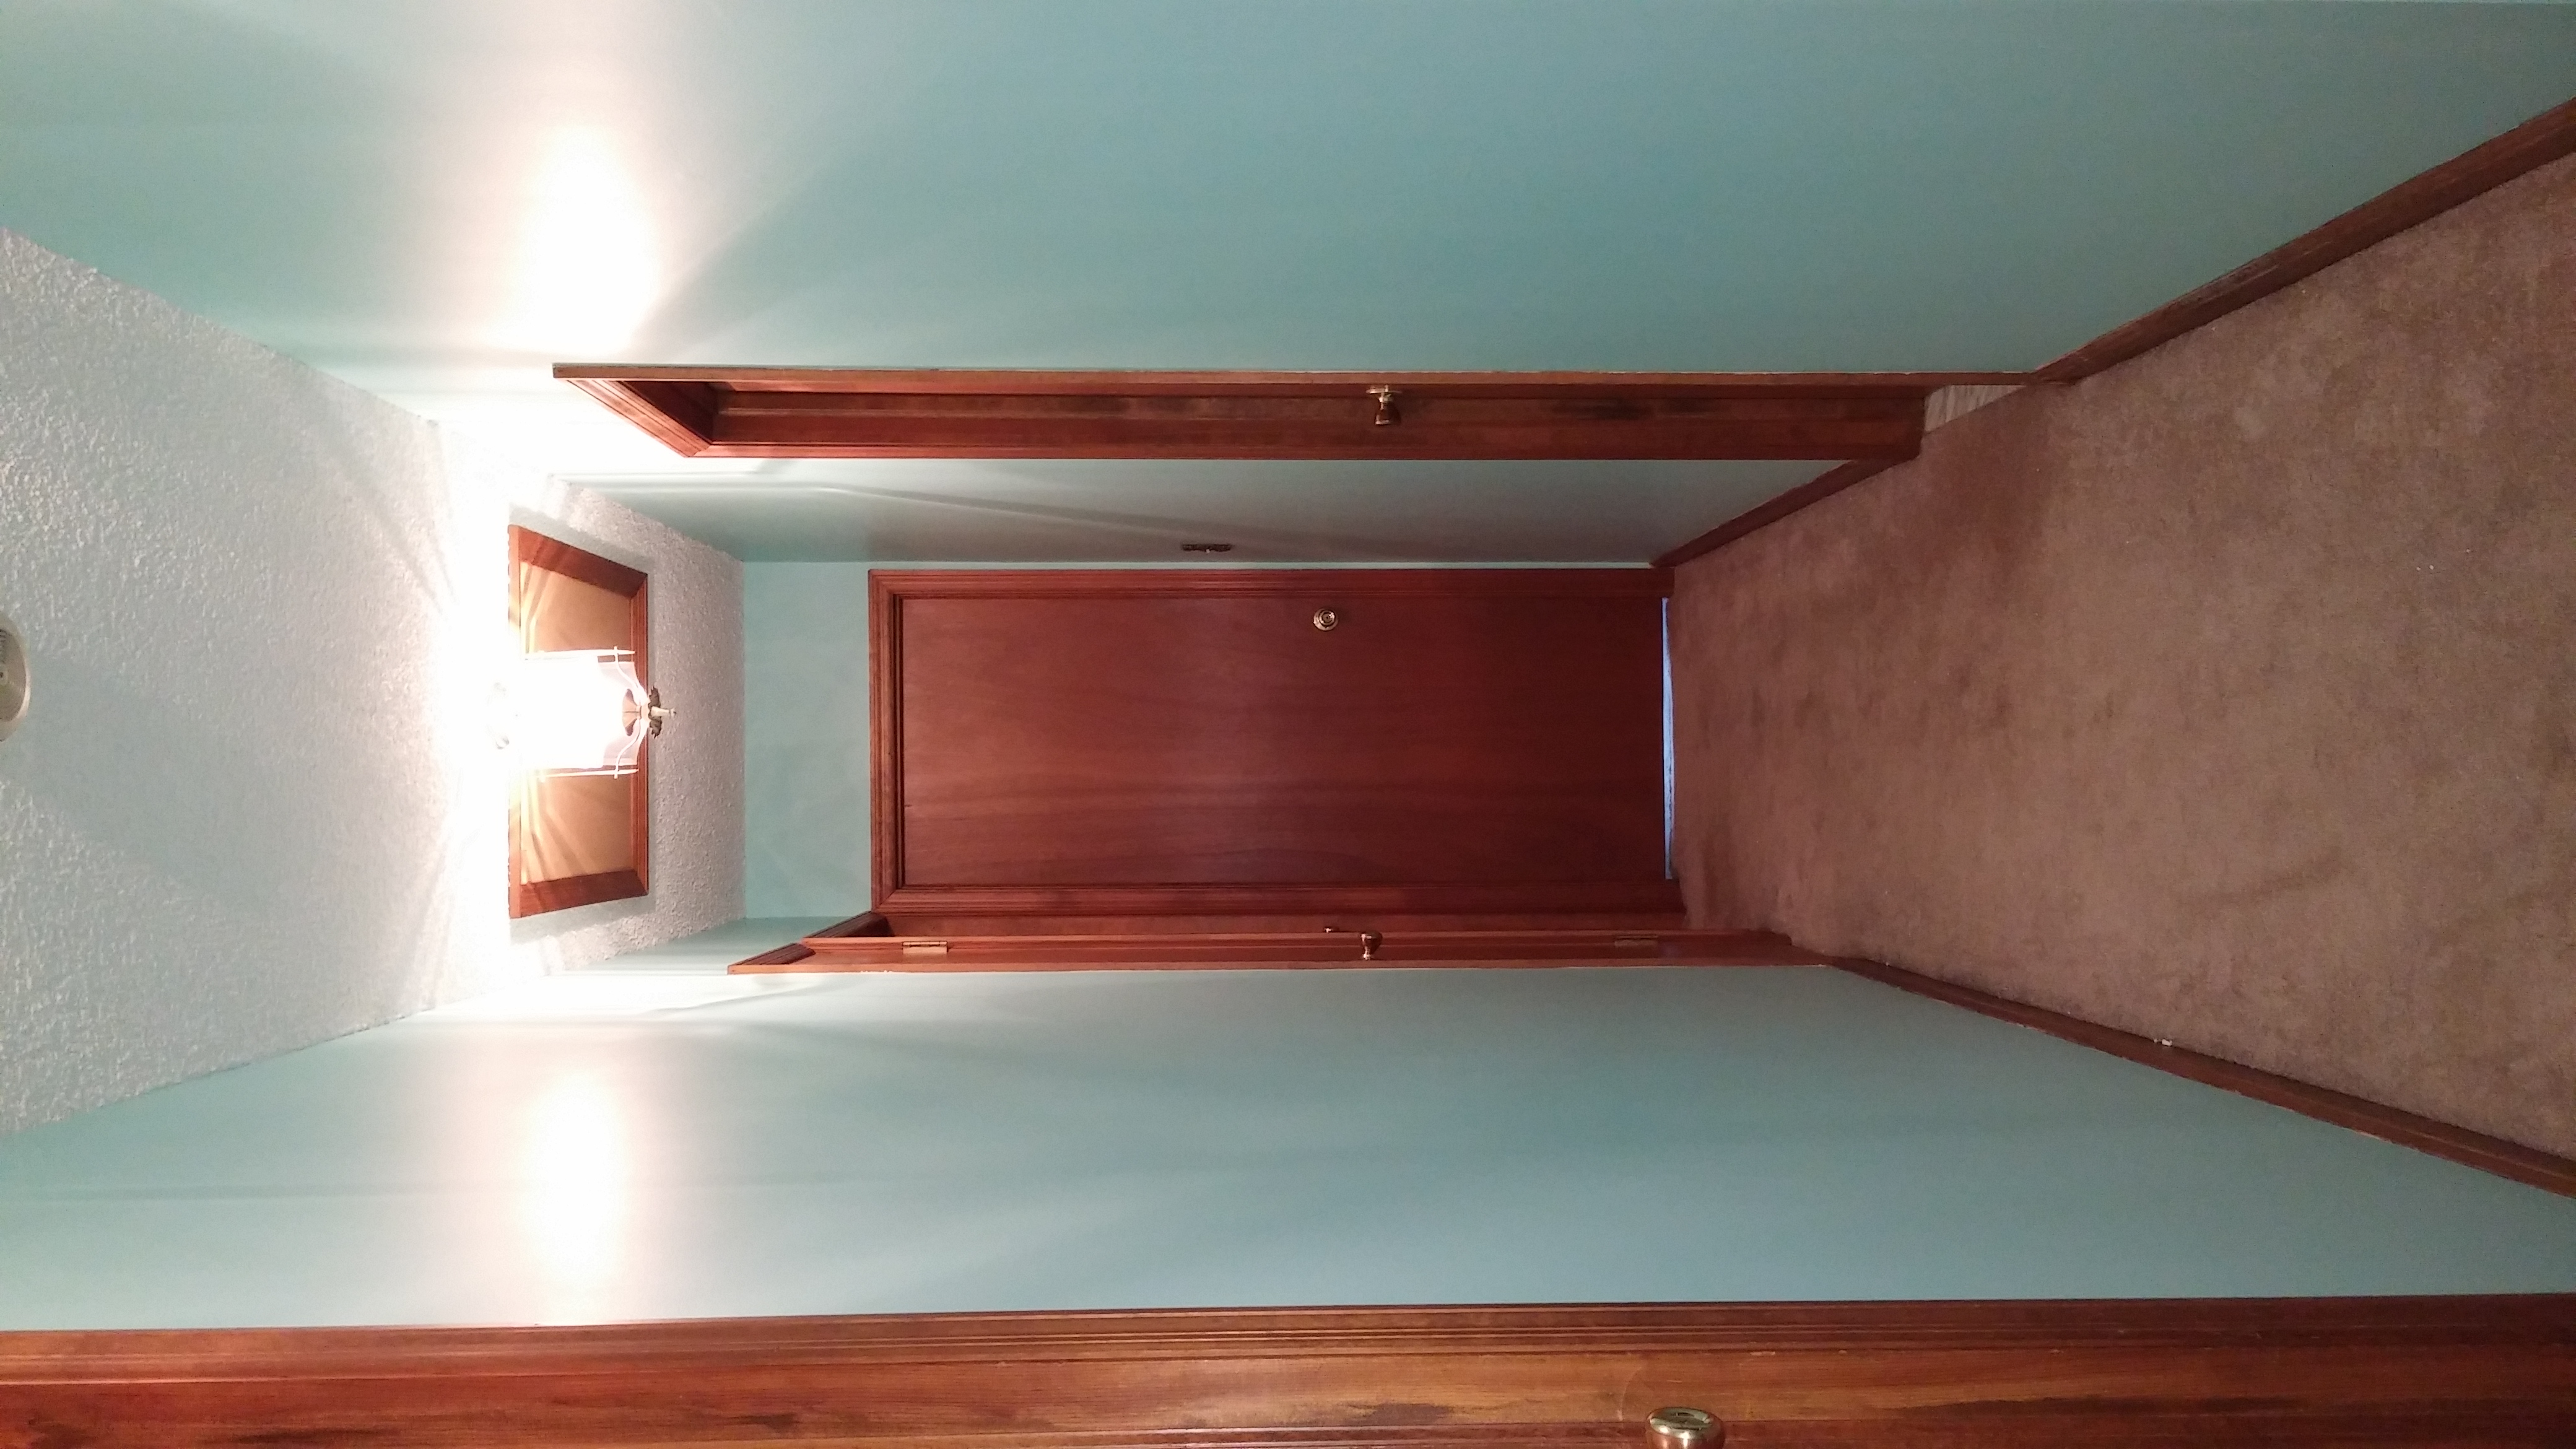
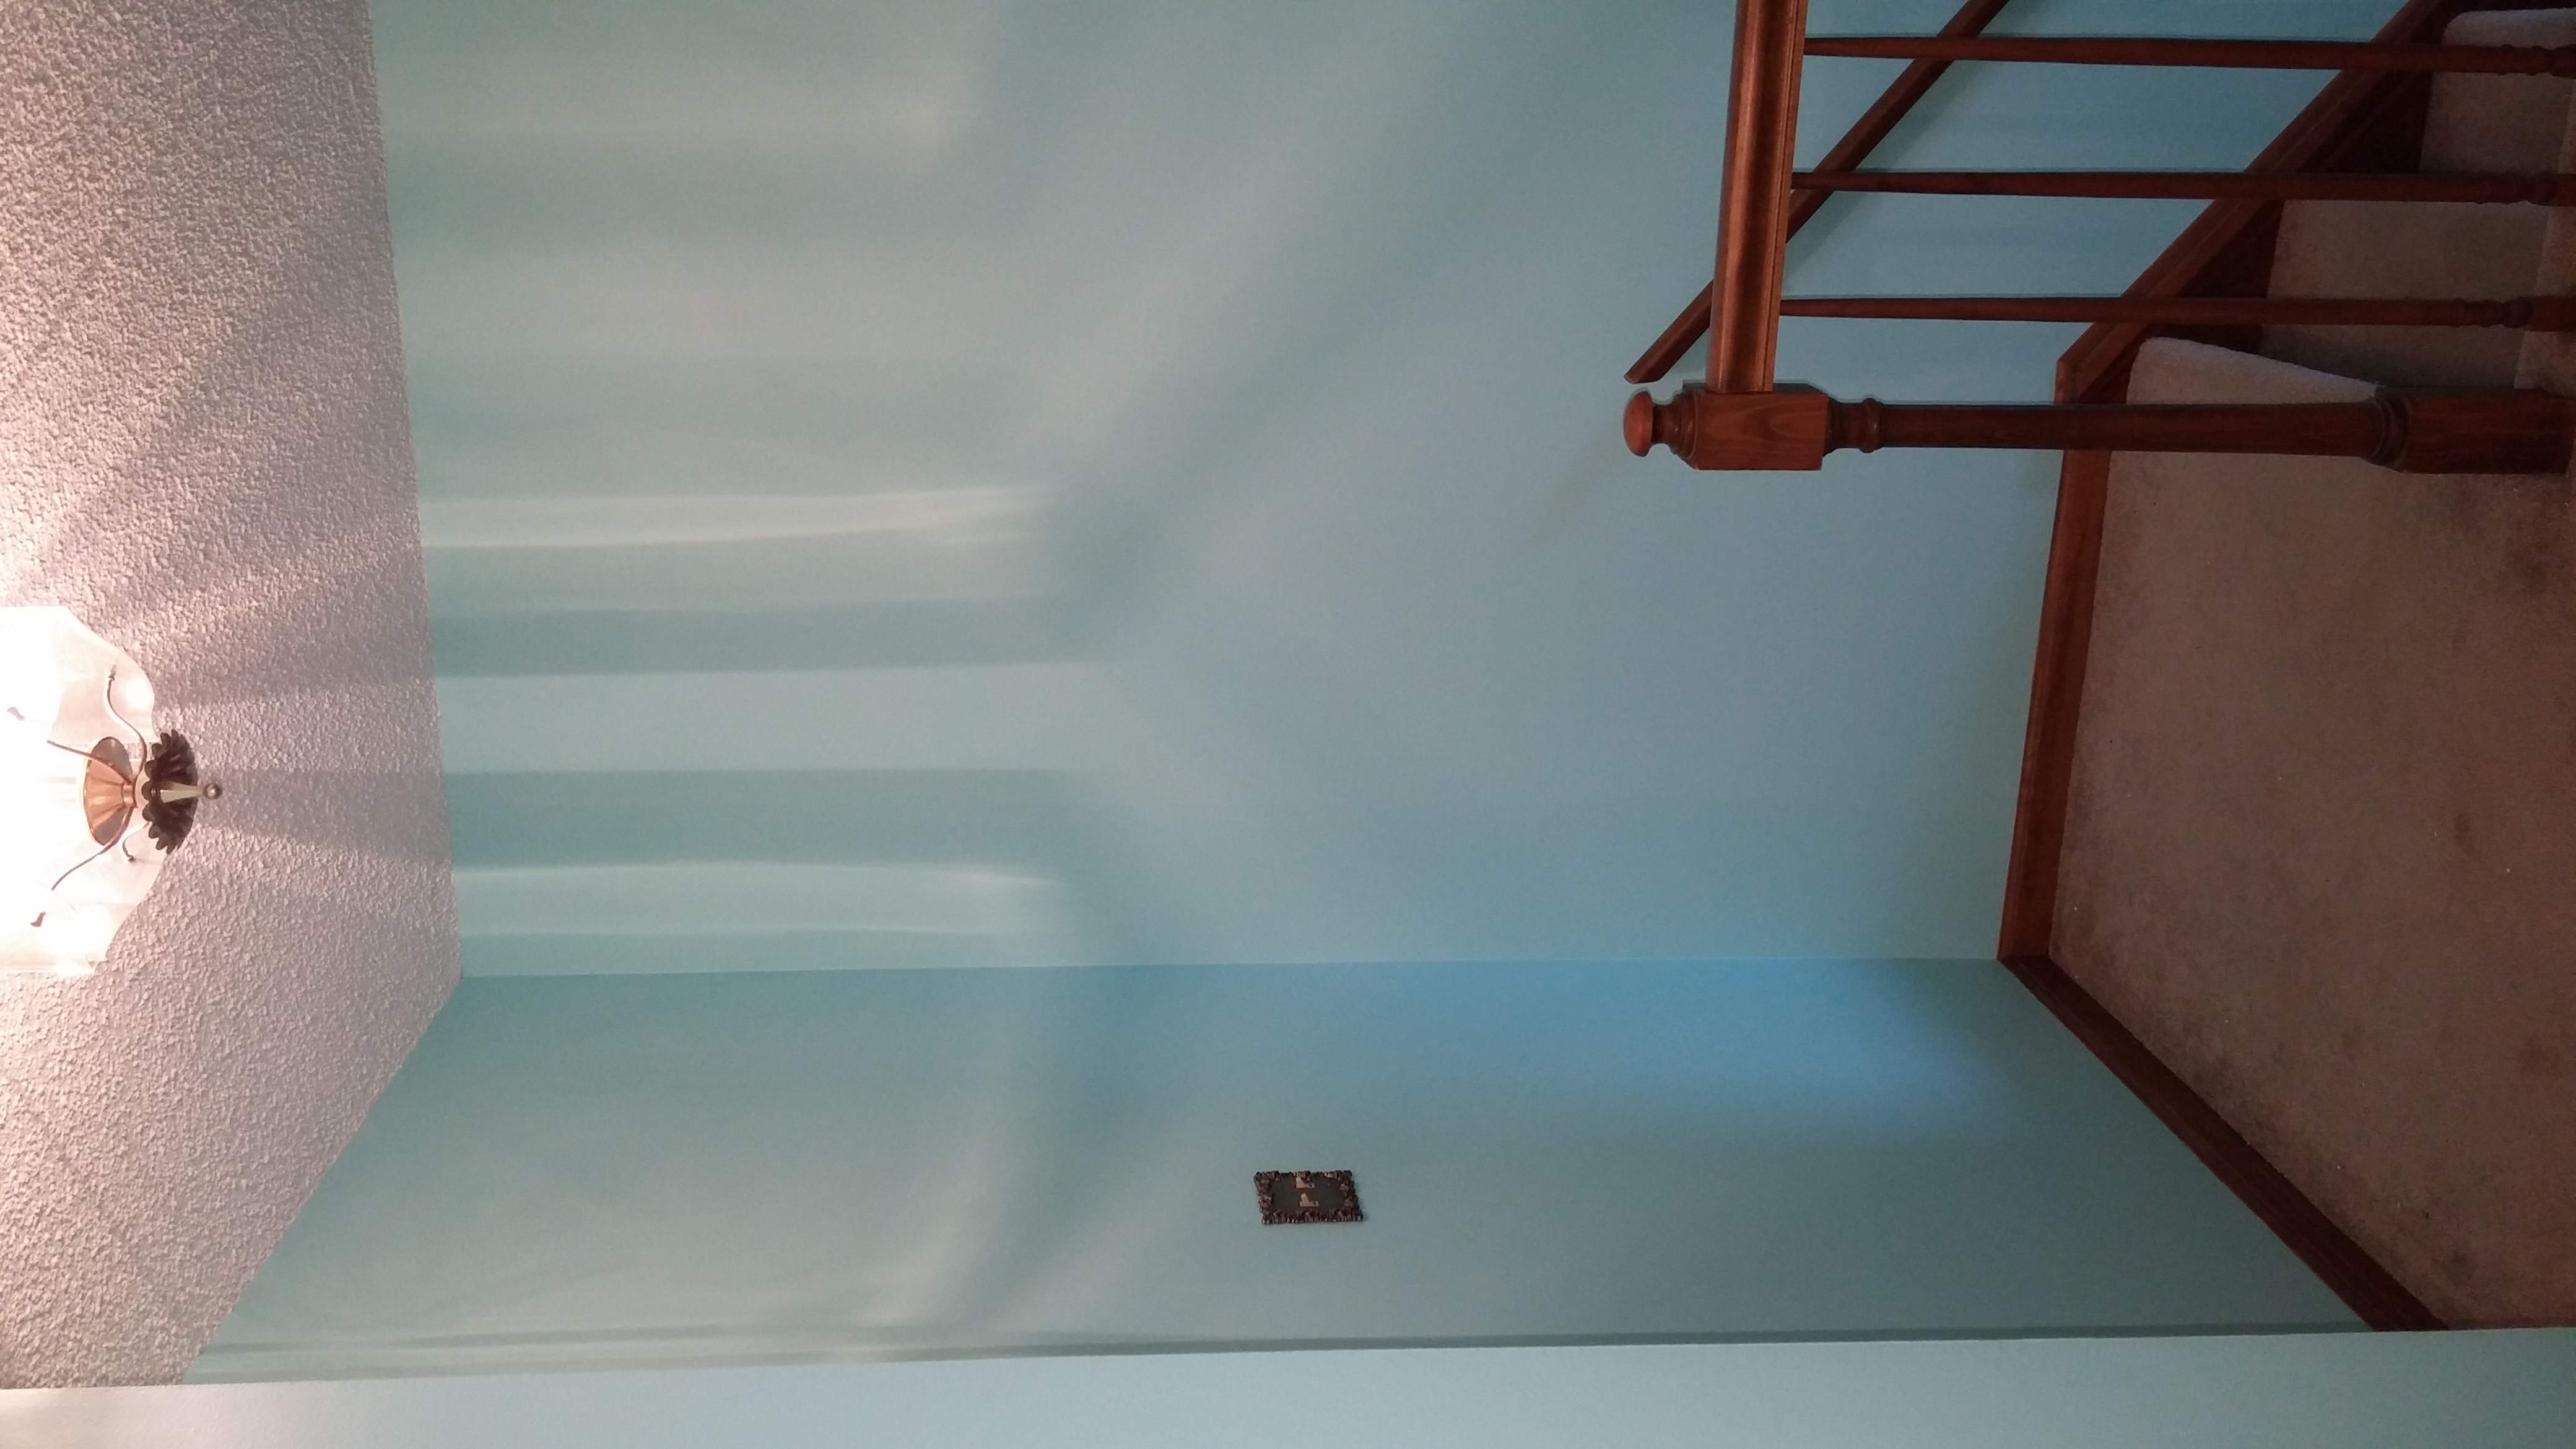
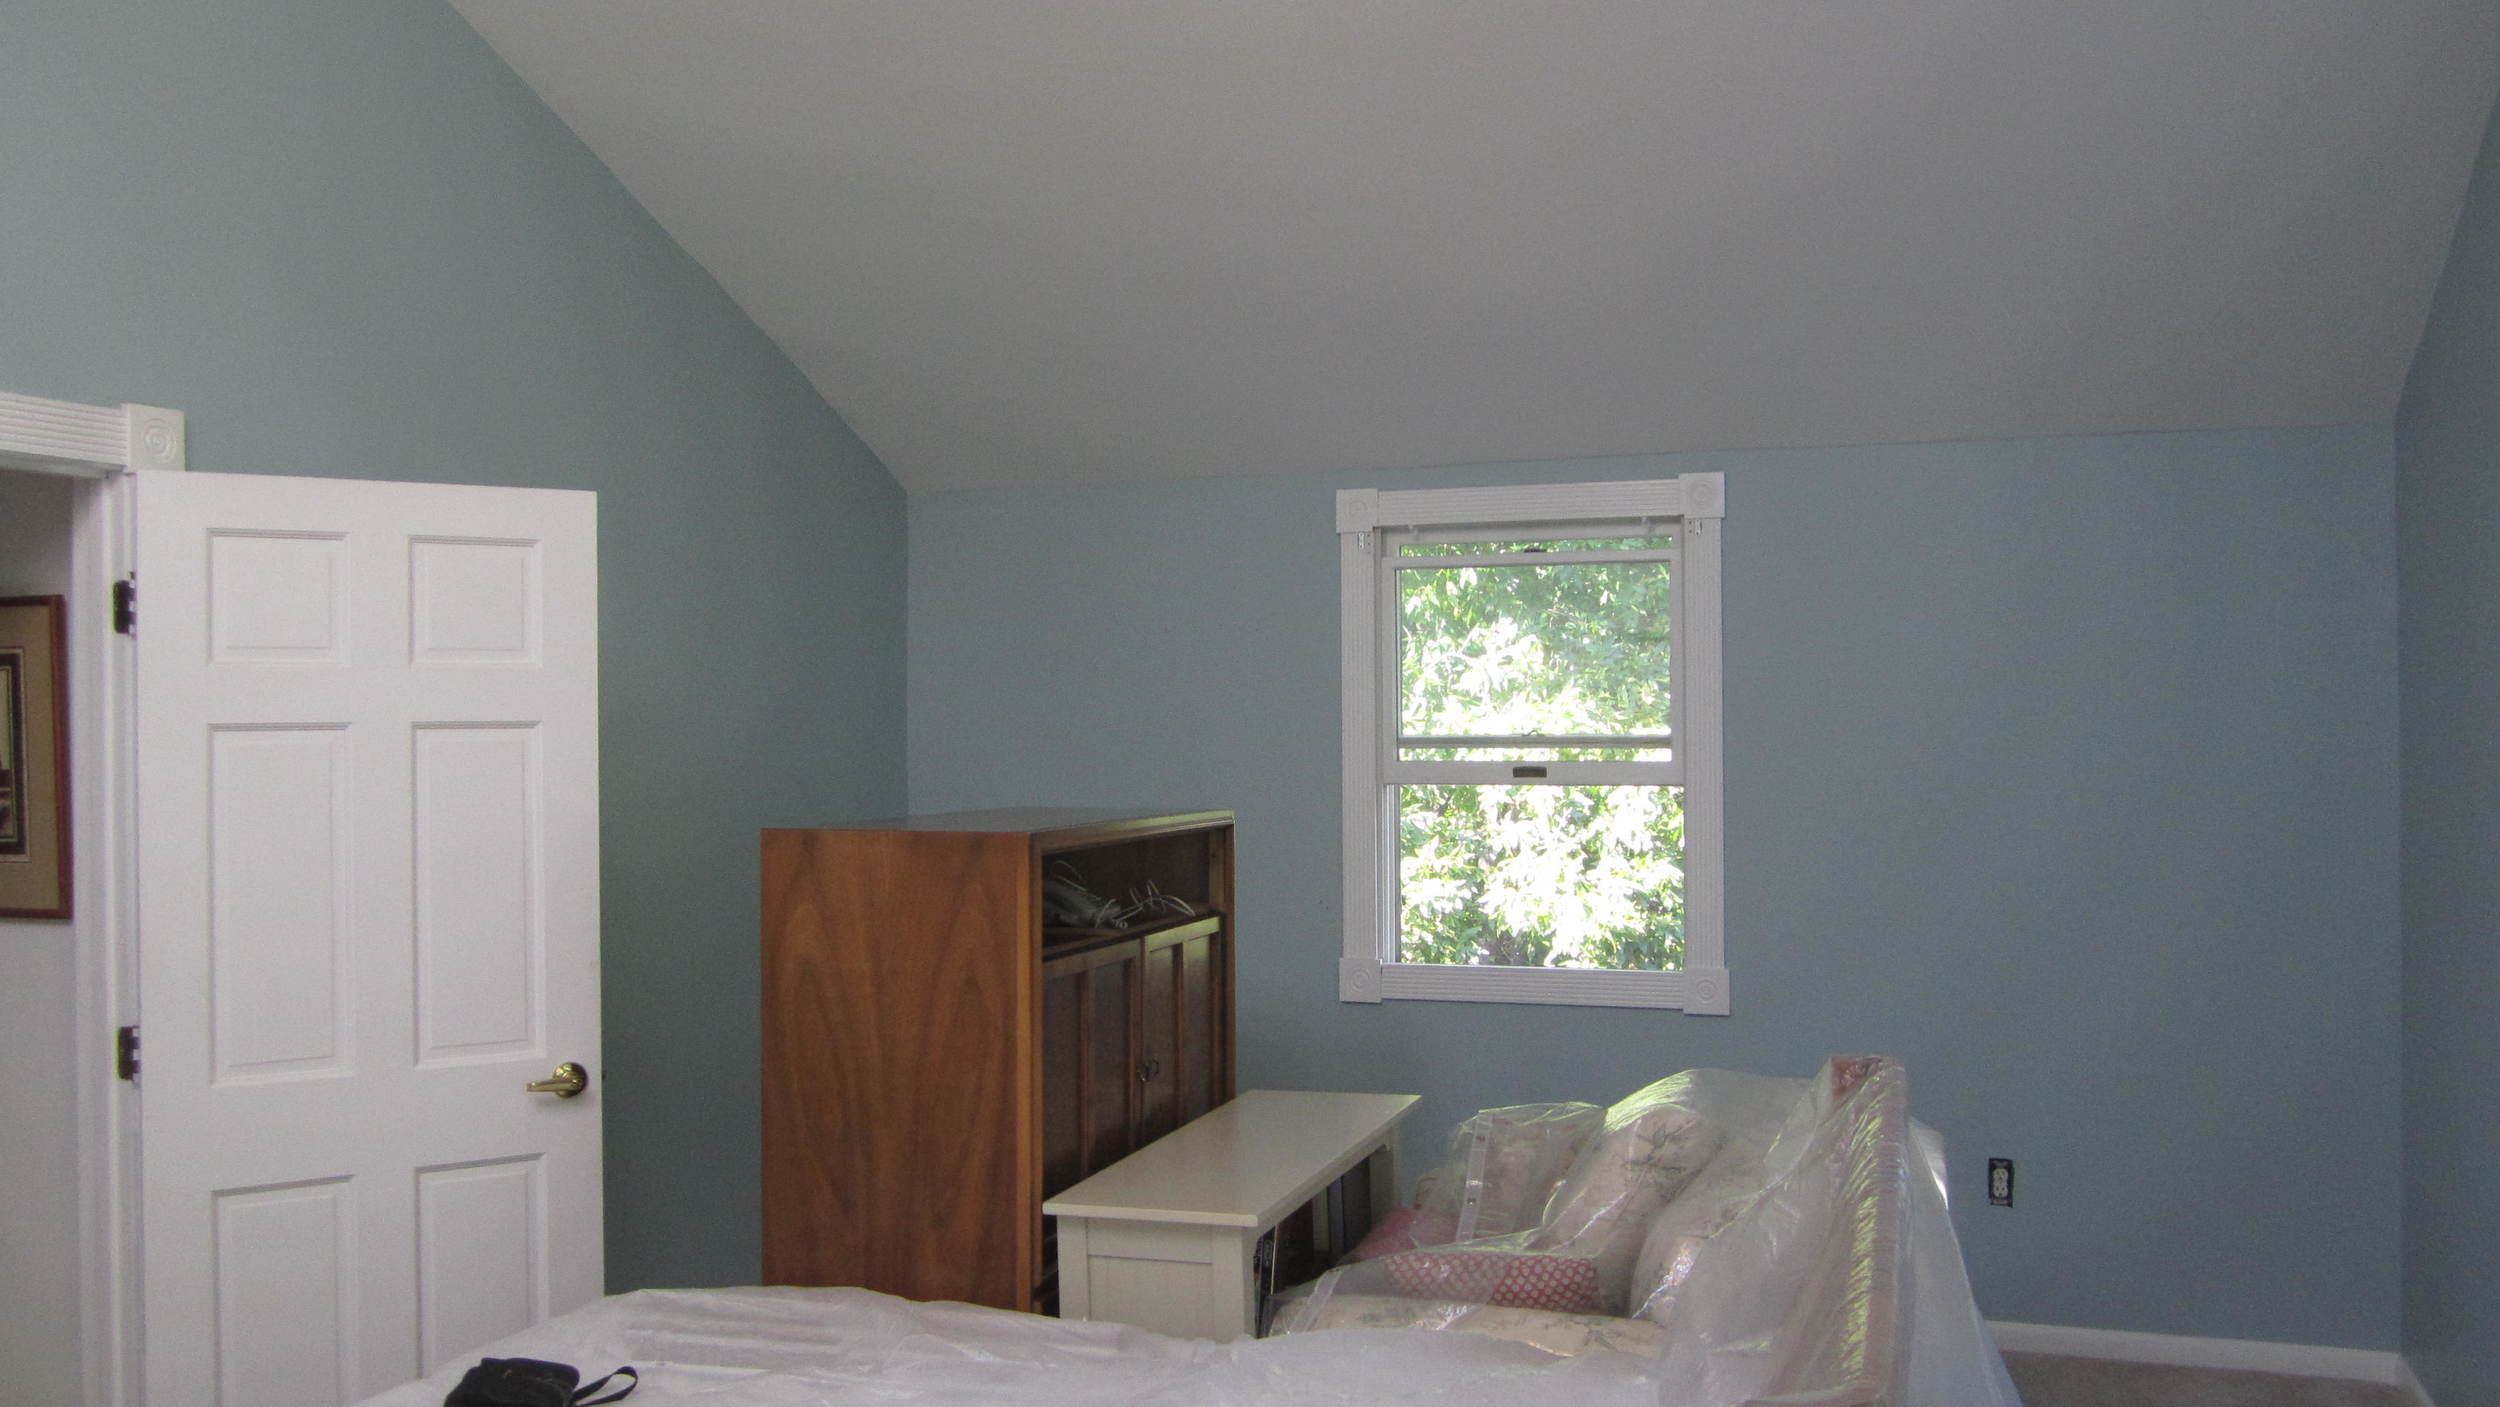
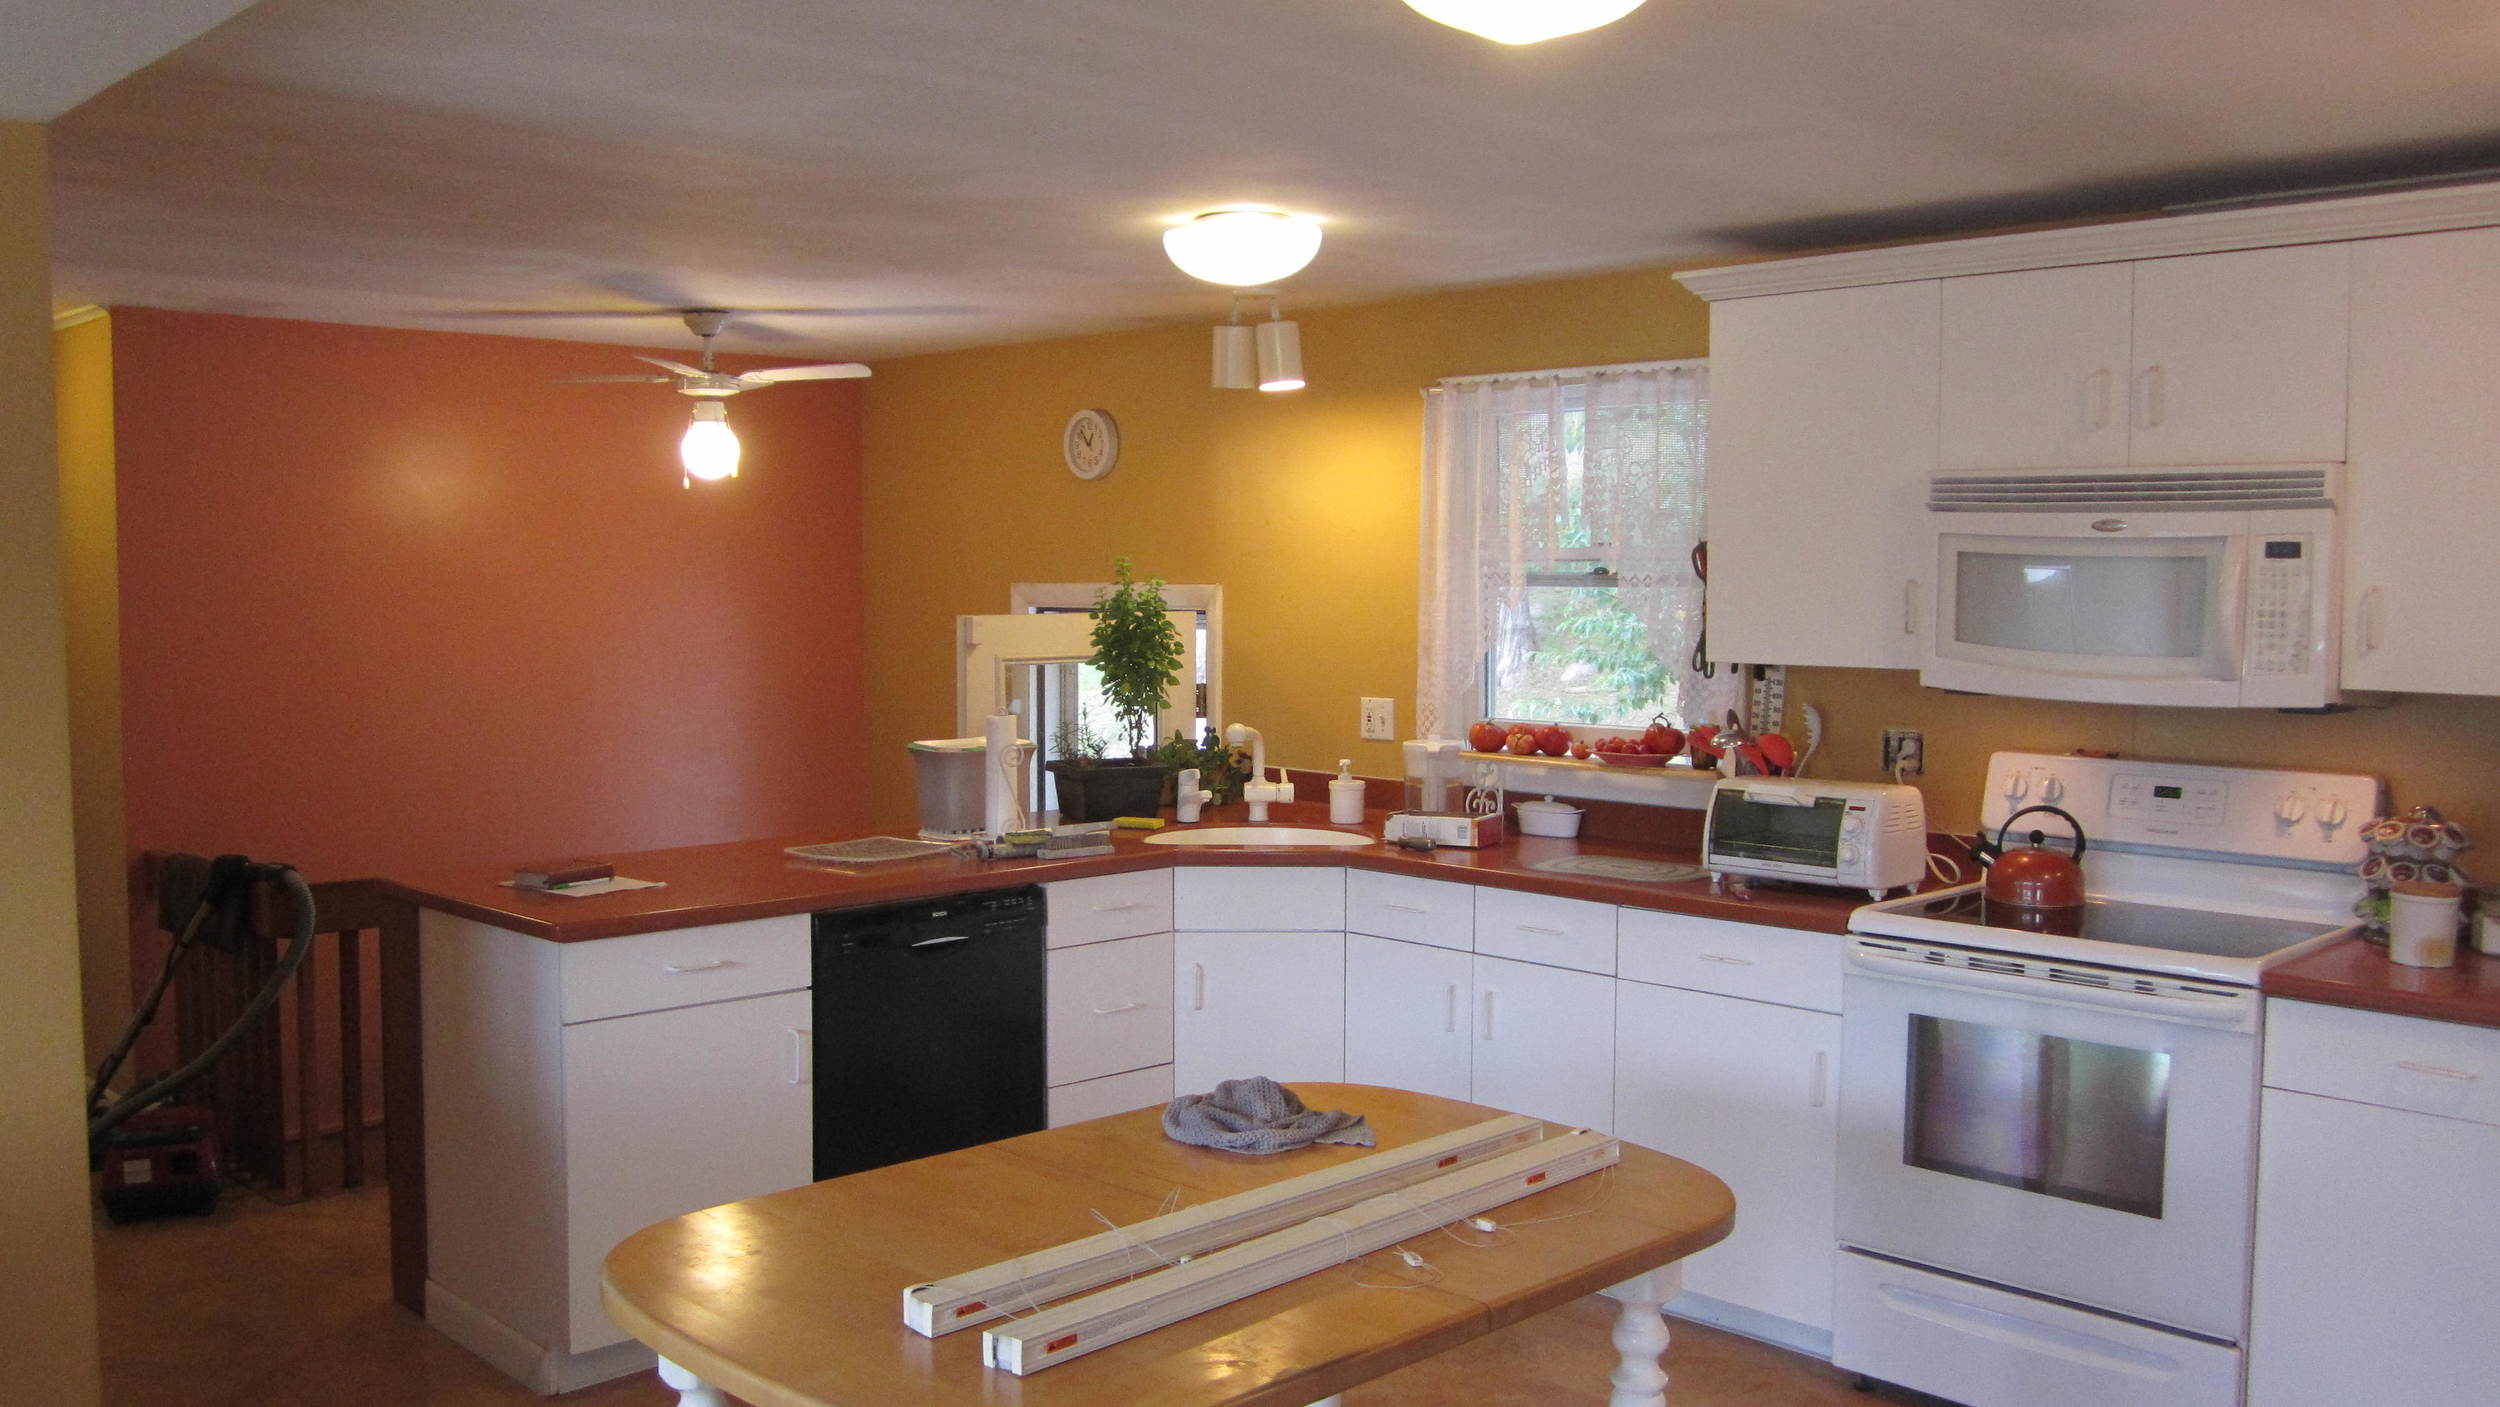
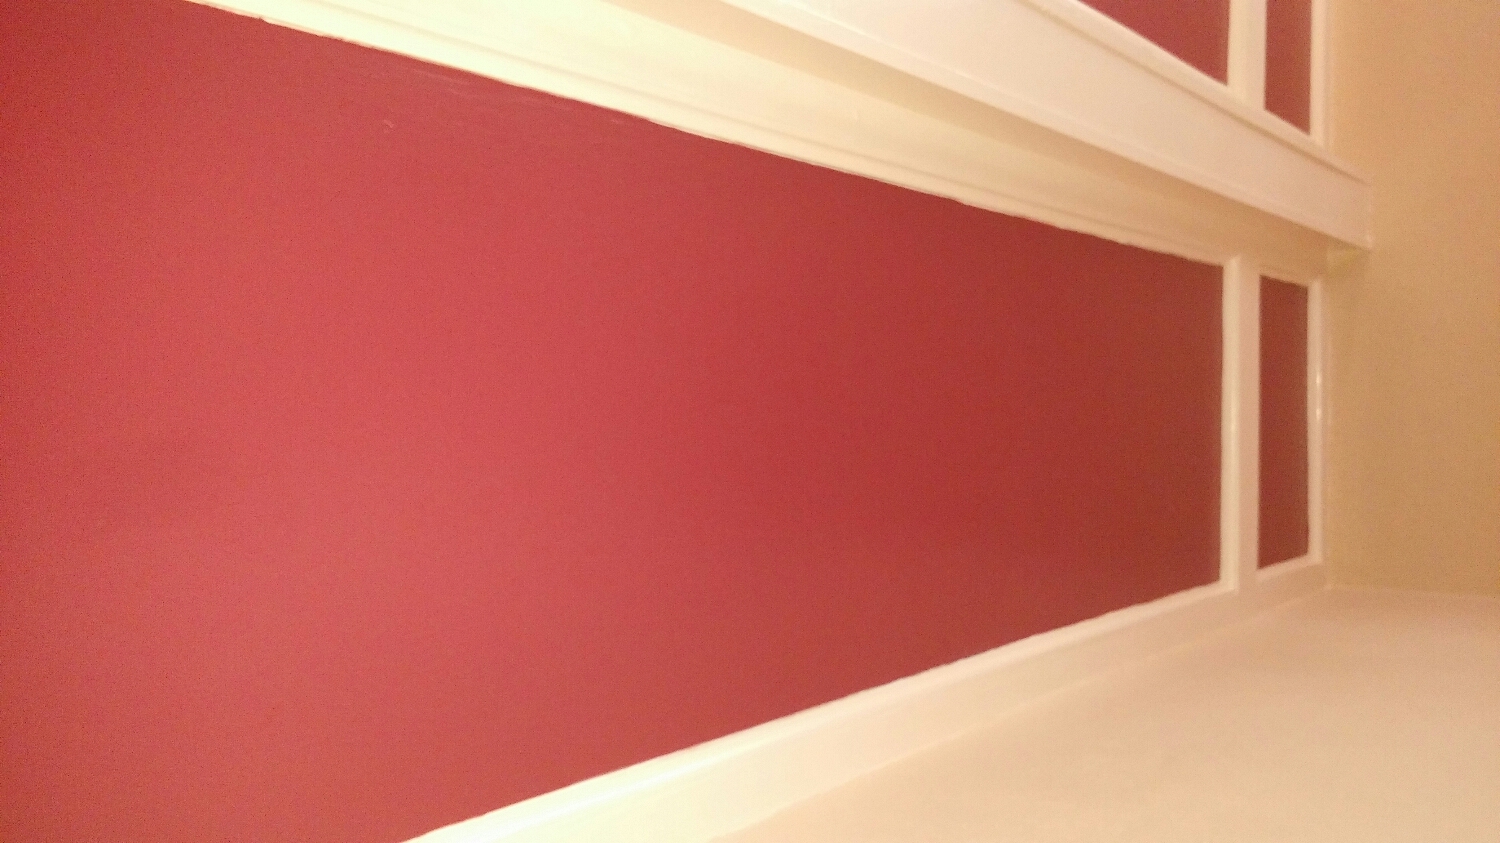
All of this work took me about 5 1/2 days.  then the walls paint went on.  I am not sure of the total surface area...I usually guesstimate and adjust the price of paint based on what I used.  The first coat in the bathroom and hallway took one gallon, so I am guessing the wall surface in was about 800 square feet.  I put on the paint on the largest of the walls before my morning break, and the the homeowner looked at it after it had dried a bit, and she did not like the color! Obviously, I had suggested to her that she might want to try a color sample, but she said that it was not needed. 

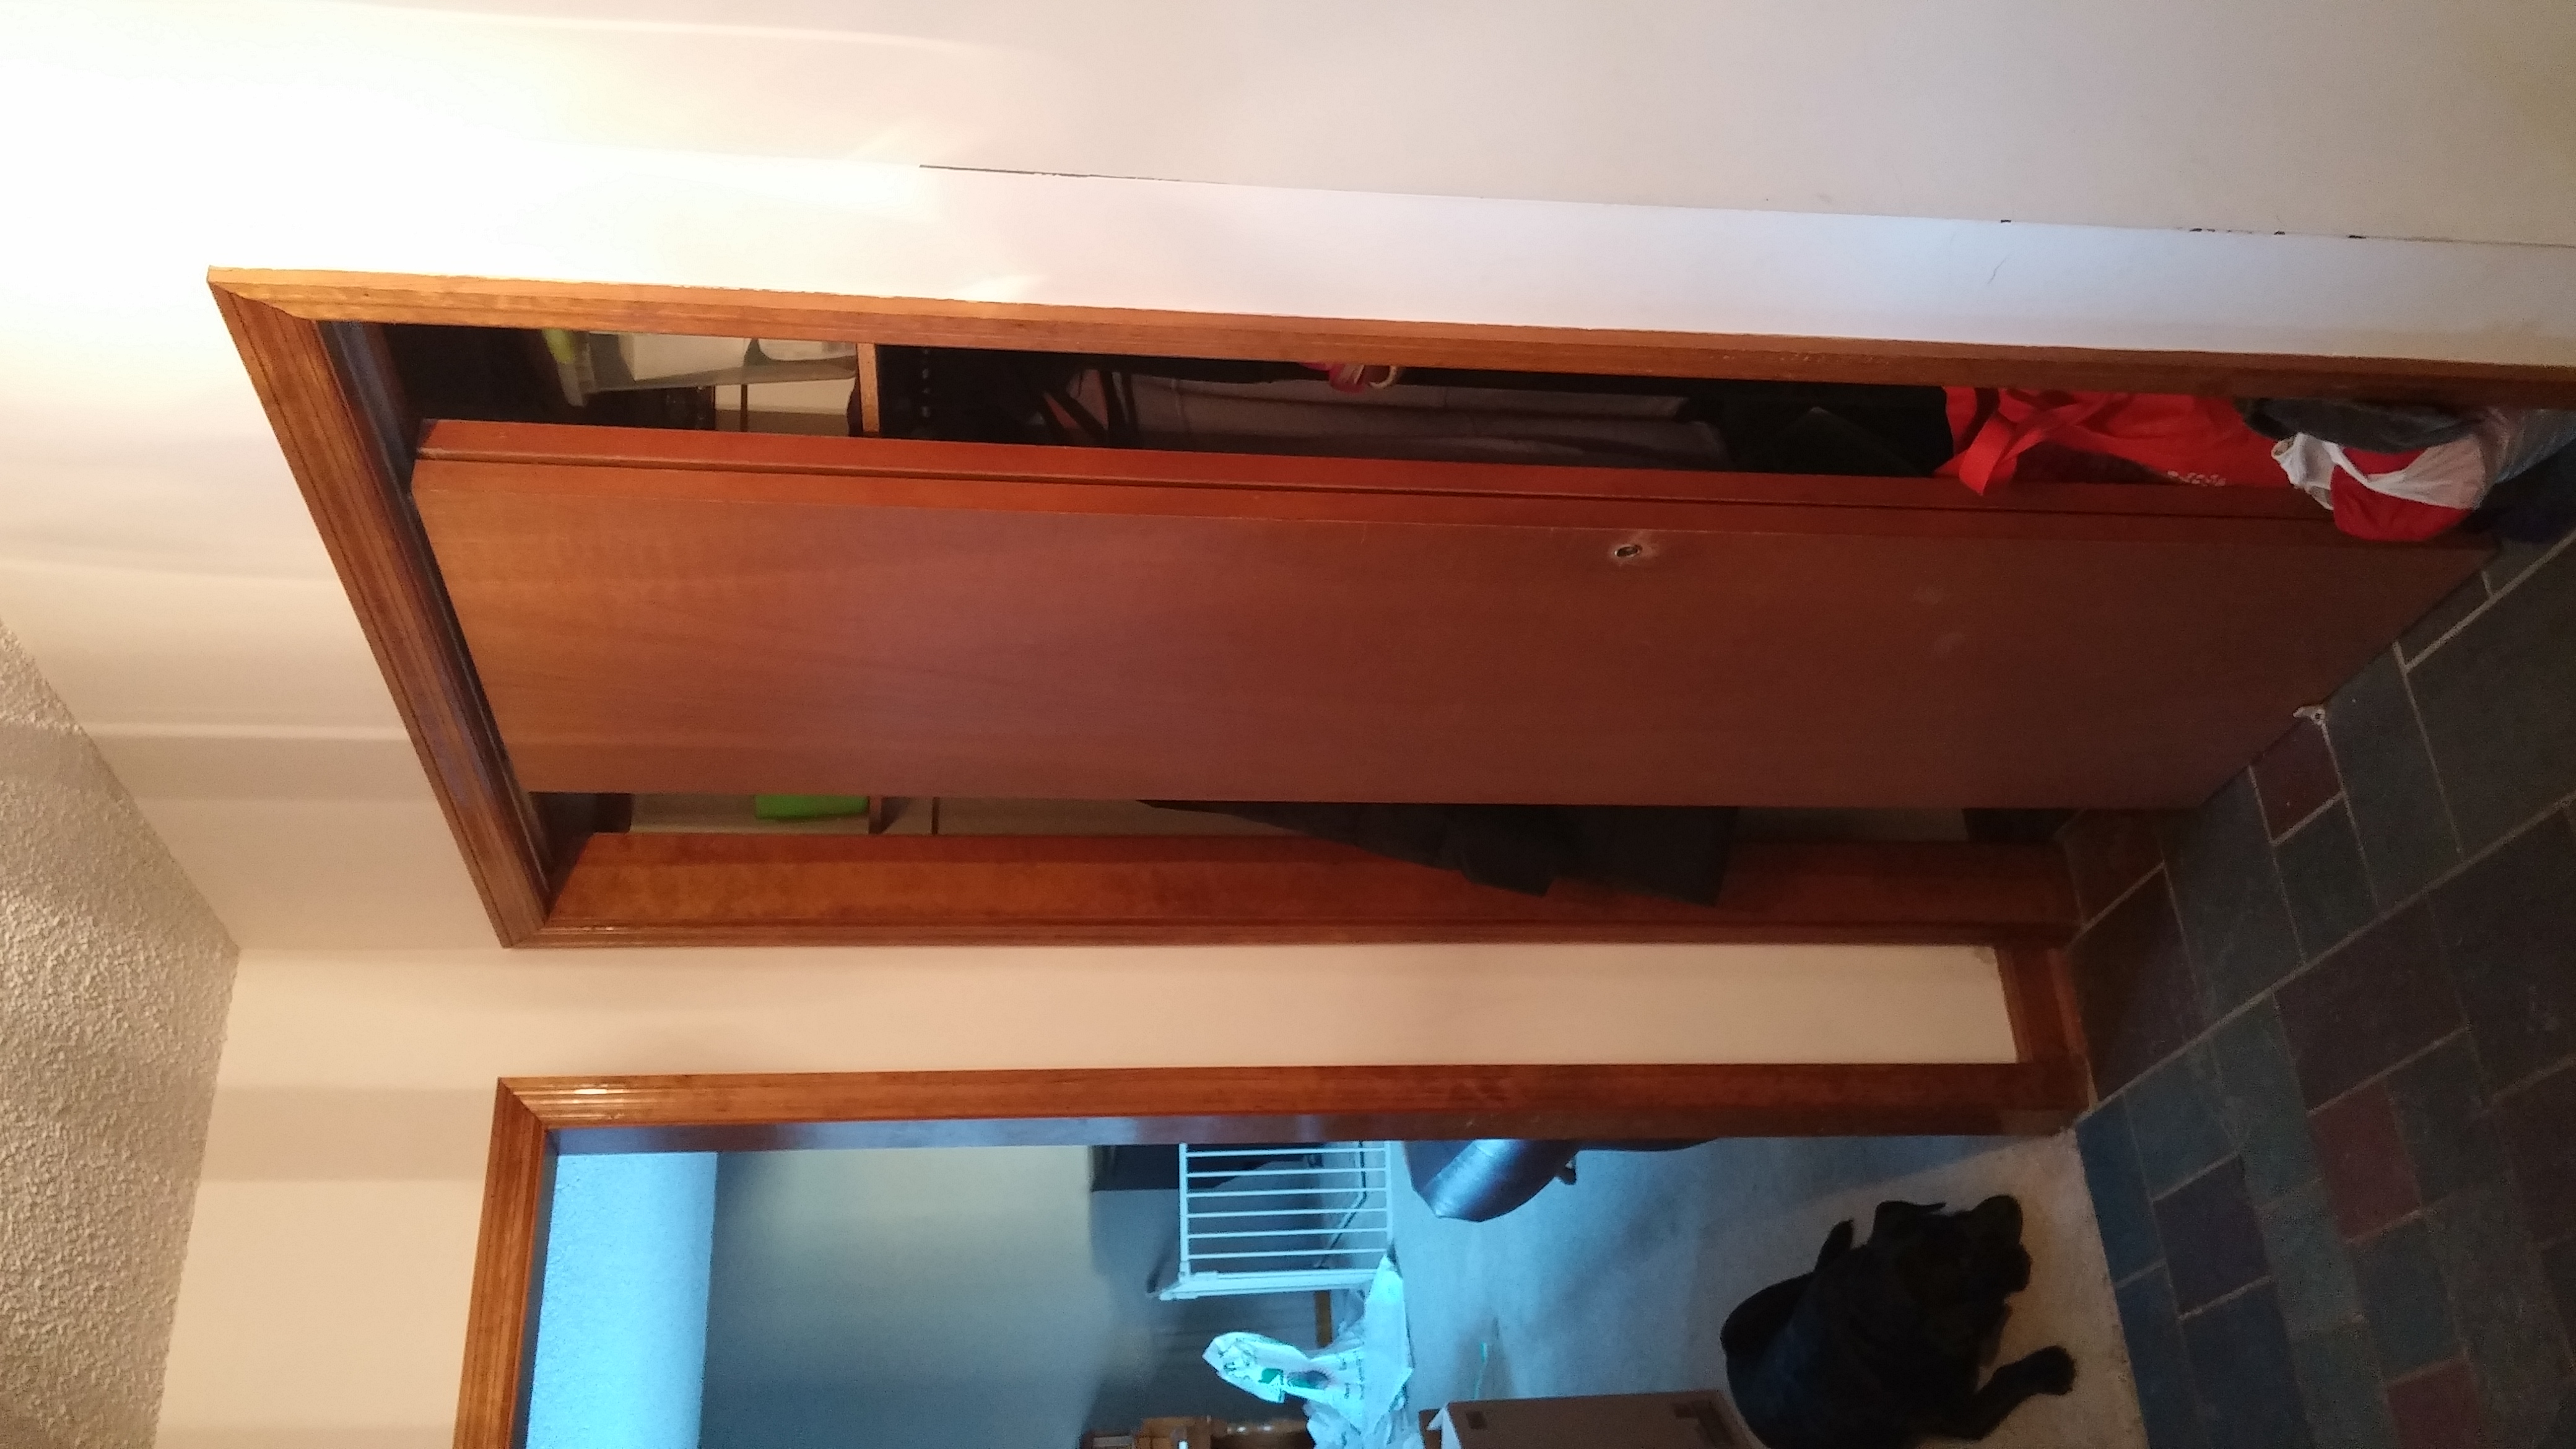
The home owner commented that she thought that the color would be darker, and it was a bit darker once I applied the second coat, but still not as dark as she thought it would be.  When first viewing the color she told me that she would get used to it.  And, I did go back several days later and she told me that she did like the color, and was very happy with the way the job turned out. She was lucky.  I have had customers learn that they dislike colors very much after I apply them.  This particular customer did tell me that she still was not overjoyed with the bathroom color, but she would get used to it.

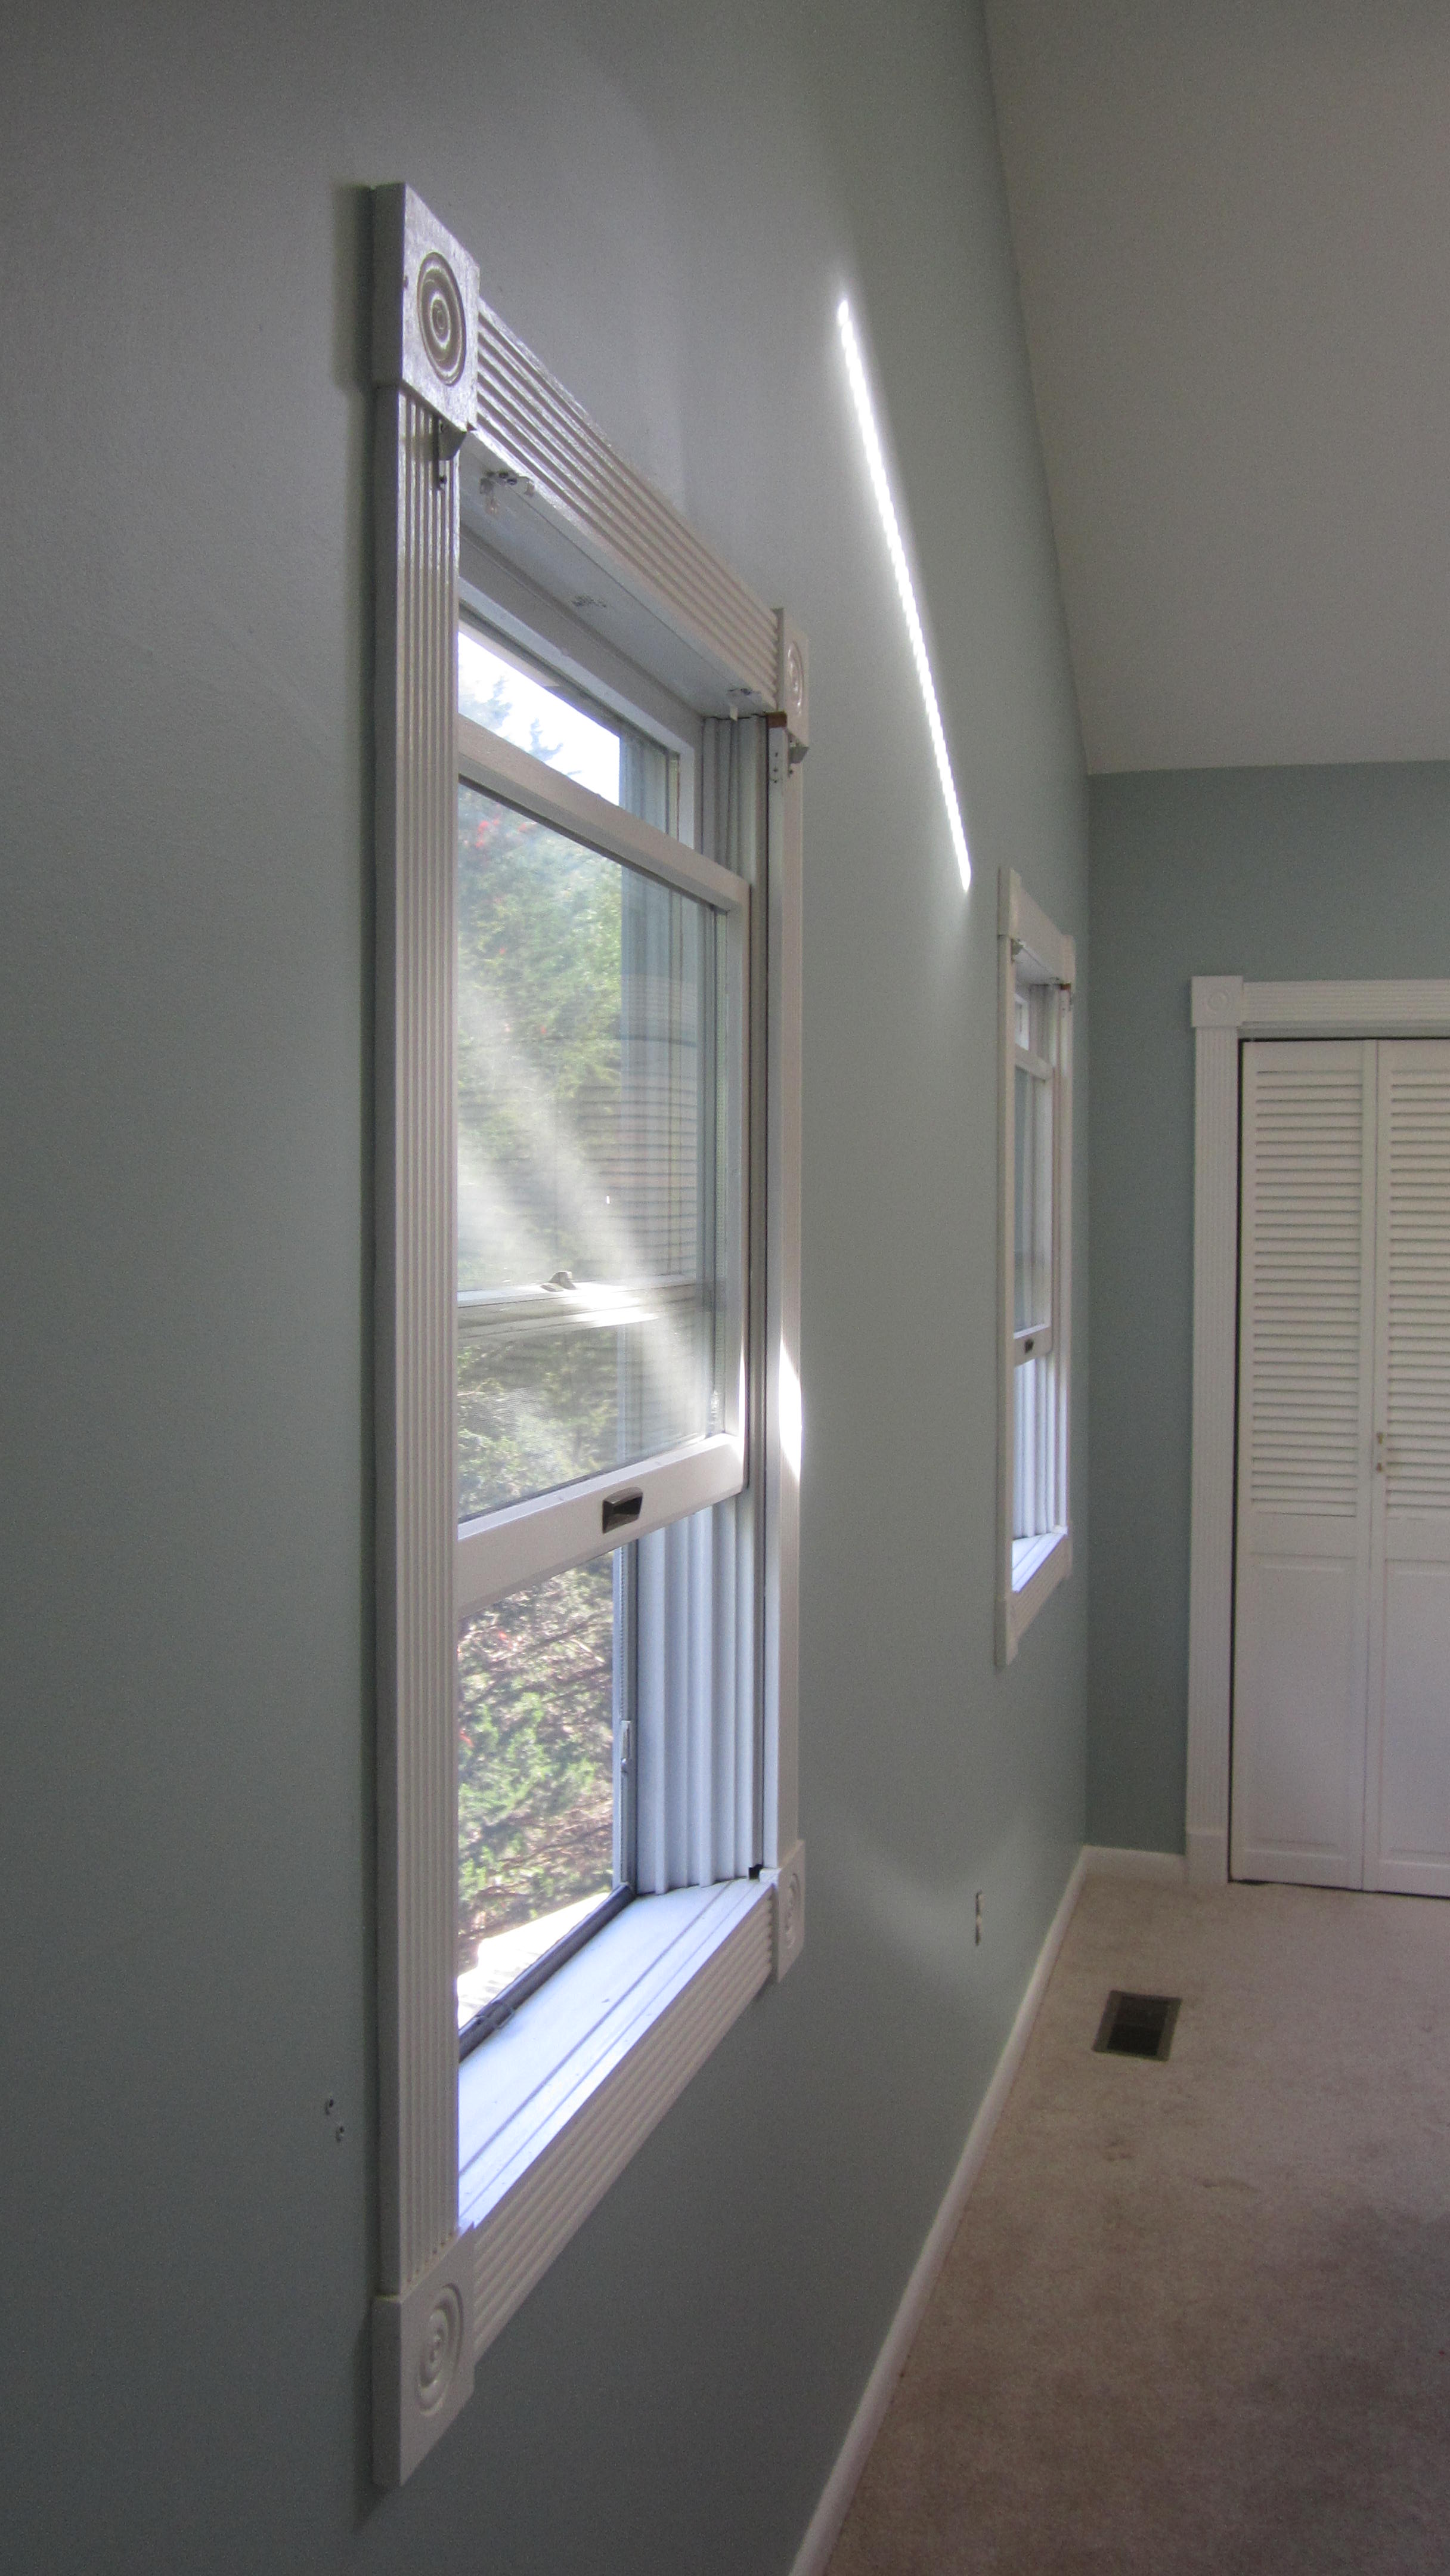
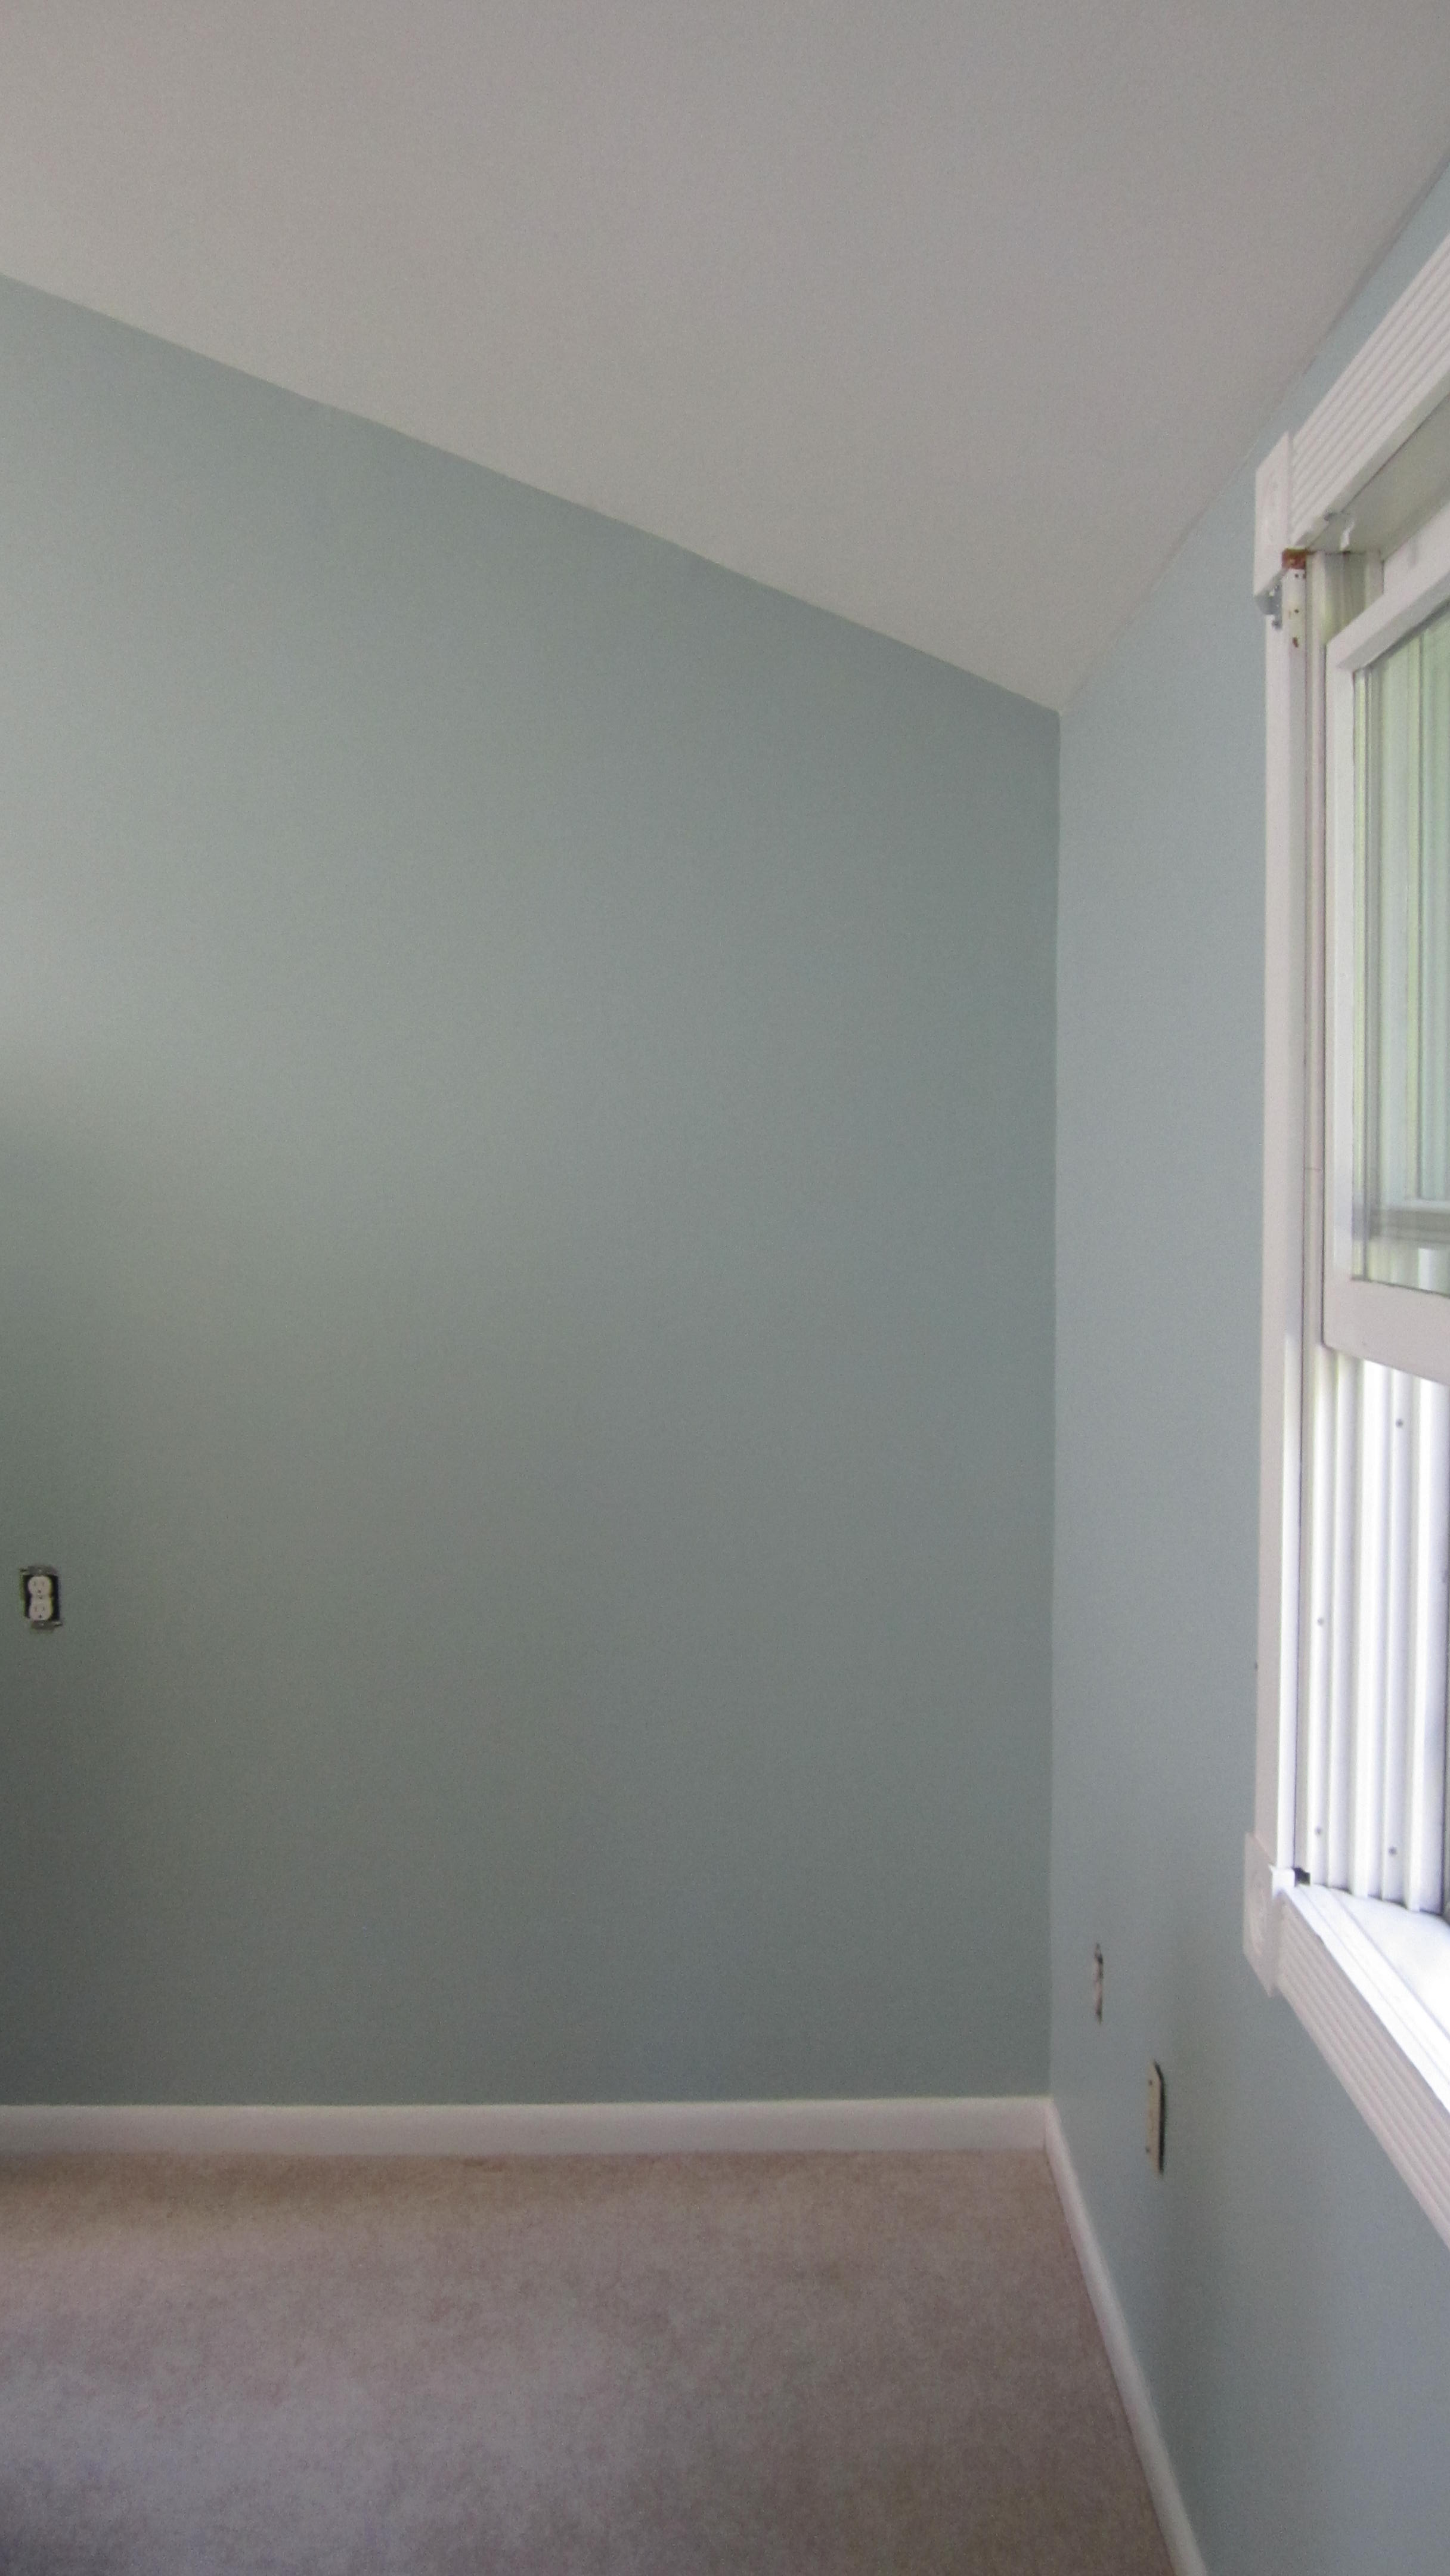
When you factor in the price of labor and materials, paint is a small fraction of the overall cost of most paint jobs. However, if it is not the color you you expected, it can ruin the entire job. And, even though paint is not overly expensive, applying it can be costly.  Also, if you have a very large room that requires several gallons of paint, and the painters bought all of the necessary paint already, replacing it with a color you like can get expensive. Therefore, it is always a good idea to get a sample of the paint that you want to put on the walls. And, put it on several walls.  The walls in the room will not get the same light, and therefore will look different from one wall to the next throughout the day.  It is also best to view the color throughout the day.  The color will not look the same in the mid day light as it will in the evening when the only light source will be artificial light. 

What are you paying for when you hire a painter

I thought that this might be a good time to explain, for those that care to know, what goes into running a small painting company. And then perhaps they will better understand what goes into the cost of hiring a legitimate painting company.

Paint companies are not simply a DIY guys (or gals) that you are hiring to paint your room.  What I mean by this is that painting a room for a professional painter is more than just purchasing a couple brushes, a roller, drop cloths and a couple gallons of paint and then painting your room for a fee.

Painters have a ton of equipment that they do not charge home owners for directly.  When I write up a contract, the expenses that I charge to home owners go into four categories: labor, expenses, paint, and materials.  Labor and paint are pretty straight forward.  The difference between materials and expenses might need a little explanation.  Materials encompasses the sundries that can be easily quantified and charged to the home owner.  Such items include such things as sandpaper, blue tape, and joint compound.   Expenses, although they sound much like materials, are costs that really can not be directly charged to a home owner, but must be accounted for in order to ensure that a painting company can make a decent profit.

 I try to only take the equipment that I need to a job.  This way I take up as little space as possible space in the clients home.  However, even as a one man show, I own fifteen ladders. Why? different jobs require different ladders. I own a three piece, sixteen foot extension ladder.  Since it has three sections, instead of two, it is very compact when it is not extended, which makes it easier to move around the inside of home.  It is very useful when I paint stairwells. I also own a couple of ladders that allow me to set them up on stairs.  Even though I own these ladders, I do not use them on every job. 

Ladders are a fairly durable item, and they will last a long time. But there are many tools that will eventually need to be replaced. And, pros do not like to purchase cheap equipment.  Paint brushes can cost anywhere from $15 to $40 and not every paint brush is appropriate for every job.  Many painters, including myself, have certain paint brushes that they use for each type of paint they use.  Paint brushes have a fairly short life span if used a lot.  There are also tools that last longer, but will need maintenance and eventual replacement.  These include items such as sanders, dusters, brush cleaners...ect

Other expenses that must be accounted for by paint contractors, in order for them to run a profitable business, are the costs such as insurance, fees, and rental space costs.  Registering a company with the state cost money.  If a contractor is certified to work with lead, he must figure in the cost to take the class and the license from the state.  Liability and vehicle insurance, and workers compensation (if he has employees) are all necessary if he runs a legitimate company.

Thus, when a paint contractor gives you an estimate, he is giving you a price based on what it will cost him toto cover his expenses and make a profit.  He cannot simply only figure in the costs of the specific items (roller cover, paint brush, blue tape, paint) used on the job, and the amount of time that it will take to complete the job.  Doing so, would quickly lead to the painter to look for employment in another field.

Why I Buy Local

I was in the paint store that I purchase most of my materials the other day, and while I was waiting in line I heard a women ask, what I assumed was her husband, "why does a gallon of paint cost $60?"  I almost turned to them and told them why, but I held my tongue.

What would I have told them? My simple answer would it have been....because it is darn good paint.  Do not believe the hype from that box stores that continually tells us that they have the best rated paint.  It is not the best. It is not terrible paint, but it is not the best.  Quality paints that I use on a regular basis such as C2, Benjamin Moore, California, and Pittsburgh make better paints.  Their paints are easier to work with, cover better, they hide (the paint underneath) better, and they retain their colors much longer.

I would have also told them, if they had the time, that the box stores pay minimum wage to its employees and the only thing that they know about paint is how to mix the colors--a box store employee once told me this when I was stupid enough to ask him a couple technical questions concern paint.  And, sometimes they have trouble doing this simple task of mixing paint.  When it comes to matching paint, the only ones that I trust are real paint store employees.

What does this lack of knowledge mean. Let me relate a story that a paint store owner recently related on a website for professional painters.  An older women came into his store asking how to properly treat her deck.  She had gone to one of the box stores and bought the thick deck paint/stain that is very popular with home owners lately...the stuff you just roll onto your weathered deck...and wallah...new looking deck.  Well surprise, it did not work.  To me this is not a surprise, I have been told by more than one home owner that have used these products that they do not last. The women went back to the box store and asked why the product had failed after three months.  She was told that she did not do use enough.  The second time she applied more, and then it failed after five months.  Finally she went to a real paint store.

The paint store owner told the women how to properly prepare the deck to be stained.  She had been told employee of the box store that not prep was needed. A very brief overview of proper deck prep is needed. At the very least a deck needs to be cleaned to remove mold, mildew and dirt. If grey wood is present it also needs to be removed.  Good adhesion of stain and paint is not possible if dirt is present, and applying either to grew wood will lead to premature failure of the coating.  So, yes, the women did need to prep the deck.  But, the box stores are all about convince home owners that paint projects can be "easypeasy." When she was at the real paint store, she was told the proper products to purchase in order to complete the job. When she was told the price of the products she apparently told the owner of the paint store, that he was ripping her off and stormed out of the store.

The reality is that the box stores have turned a big project such as repainting a great room or staining a deck into an easy one day task.  "No primer needed"..."No need to clean or sand the deck."...Just apply the product that is 50% cheaper than what is sold in paint stores and enjoy the rest of you weekend.  Home owners have been so inundated with such garbage, that when they are told the real price of doing the job properly they believe that they are being ripped off.

The simple fact is that the paint in real paint stores cost more because they sell really good paint, and the employees are very well trained and very knowledgeable about what they sell.  And, they are paid a good wage, and not a minimum wage with little more training than how to mix paint. Thus, in order to keep these well trained employees, the owners must have higher prices for their better quality paints.  In the two paint stores that I frequent the most, they have have had almost no turnover of employees in the three years that I have been purchasing products from them.


Ipe Porch

I recently refinished an Ipe porch (pictures are below)  And, it was quite a learning experience.

For those that are new to Ipe wood, Here is a bit of information that I learned before and during the process of restoring this deck. And, by restore I mean that the deck had not been treated for several years the wood had greyed.

  • Ipe wood is native of Central and South America. 
  • Ipe wood is extremely hard.  It sinks in water.
  • Ipe, I was told, is very hard to burn.
  • Ipe is beautiful, but it also require a lot of upkeep.

When I say hard, I mean hard.  It is often referred to an "iron wood." Let me relate my experience with the wood so that you can get an idea of what this means. I had hoped to use a deck sander to sand this porch which was just under 750 square feet.  However, almost every piece of wood was concave, and thus the deck sander would only sand the edge of the wood. I needed to get a sander that I could use to sand the entire piece of wood.  It took me a little over two days with a power Festool sander to complete this deck. I used 60 grit paper and I had to replace the sandpaper every 24 square feet. Festool sandpaper is the most durable sandpaper that I have ever used...it last much longer than most of the paper you will get in a hardware store. The Ipe wore the paper out. 

When sanding, I was told by more than one individual that 80 grit is the highest grit that should be used on Ipe. Anything higher will polish the wood...close the grain so that it will not accept an oil.

First the porch, and this is true for any porch or deck, had to be cleaned. It is not necessary to own a power washer to clean a deck.  In fact, if you do not have a lot of skill with a power washer then you should not use one with Ipe wood, damage done by the washer will stick out like a sore thumb.  I treated this deck three times and never used a power washer...just a stiff brush, elbow grease, and a hose.

After it was cleaned, the sanding commenced.  Never sand then clean.  Sanding before you clean will embed the dirt into the grain of the wood

If you have an Ipe deck or porch and you do not know what it was treated with the last time it was finished, then it has to be removed.  I used Benjamin Moore remove to take off any remaining oil that had been previously used.

Finally, I used a brightener to bring the wood back to its original color...before the elements had gotten to it.

Then, one coat of Penofin Hardwood oil.  This is the fist time that I used this product.  Pretty simple to apply.  Temperature of the wood must be above 45 degrees.  I applied with a brush, let is sit between 20-30 minutes and then wiped of the excess.  I started in the middle of the deck and moved towards the sides.  I started out doing two feet of at a time. I did one side, let it sit, while I did the other side.  I wrote down the time that I finished applying the oil so that I would not wipe it off too early. By the time I was done, I had work it out that the optimal area to do was 4 feet of wood at a time (the porch was 12 feet wide). By the time I applied the oil to 4 feet, it was time to wipe the last four feet that I had oiled.


Dirty Tongue and Groove Ceiling

This exterior ceiling was cleaned about a month before I started the rest of the job.  When I cleaned it, it was very dirty.  House is near a heavily used road and the ceiling was essentially black.  There was no intention to refinish the ceiling, but when I came back to do the other work, I noticed that most of the urethane was almost gone.

The grime had stained the wood, and it was a lot of work to get it looking good again.  I was not able to get all of the stains out, but I was very happy with the end result.

The images progress from the condition that I found it when I arrived, partially sanded, totally sanded, and two coats of spar urethane (it still needs one more).


Why Sand?

At a recent job the client that I was working for wondered out loud why the walls in the house looked so bad--the paint came off very easily.  I asked her if she had sanded before she painted. She said no. 

The purpose of sanding is to create a surface for the new coat of paint to grab on to.  The only time that it really is not necessary is when painting over flat paint, but even then I sand just for extra piece of mind--except on flat ceilings of course.

At another job, i was working on a stairwell and the paint on the skirts was peeling off very easily.


Oil paint was not sanded before painting with a latex paint

Oil paint was not sanded before painting with a latex paint

There really is only one solution to this problem: scrape, wash, sand, clean of dust and paint.  I could have just sanded and painted.  However, the substrate, the old paint that I would have been painting over, was still unstable--it was not adhering properly.  And the new paint would not look good long.  One ding, which is easy on stairs, and the peeling would start up again.

Luckily there was only a little bit of scraping to do.  Imagine if I had en entire wall, or many walls that this was happening.  An, easy repaint will quickly become very expensive.


Exercise Room with Benjamin Moore Aura

Recently did a big job, which included painting many ceilings that had a lot of water damage, cracks and nail pops that were the result of some bad craftsmanship by the the contractors that built the home a little over two years ago.

The most enjoyable part of the job was painting the unfinished exercise room.  I decided to go with Benjamin Moore Aura eggshell sheen on this job. I have not used this paint a lot, but have heard great things about it.  What great paint.  Deep, rich colors.  Easy to cut with, and rolls on even better.  The color on the walls is Refined, the ceiling was painted with Benjamin Moore Waterborne ceiling paint, and the trim was done with Benjamin Moore Advance in semi-gloss.

Note on the rough cut line on the risers: There was still some wood putty that the home owner had used to fill nail holes that had not been cleaned at the time that the pictures was taken

Wallpaper Removal

Some before, during, and after pictures from a recent wallpaper removal that I did in Rockport.  The wallpaper came off easy--did not have to use any Dif, but as you can see from the pictures some of the gypsum board did get damaged, which required a skim coat. I forgot to take a picture of the areas skim coated.  I only painted the walls and the ceiling in this room.

The Multi-colored Dress

On February 17th, 2015 an image of a dress went viral on the internet.  I initially saw it on the local morning news (one of the reason that I really only watch the local news for five minutes-long enough to see the forecast). It went viral because a consensus could not be had on the colors of the dress.

As I often tell my costumers--get samples of the color(s) you want to paint and paint a few spots in the room to see how the light in the room throughout the day will influence the color.  This is what is going on with the whole dress color disagreement.

Wired Magazine posted an article titled The Science of Why No One Agrees on the Color of This Dress.  It is a short read and I recommend it for anyone thinking about painting.


Painting Kitchen Cabinets

A lot of Home Owners are deciding to have their kitchen cabinets refinished instead of replaced.  This is a great money saving option if you cabinets are in good shape.  There are several things that you should consider if you plan on having your cabinets painted.

If you have very nice cabinets that have never been painted you will most likely want to find a painter that sprays cabinets.  I, unfortunately do not spray.  Spraying allows for a very smooth (no brush strokes visible finish).  If you have older or lower quality cabinets, that you are just looking to spruce up, than you might not mind seeing some brush strokes on the cabinets, then you can consider painters that do not spray.  The images of the cabinets in this post were such cabinets were brushed.

However, if you want a near perfect finish (sprayed) and your cabinets were previously painted before, a near flawless finish might be tough (expensive) to achieve.  In order to get a smooth finish on the top coat, the coats underneath much also be smooth.  If your cabinets were brushed (or even worse--rolled) then it will take a lot of prep (time) to get a smooth finish before the cabinets are painted.

Some basic things that you should consider before you decide to have you cabinets painted.

  • Cabinets jobs are intensive--
    • doors and hardware have to be removed
    • cabinets have to be cleaned intensively--all the grease and grime that comes with cooking and all of the residue from cleaners have to be removed
  • If the doors will be painted on site, a large area will have to be used to paint the cabinet doors.
  • If you also having the interiors of the cabinets painted you will have to wait a minimum of three days (the longer the better) before you put the items back into the cabinets

The pictures in this post are of a recent cabinet job that I did.  The cabinets were brushed.  I wish that I had taken some better before pictures, and more after pictures of the interior of the cabinets.  If you notice that the window sashes are dirty--it was extremely cold, and I was unable to paint them.  This will be remedied in the Spring.

The one image that has a plastic on the door and window was taken when I was prepping to do some lead work on the door frames and baseboards.

Don't Paint that Pressure Treated Wood Until It's Ready

If you are like most Americans you want to get the job done as quickly as possible.  But, if you recently had a new deck built or trim installed using Pressure Treated Wood you need to curtail your urge to get the job done. 

First thing that you should know is that a lot of pressure treated wood is Southern Yellow Pine, which is not the best at holding paint, and pressure treated wood really is not meant to be painted.

Next, if you do decide to paint or stain, you have to wait until the wood is dry.  Pressure treated wood is wet 99% of the time when it is installed.  And, the best way that I have read to explain  the issue with painting or staining wet wood used a sponge analogy.  So here we go.  Think of the wood as a sponge.  When you paint the first layer of paint, which is hopefully a primer, this paint is absorbed by the wood.  This is much more true when using a penetrating stain.  If the wood is wet  it cannot absorb the paint. Instead it dries on top of the wood with very little, if any adhesion.  Thus, in a very short time frame you will have paint failure.

Your best bet is to wait six months.  Or, if you own a moisture meter, the moisture level should be 14% or less.

If you do decide to use a paint or a solid stain, than it is best to use a long drying oil primer, but not on the decking (see below for more). Oil primers penetrate into the wood more than acrylic paints, and the longer that the primer has to dry the more it will penetrate.  Also, oil primers will block knots from bleeding trough the paint. You might need to prime the knots twice to ensure that they do not come through. There is a caveat… If you do decide to use a paint or solid stain, do not prime the decking. Primers are more brittle than stains and paints and are not meant to be used on decking. If you do decide to go with a paint on the decking use a floor/patio paint. They have a flat sheen. You do not want to use a paint that is not flat on a walking surface due to the possibility of getting a slick surface when it gets wet. They are also self-priming (but always make sure you read the label to ensure that you have a self-priming paint…in not go with another brand).

If you have a deck that is less than four feet from that ground, you should not use a sold , such as a paint our solid stain on the decking. In order for the stain/paint to adhere to the decking properly the wood must be able to breath. Decks too close (4 feet or less) to the ground cannot breath properly when covered with a solid, and the stain/paint will fail prematurely.


Painting Azek

Azek plastic is becoming a very popular alternative to wood on many home improvement jobs, repair jobs, and new construction.  The reason--it lasts longer than wood.  Since it is plastic it does absorb water and thus does not rot, which is often a major problem with wood.  This is especially true with north facing walls of houses.  Almost every time that I see wood on a home that should be replaced before I paint I recommend to the Home Owner that they use Azek.

However, If you choose to have your contractor use it on your next project, and you intend to paint it, then you must consider that any paint that goes out it must be 100% acrylic and have a Light Reflective Value (LRV) of 55 or above.  This means that most dark colors are out. Usually LRV can be found on paint fans.   I am assuming that the reason for this is that if the paint absorbs too much light it will lead to the paint heating up, which will then lead to paint failure. 

Azec, which is white, does not have to be painted.  However, it is the only way to cover the nail holes and make the edges of the Azek that has been cut look nice.

So, if the trim on your home is painted black or brown and you decide to use Azek for a repair of rotten wood, you will have to change the color of the rest of the trim to make it match the new lighter color that will be needed to paint the Azek.

Fixing DIY Drywall

Did some work for a women who had some cracks in her walls and was tired of looking at them.  The worst areas were in the ceiling.  Once I got up on the ladder and began the worked I quickly learned what the problem was.  There was no sheetrock in the corners on the ceiling.  The person that had done the work put the joint compound tape on nothing--air.  Fixing this issue is somewhat time consuming.  The holes first had to be filled with Durabound, and then the seams had to be retaped.  Not all of the cracks, and there were a lot of them were so severe that they required mud.  The less severe one's were opened up a bit with a utility knife and then filled with Crack Shot.  Once everything was cleaned up and repaired two coats of Benjamin Moore Regal Select Gossamer Blue, and one coat of Benjamin Moore Waterborne ceiling paint.


ORANGE -- Don't be Affraid of Color


When the HO told me she likes color, I told her that I do too.  It took some time to figure out what company made this color, which is called Arizona, but I like the results.  BTW Arizona is a Behr color, but we were able to get it made in California Unite paint.  California has the formula to make it in its paints. 

The pictures without the accent wall are the ones with the

The pictures do not really represent the true color, which look a lot more yellow than the deep orange that they were.  There are also some photos of the ceiling when had a lot of dis-colorization due to the fireplace which they enjoy in the colder months.


Trust your Painter

Without getting into any details, I don't believe in slamming someone on-line, I recently had a bad encounter with a home owner, which was essentially the result of the home owner not taking my advice, and then blaming me for the results.

Again, without any specifics, I was hired to paint some new wood.  The wood had tannins, those are the stains you see come through paint (think knots), and I told him that one coat of primer and one coat of stain would most likely not work. He also had me stain, despite me telling him that I did not think it was a good idea, a material that should have been painted.  I am trying to be a vague.

Well, when he looked at it on the second day, the tannins in the wood were showing through, and obviously needed at least one more top coat, and the paint that was on the other material looked terrible.

In retrospect I should have never taken the job.  The home owner had a preconceived idea of how the job should be done and how long it was going to take.  When it did not meet his expectations, despite warnings from me, he blamed me.  There was another instance in which this home owner did not trust my experience and knowledge.

The moral of the story--trust the person that you have hired to paint your house.  They are professional (hopefully) and know what they are talking about.

Size Doesn't Always Matter

Many home owners, when hiring a painter, assume that the price that it will cost to paint a room or a house is determined by the size of the area to be painted.  To some extent this is true.  A 60ft x 20ft living room will almost always cost more than a 12ft x 12ft room.  However, very often this simple rule of thumb does not apply.  Following are two examples that demonstrate my point.

I recently painted a small bathroom with unpainted tongue and groove.  It took three days to complete. This is longer than it often takes to complete a standard 12 x 12 room.  Why?  One reason is that small spaces are hard to move around in, and thus harder to paint than large, wide open spaces.  Also, bathrooms have a many items to cut around such as toilets, sinks, and pipes, that are not found in rooms such as bedrooms.

When painting outside, it is also not always clear-cut formula size equals price.  Many factors are considered.  One of the biggest issues is whether or not there is vegetation (trees, shrubs, plants) to work around.  Setting up ladders becomes much more difficult and time consuming when when a painter has to work around vegetation.  I recently did a job painting windows on a fairly small building  that had a lot of plants and trees to work around.  Each window required seven steps: remove storm windows and clean, scrape and sand, first coat frame, first coat sashes, second coat frame, second coat sashes, replace storm windows. For each step I had to move the ladder.  When I painted the windows, the ladder had to be lowered halfway through the coat to get easier access to the lower half of the window.

So, remember when you get a price to paint your house, size is only one factor in determining the amount of time it will take, and thus the price that will be charged.