Pete Martin The Painter Gloucester, MA

A fresh coat of paint can change the mood of a room.

Pete Martin the Painter, Gloucester, MA; Pete Martin the Painter, Rockport, MA; Pete Martin the Painter, Martin the Painter, Manchester, MA; Pete Martin the Painter, Essex, MA; Pete Martin the Painter, Ipswich, MA; Pete Martin the Painter, Wheham, MA;  Pete Martin the Painter, Hamilton, MA;  Pete Martin the Painter, Rowley, MA; Pete Martin the Painter, Beverly, MA;Pete Martin the Painter, Salem, MA:


Why I Love Quality Paint and Stains

A couple of weeks ago I completed an exterior repaint on a three season porch.  The clapboards were done with Benjamin Moore sold acrylic stain.  When I was done there was no distinction between where the old stain started and the new one began.  I asked the home owner when the house was last painted. He told me that it had been three years.  Three years is not a long time, but long enough in New England weather.  Here is the link to the pictures of the job that I put on Facebook

https://www.facebook.com/petethepainter978/photos/pcb.488661971263268/488660757930056/?type=1&theater

It Might Take Longer than Expected

It has been a very cold and wet Spring in Northeast Massachusetts, which has put a lot of exterior paint jobs on hold.  Which brings me to a brief blog on ensuring that you read the back of the paint label. Whether you are planning a DIY job, or you are hiring a professional you need to know that there are limitation to what can been done in less than perfect weather conditions.

All paints and stains have a range at which a paint should be applied, which is usually between 50-90 degrees, and they all have a time a drying time, which can range anywhere from one to twenty-four hours.  It is very important that you adhere to the temperature range, and it is not just that air temperature that is important, it is also the surface temp.  If the air temp is hovering around either of the extremes of the temps it is best not to paint.  However, if you have a infrared thermometer, or a willing to purchase one you can easily find out the surface temperature before painting.  Just point and shoot, to get the temperature.

Moisture can cause two problems.  First if the air has a lot of moisture in it the paint will take longer to dry, which in turn means that you will have to wait longer to apply a second coat of paint.  Second, if the surface is wet you cannot paint.  And it is not as easy as looking or feeling the wood.  There are specially designed moisture meters that have prongs that are pushed into the surface to determine if there is to much moisture.  If the wood, or or another type of surface, has too much moisture in it, the paint or stain will not adhere properly.

Wallpaper to Paint--Transformation of a Room

I am not going to try to tell you that removing wall paper and then applying paint it a easy job.  The pictures form the job below, which included a small bathroom that did not have wallpaper on it, took over a week  to finish.

First, you must remove the old wallpaper.  If sizing was used, which is the proper way to put wallpaper up, then it should be a fairly easy, but time consuming, process.  If sizing was not used, it becomes much more time consuming and the wall will get much more damaged.

Second, if there still a lot of paste on the walls you should sand them to smooth it out.  Then you have to either use  Gardz or an oil primer to seal the remaining paste on the wall.  I used Gardz.  If you do not do this, the waterborne paint that you put on the wall will reactive the paste, and the paint will not go on properly.

Third, you need to make repairs to the wall. Fill the holes and skim coat the damages caused when you removed the wallpaper.

Forth, you need to prime all of the repairs. If you make a lot of repairs it might be easiest to just prime the entire surface.  This ensure that you will not miss any of the repairs which will cause flashing when you apply the finish coat.

Fifth, you finally get to paint the walls the color that you have been dreaming of all of those years that you looked at the aging wall paper.

Take a look at the pictures below.  The are organized from start to finish.  The bathroom did not have wallpaper on its walls.  the room is obviously not completed.  The home owner is going to have new doors put on the bathroom and closet, and crown molding and baseboards will be installed.  This made cutting the ceiling much easier.


The Reality of Paint and Primer in One

I am often explaining why paint and primer in one paints are not necessary and really not a good idea to home owners.  Most home owners, when they paint, are repainting a room.  When you are repainting a room, you will usually not need a primer.  Primer will usually only be needed when unpainted surfaces such as wood or plaster are being painted, a latex paint is being put on top of a oil paint,  a previously stained wood will be painted, or a clear coating, such as polyurethane will be painted.   Sometimes it is also recommended that a tinted primer be used when a dark color is being repainted with a light color.  This is done to save money as primer is cheaper than paint ( I am using the term "paint" to refer to paint that is not primer). 

So, the question is "why use a paint and primer in one."  The answer is you don't need it.  If you read the back of some of the more popular paint and primers in one that are sold by the box stores you will notice that you will be instructed to use the paint to "spot prime." This is when you prime repairs in the walls that you might have repaired with joint compound, or raw wood in the trim that was exposed when the paint job was damaged.  Then once you have spot primed with the paint and primer in one, you should paint the entire area.  In other words, the paint and primers in one are not magic.  There is not a paint and a primer in the can that magically separates and creates two layers of paint when it is applied to the wall and thus eliminating the need to prime.  Therefore it is much better to purchase a primer, and use it to spot prime, and then use a paint to paint the walls.  Primers are better to prime with than the "magical" paint and primers in one because primers are formulated differently than paints.   They have more binders in them, which allows for better adhesion to the raw material.  They often are formulated to hide stains and tannins (those colors that bleed through the paint from the wood) better.

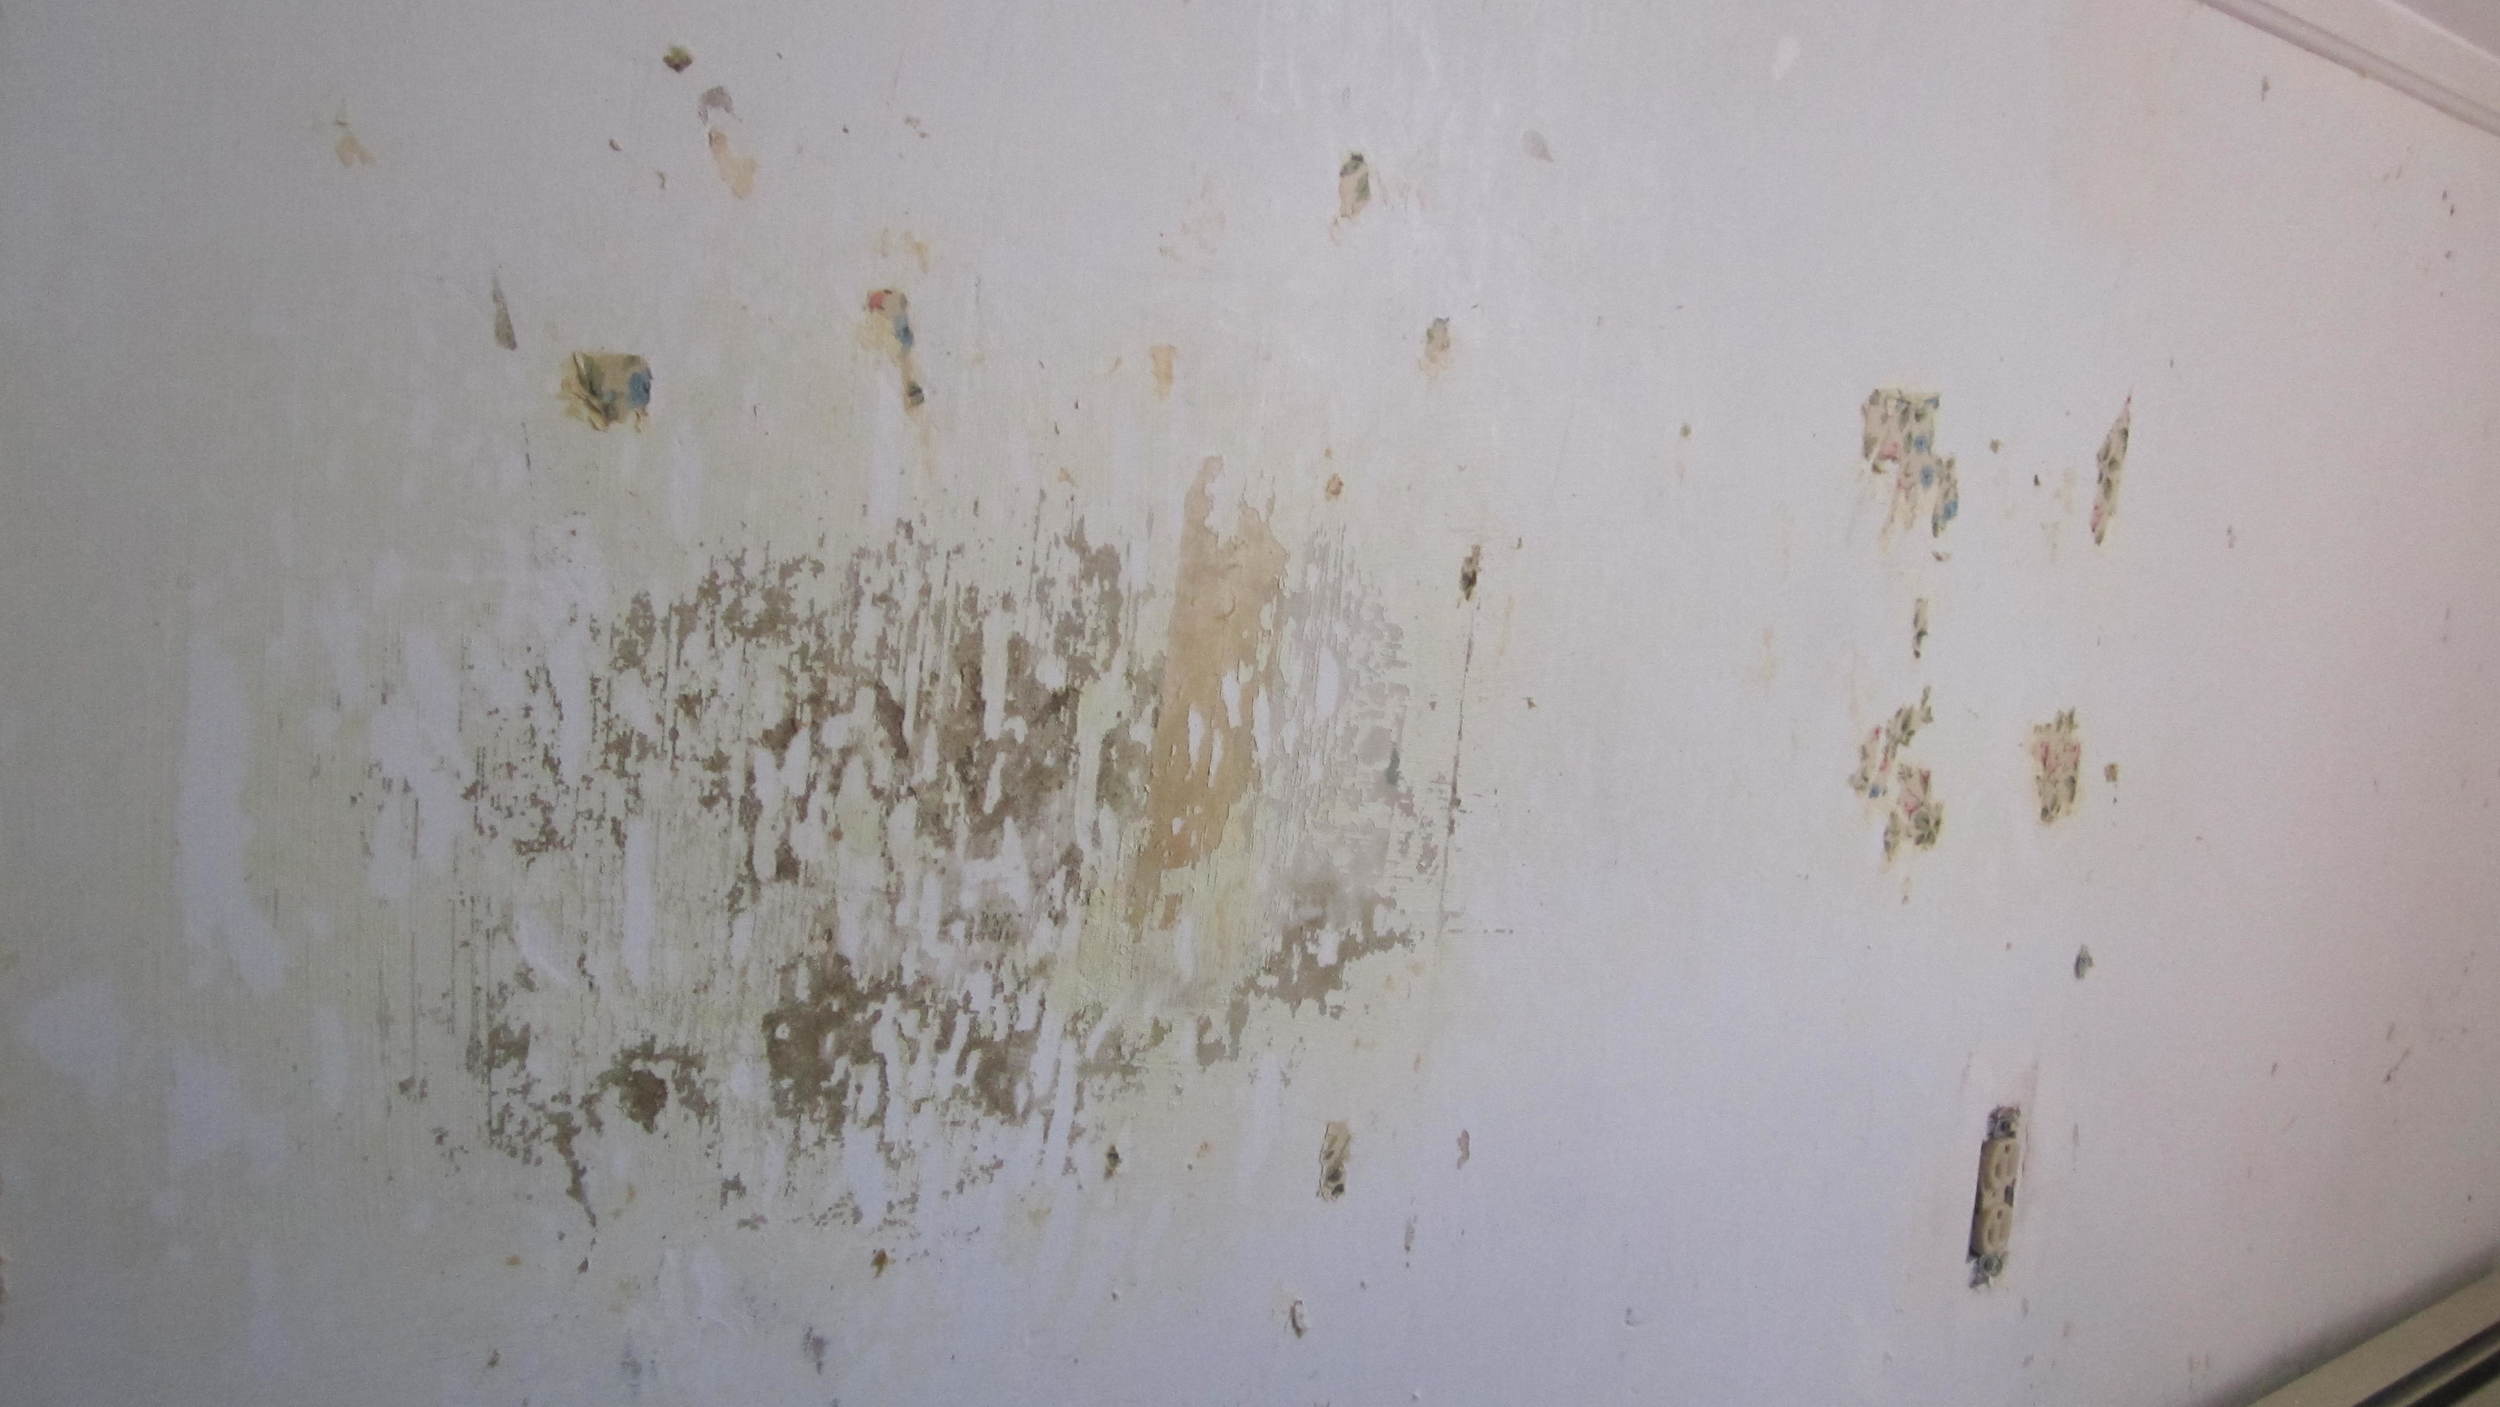
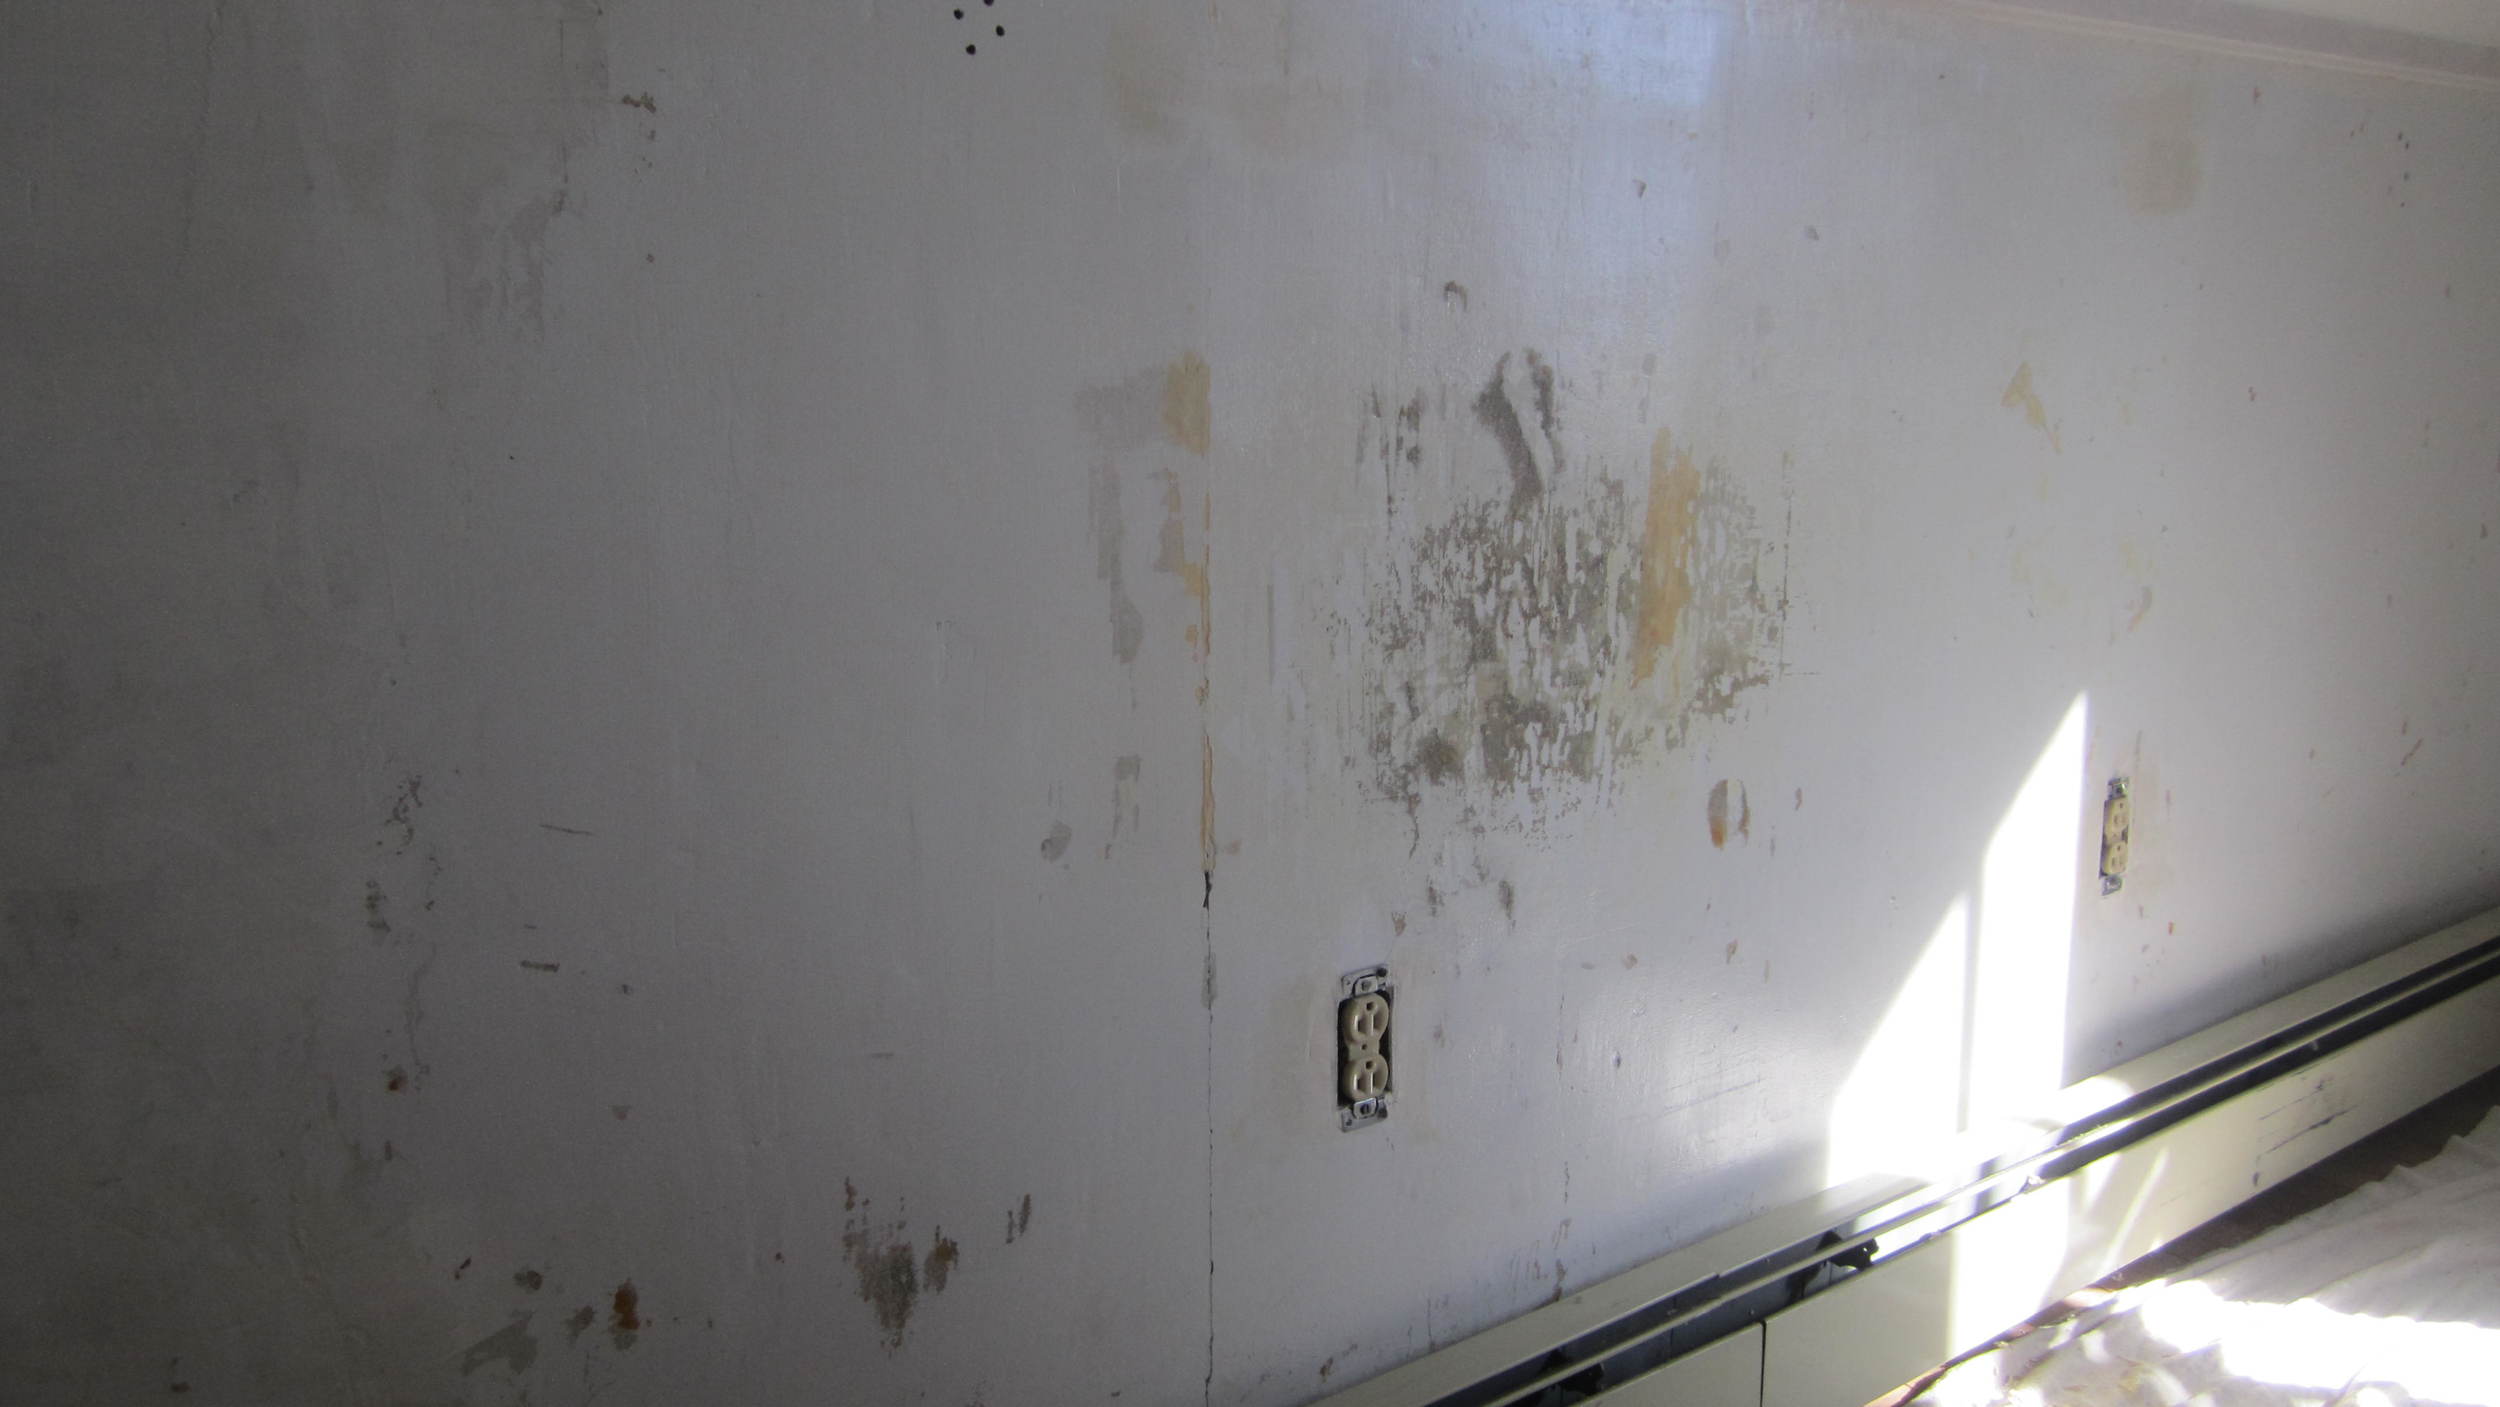
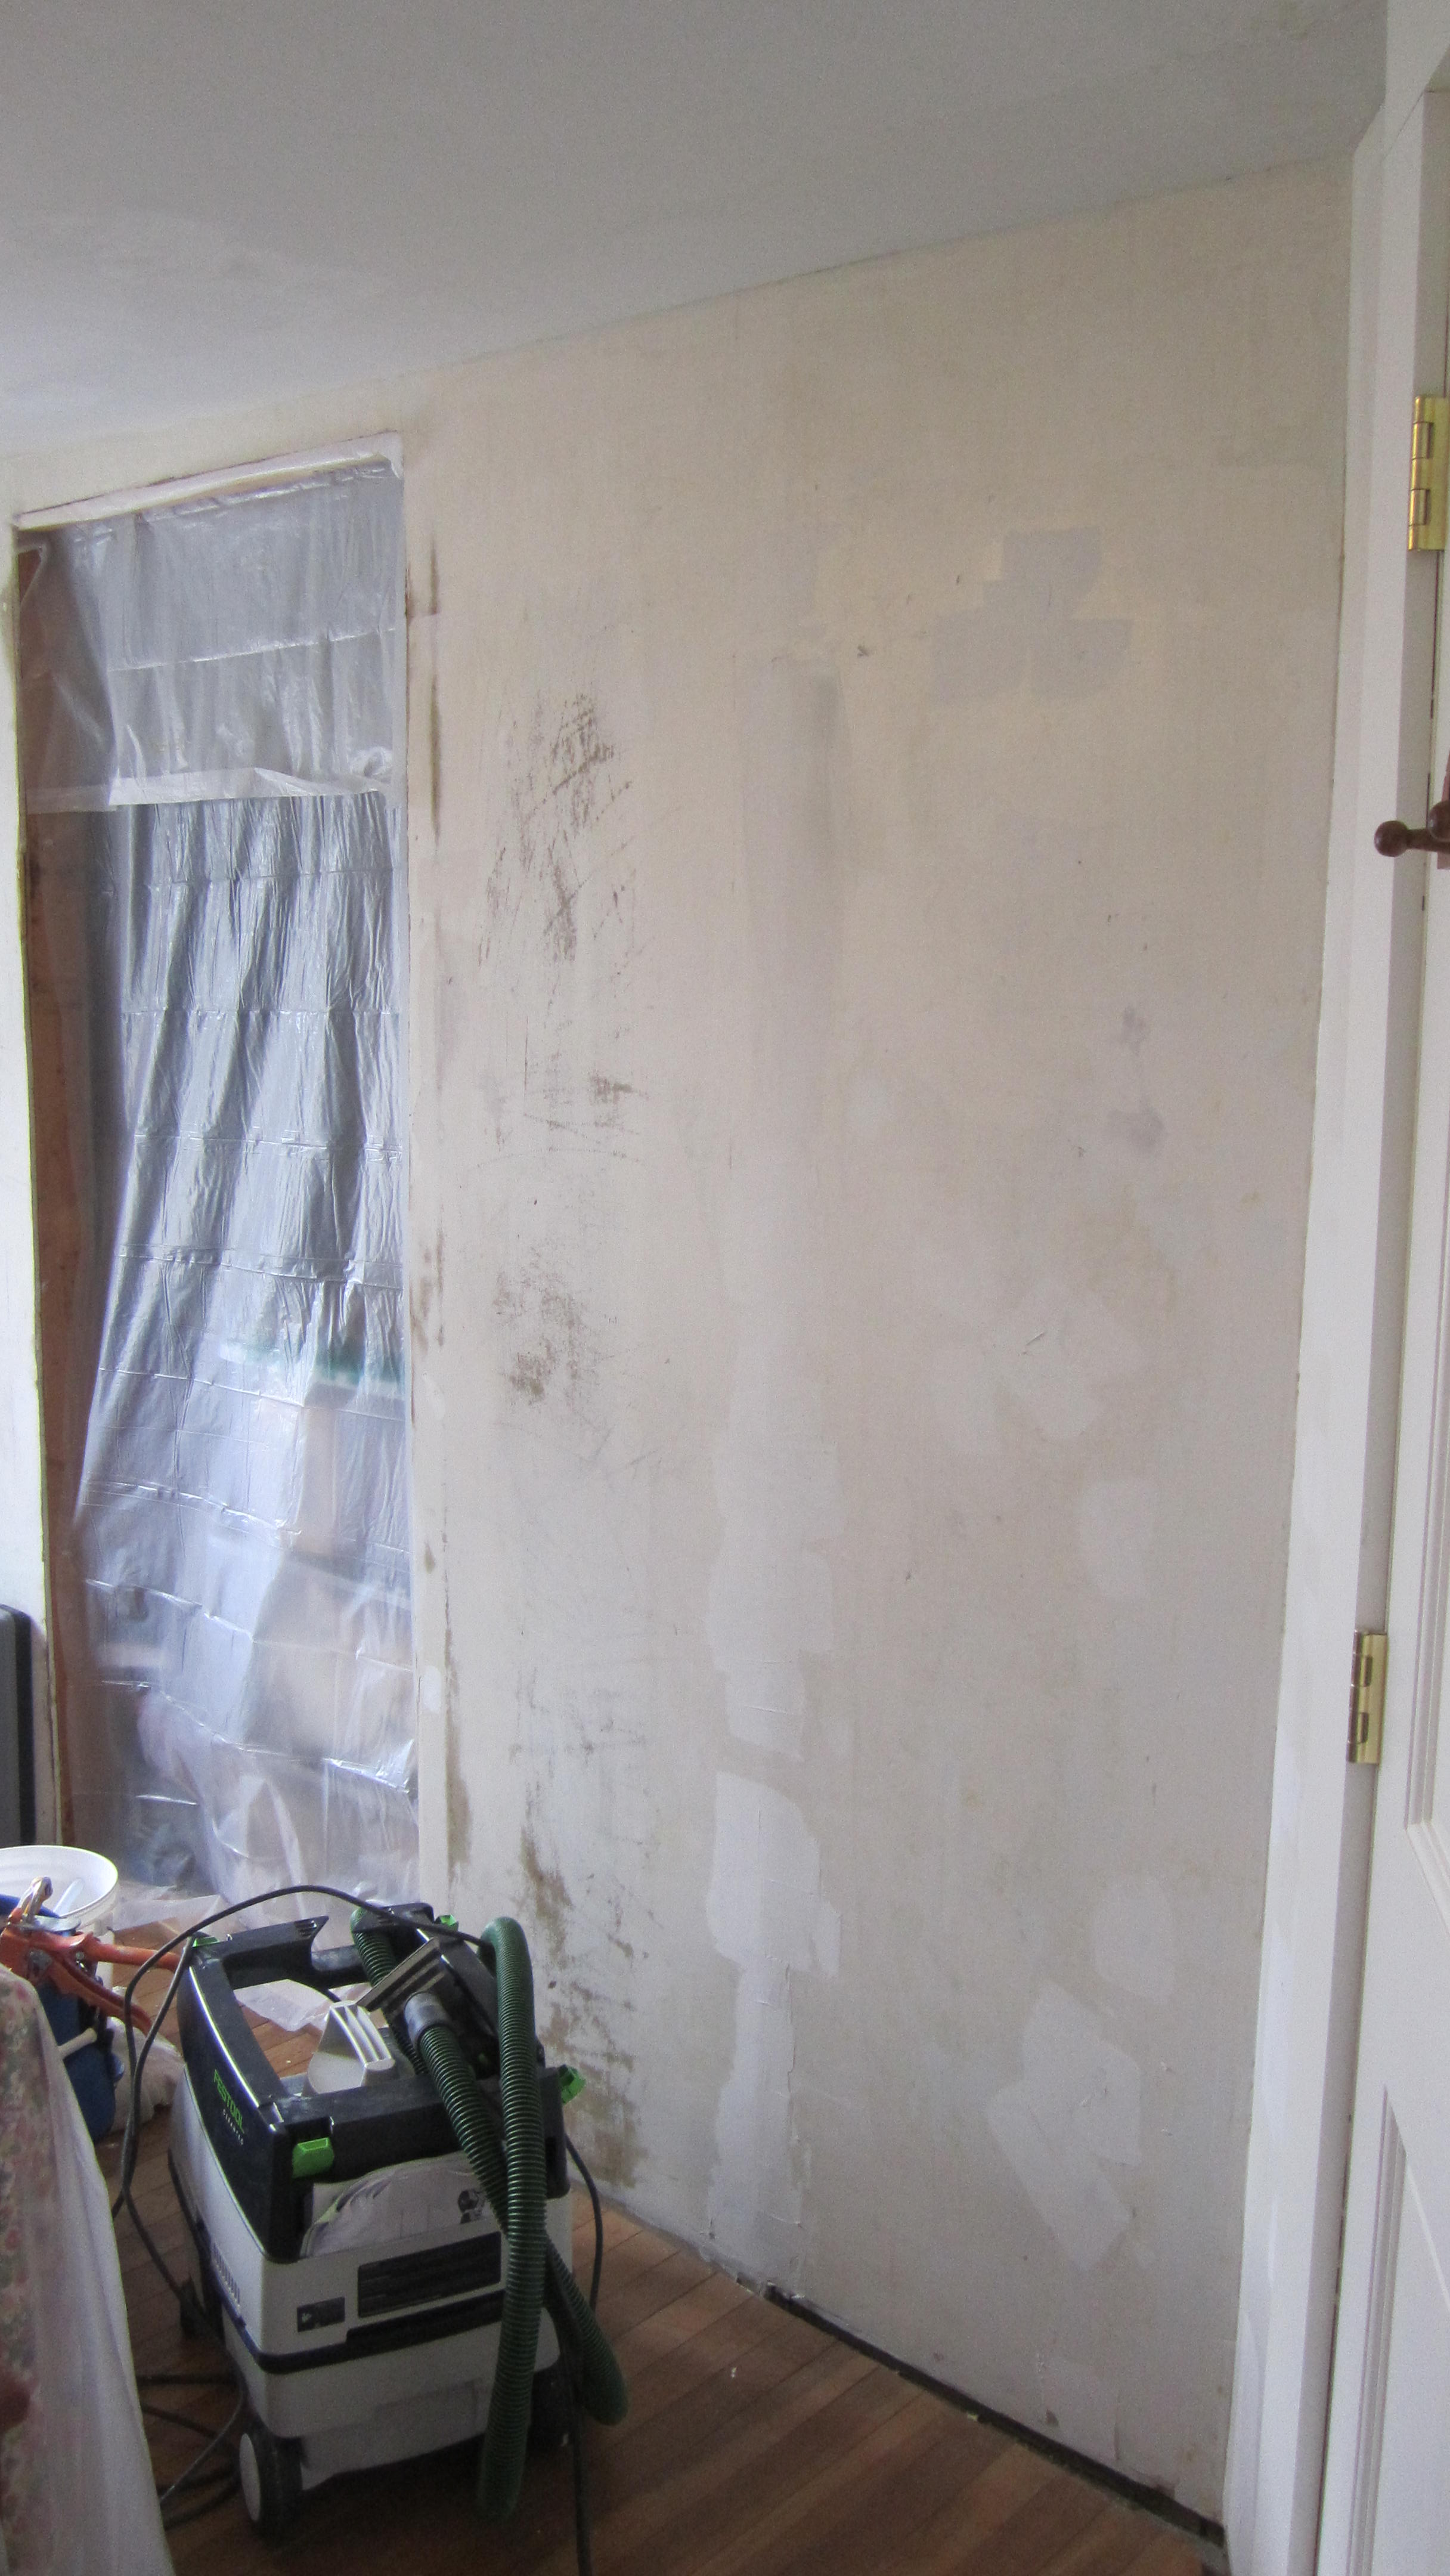
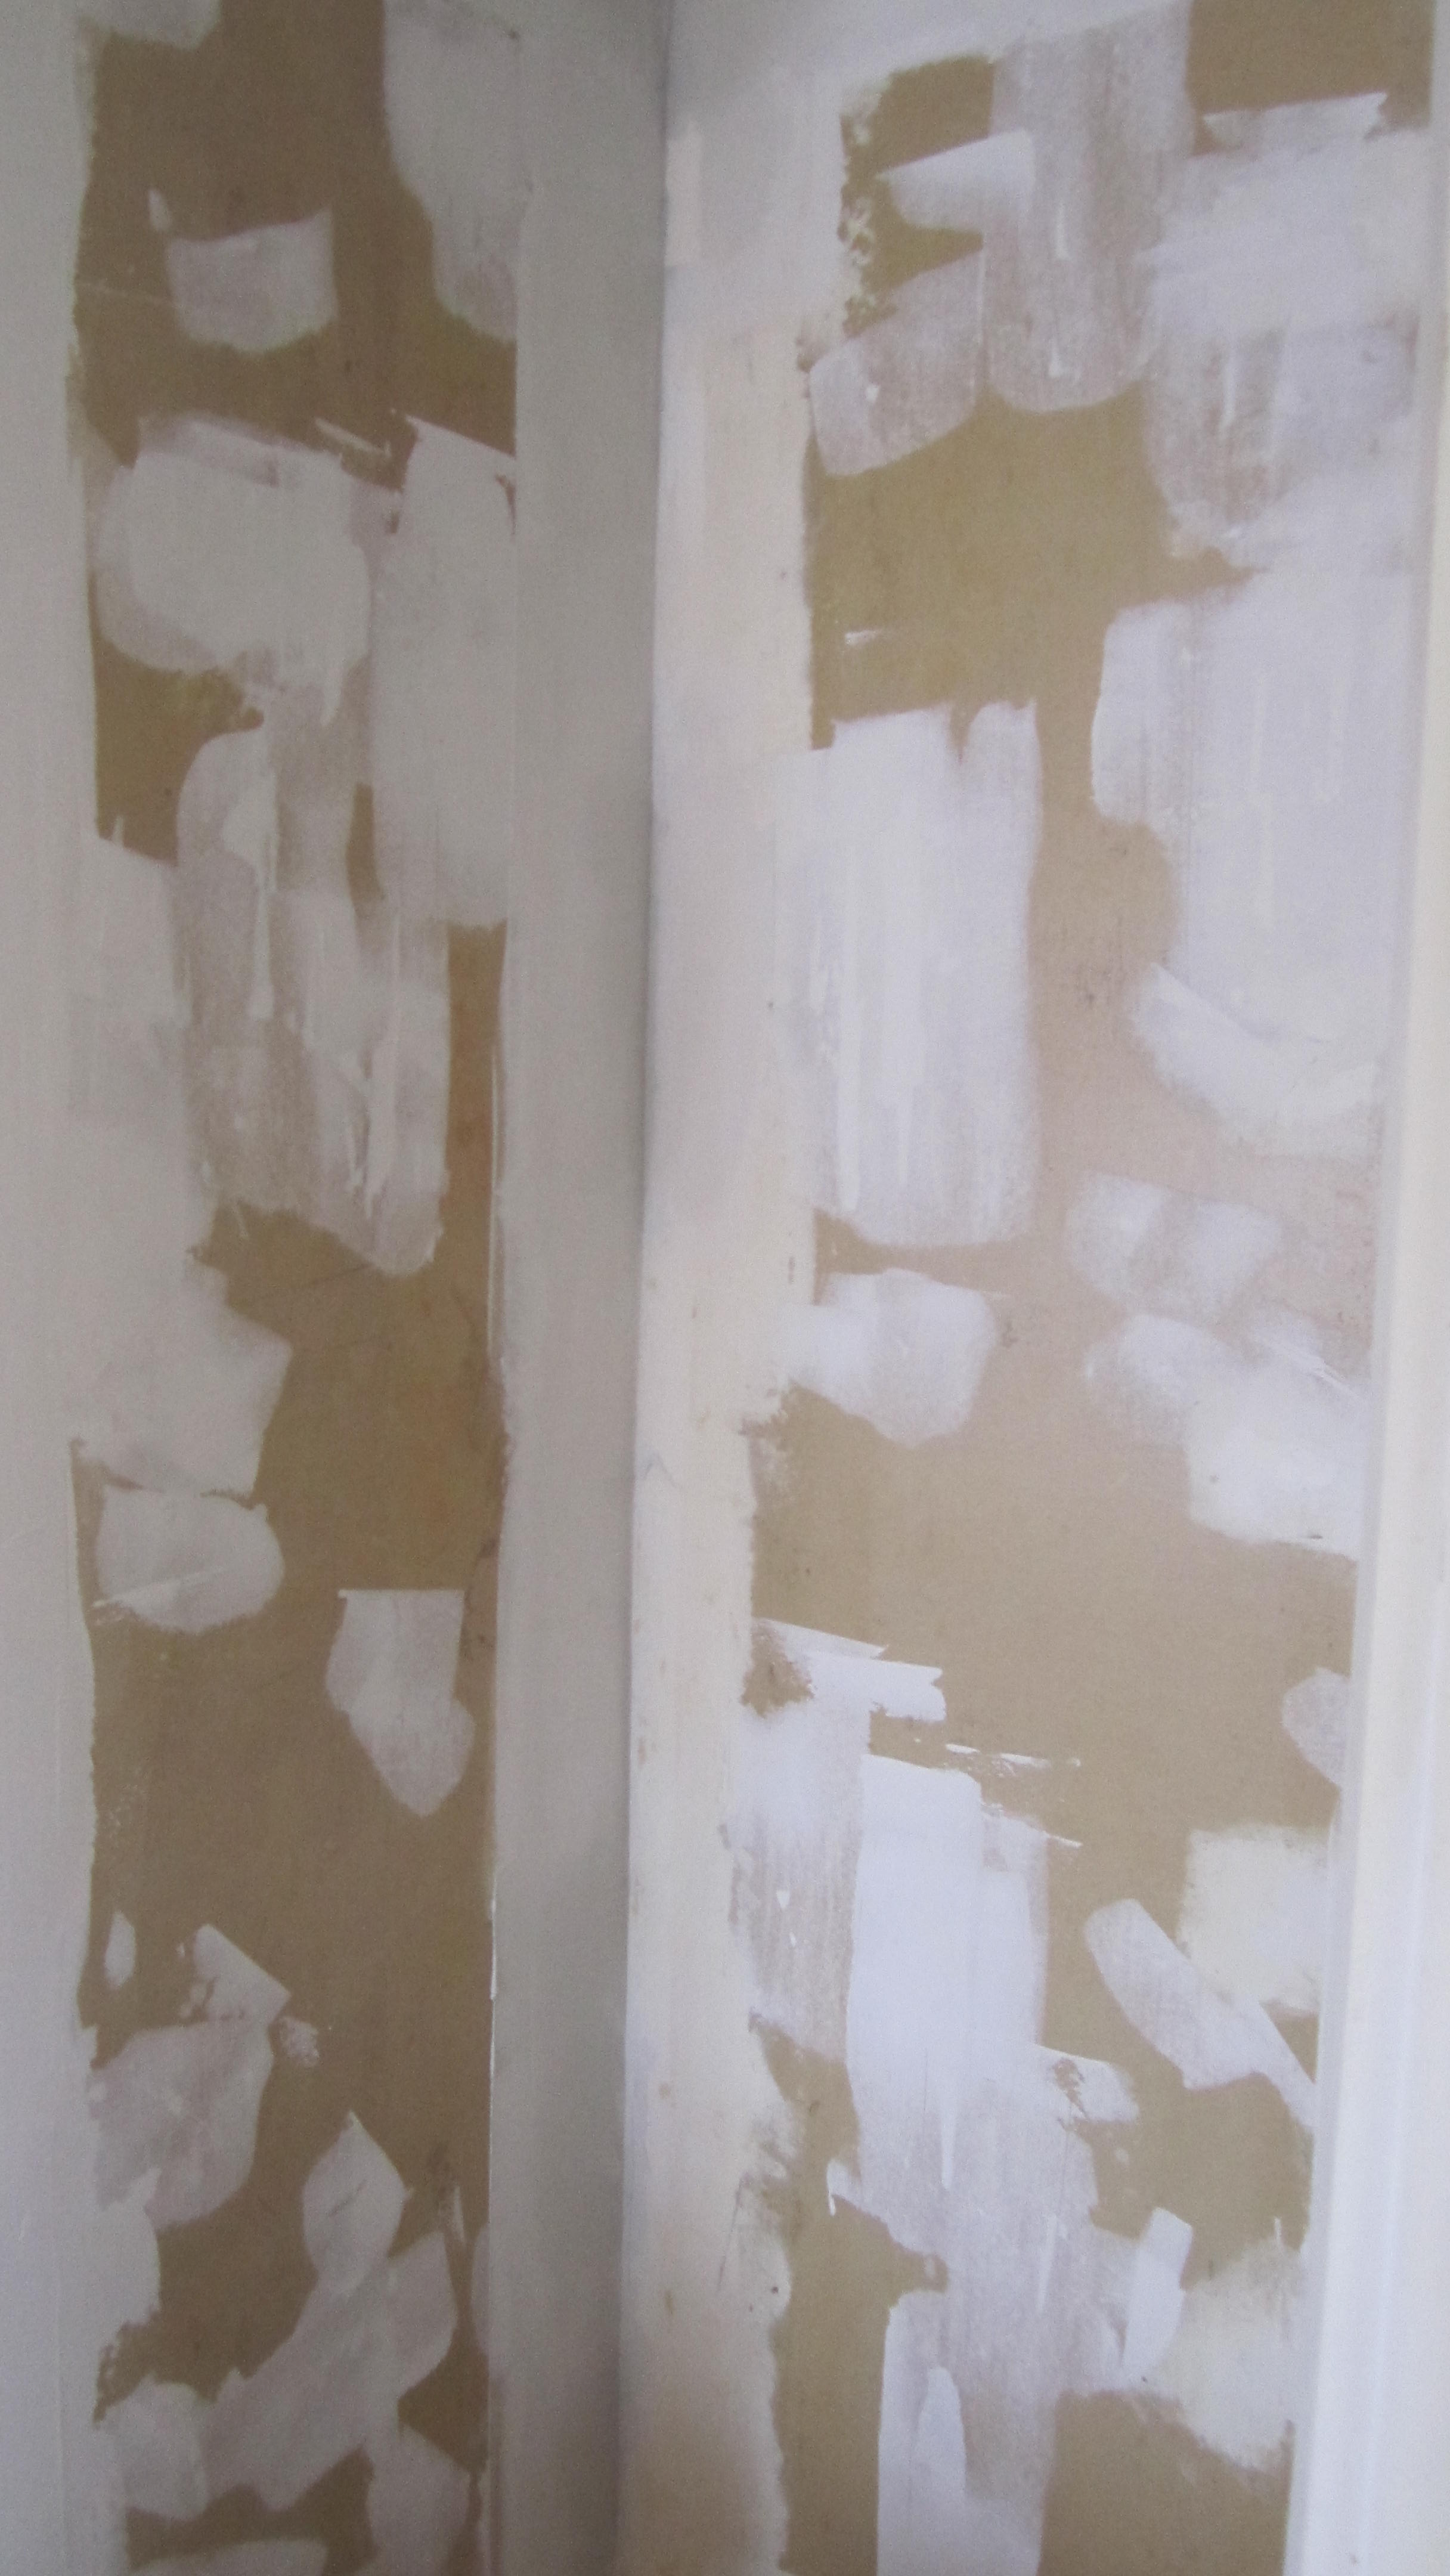
I have had a couple experiences dealing with paint and primers in one.  A home owner supplied some paint and primer ceiling paint to me for a job that I did.  They had the seams on the blue board redone.  So, I was painting raw joint compound.  I called the 1-800 number on the can to determine if I would need a primer to seal the joint compound before I painted.  Joint compound is porous, and if it is not sealed with a primer, the paint will be absorbed by the joint compound, which will result in what is called flashing.  The area will appear more dull then the paint surrounding it.  I was told be the representative that I would have to use a separate primer.  One another repaint, I ran into the problem of paint bubbling when I put on the new paint.  Although I was not able with complete certainty to determine that the paint was a paint and primer in one (it might have been just a paint), but the paint that same off was the same color on both sides and painted on raw plaster.  If a primer had been used, the underside of the paint should have been white.  The best way to fix this this is too take off all of the paint.  However, most home owners don't want this done.  So, I fix it as best as possible and explain to the home owner that they may have problems in the future.


And, it does not matter if the paint in primer in one is from one of the box stores or is manufactured by one of the higher end paint companies.  If you asked an employee of a paint store with knowledgeable employees (99% of the employees at box stores know how to do little more than mix paint) they will tell you that you will need a primer if you are painting over raw plaster or covering up the ugly paneling in your living room.  In fact, I have been told my many that many of the paint companies are doing nothing more than changing the label on their paints.  In many ways this upsets me.  Now I have to explain to home owners even if the better companies are doing it, the paint and primer in in one is a myth--that they are only doing it to compete with the box stores.


Good Paint versus Bad Paint

If you are a professional painter. it is pretty easy to tell the difference between a good paint and a lower quality paint.  Quality pants are just easier to work with than lower quality paints.  They are easier to cut with, they cover better, they go on smoother, and they just look better when they dry. 

However, It  is not always easy to convince home owners that going with the higher priced paint is worth the cost.  Some think that "paint is paint," and there really is no difference between a $25 and a $50 can of paint.  From my point of view, and that of most professional painters, I often find it hard to understand why a home owner would spend their hard earned money to pay a professional painter and then use a sub-par paint.  This is especially true when a home owner is only painting one or two rooms.  The price difference between a good paint and a inferior paint needed for an average sized room is almost negligible.

And, I do understand the perspective of the home owner.  A wall painted with a inferior paint looks almost as good as a wall painted with a quality paint. The big difference for the home owner is that the wall painted with the quality painter will look better than wall painted with the low-quality paint much longer.  And, if there needs to be touch ups, they will look better (sometimes almost not even noticeable) if a quality paint is used.

To understand what makes a high quality paint check out the document  created by the Paint Quality Institute http://www.paintquality.com/media-center/paint-publications/education/module4.pdf


Leveling--what is it?

Ever wonder why some paints look much smoother than other paints when they dry?  It is called leveling.

There are many factors to getting a level surface.  But first and foremost you need a paint the levels well.  There are many paints that have been designed to do this specifically such as Benjamin Moore's Advance and California;'s Nextech and Ultraplate.  These paints have been designed to give an ultra smooth finish on trim and cabinets.  However, it is not as simple as putting on a coat of one of these products to get the smooth finish.

The best way to get a smooth finish is to spray the paint.  However, most non profession (and many professionals including myself) do not own a sprayer.  But, if you willing to put in the work, you can get a finish that shows almost no brush marks at all.

In order to get the almost ultra smooth finish without using a sprayer you will have to put some work in.  First, if you much clean the area to be painted thoroughly.  Next sand, sand, sand.  If has been previously painted I suggest starting with a rough sand paper such as an 80 grit and then moving to a 220 grit.  If it has not been painted previously you will have to use at least one coat of primer and then sand with a fine sand paper before putting on the finish coat.  Vacuum well and then right before you paint use a tack cloth to remove any left over dust.  The pint of all of this prep work is that if the underlying coasts are not smooth or there is dust is will keep the finish coat from being as smooth as possible.  Also the dust will keep the finish coat from adhering.

You don't have to always change the Color

Sometimes you just need a fresh coat of paint, and not a new color.  If you love the colors in a room, but the room just looks dingy no matter how much cleaning you do, and there are dings in the trim, and a bunch of holes where pictures used to hang,  you might just want to consider putting a fresh coat of the same color on the walls and trim.  I recently did a repaint of a great room in the original color on the walls, and put a white on the trim that was a bit brighter than the original color.  Even though the walls were the same color the fresh coat (along with repairing all of the holes and other imperfections) made a huge difference.  I also did the hallways and entrance, which were changed to a light grey.  The colors used were C2's Architectural White on all of the trim (however it was mixed using Benjamin Moore's Advance Satin) C2's Linger in LOVO eggshell, and American White on the walls in the hallways and stairwell in Benjamin Moore's Regal Select eggshell.


Adding Color and and a lot of Elbow Grease can make a huge difference

I just finished this job, and I am very proud of the work that I did.   This foyer had not been painted since 1988, and needed a ton of work.  It took over a week to fix the cracks, sand, wash and all the other work necessary before I began to paint.  I convinced the home owner (although it did not take much) to use the the color she chose for the trim on the crown molding.  This would allow the crown molding to be more prominent.   She was very happy with the results.  The wall paint was still wet when I took the "after" shots, and a new rug still needs to be put down, which explains the red padding on the stairs.

Hate Dust?

One of the worst parts of having work done is dealing with the mess that comes along with the work.  Well, one company has created a great tool to help painters deal with the dust that comes along with preparing walls to be painted.  Festool makes sanders that, when combined with one of its dust extractors, eliminates almost all of the dust that results from sanding walls.  It is a great product, and I just purchased one.  I am especially looking forward to using it the next time that I have to sand joint compound. 

Preparation--the most important part of painting

I have been working on a foyer stairwell for a condominium for the past week.  I spent the first entire week, of a job that will last a little over two weeks, doing preparation work.  The last time that the foyer was painted was in 1988, when the building was converted to a condominium.  I have been sanding, filling holes, fixing cracks, and I still have to wash the baseboards, dust and caulk before the real painting begins.  And before the final coat is applied I will have to prime any joint compound that I used on the cracks and holes, and I will also have to prime any bare wood that was exposed from the abuse that the walls and trim have been exposed to over the years.

Its a lot of work, but I am paid well to do a good job--its what is expected from me from most home owners, and to be blunt I rarely hear back from home owners, after they see my estimate,  that think painting  is just "slapping paint on the wall."  If you planning a DIY paint job in the future, you have to remember that if you want your paint job to look good, and you want it to last, you have to do the preparation and you have to do it right. 

I recently read an article on the importance of preparation by Scott Burt a painter out of Vermont.  His basic argument what you do before the paint is applied is often the culprit of paint failure.  Essentially, he argues, and I agree, that if paint fails, it most likely not the fault of the paint You can read his article at http://digital.turn-page.com/i/136567/13  It a short article, and an easy read.

Not Sure About a Color Change--Try a Sample

Are you thinking about changing the color of a room in your house, but you are unsure of what the new color will look like in the room. Well, paint companies have an answer to your problem.  Color Samples.  With a price tag that is usually under $10 you can have the color mixed that you want to paint the room. 

When you paint it on the wall, paint it in various spots in the room. Look at the color at various times of the day.  Remember that light drastically effects what paint looks like, and therefore the color will not look that same at dawn, noon, and night time.  You might find that the color looks much darker or much lighter than expected.   If it is not to you liking, you have not spent a ton of money on a gallon (or several gallons) of paint. Nor have you hired a painter to paint the room and then discover after he is done that you do not like the new color.

Pittsburgh Paint

I have not used Pittsburgh Paint a lot, but got a chance on a recent job.  I was very impressed.  Used Manor Hall Interior/Exterior Semi-gloss on the trim.  Second time using this paint, and it is now one of my favorite trim paints.  Levels (see very few brush strokes) great and leaves a hard finish.  The walls' color is Rendezvous, and the ceiling was done with California Diamond ceiling paint. 

Notice how the new colors bring out the beams much more than the tan that was on the walls and ceiling before the repaint.


Using two Colors on Walls

     Job that I recently finished.  Despite being a large room with lots of natural light this room appeared small and dank.  Just look what a change in color did for the room.  On the lower walls is Benjamin Moore Coastal Fog and the slanted walls have Benjamin Moore Mascarpone. 

Be Prepared for Touch Ups and Repaints

At some point you will most likely want to touch up a paint job, or you will have some home improvement work done, but want to keep the color that you currently have on the walls and trim.  The best way to ensure that you will be able to match the colors is to keep a record of the colors that you used.

The easiest way to do this is to keep the old paint.  But, if you do this there are some actions that you must take to ensure that the paint is usable.  First, make sure the cover is tight.  This means that all of the paint on the rim should be cleaned off before you put the cover back on.  You can buy spouts that are fairly inexpensive that attached to the rim that makes pouring the paint easier and keeps the rim clean.  The purpose of keeping the rim clean is to allow for a tighter seal when you close the lid.  Second. store the paint in an area where it will not freeze. If paint freezes it might ruin.  This is especially true for water based paints.  Third, keep a record of the color.  Usually, paint stores will put a sticker on the lid, with the color name, date that it was mixed, and the pigment amounts used.  If they do not do this, ask them to write it on the lid.  But, you must keep the top of the lid clean.  If you use all of the paint, keep the lid, or write down the information and keep it in a place that you will be able to find it later--don't be like me and keep it in a pile on top of your bureau.

If you take these steps you will be prepared when it is time to do some touch up work, or paint a new patch of dry wall after your home improvement work is complete.  

Getting Rid of Old Paint

If you are like me,  old paint hanging around in your house.  I like to keep left over paint in case I need it for a touch up. But, I also tend to keep paint long after it of any use to me. Perhaps, I painted my walls a new color, and it no longer makes sense for me yo hold on to the old paint.  Also paint can go bad.  This can happen if it freezes.  Or maybe the can was not closed properly and the paint has dried.

So, if you treat your old paint like I do, you now have a problem.  You want to get rid of the paint, but you cannot throw it out, and you cannot pour it down the toilet.  Well, here is a simple solution. 

You can through out paint--it just cannot be wet paint.  So the answer is to dry it out.  There are two ways to do this.  First, if there is only a small amount of paint in the can, open the can and place it somewhere where it cannot be easily knocked over by an animal or small child.  Wait for it do dry, and then throw it in the trash.  If you have a lot of paint you can dry it out with cat litter.  Mix the paint with cat liter and then spread it out on a old newspaper. The cat litter will absorb the paint, and after it fully drys it can be thrown out safely.   Let the left over paint in the can dry out, and the can, can also be thrown out.

Why Sand? (Why Does my Painter Do That)

Greetings, 

This is my first entry for my "Pete the Painter's Ramblings."   The intent of the blog will be to inform readers on topics dealing with the painting profession. 

Why Sand?   More than once I have had customers that were surprised when I told them that it is necessary to sand before putting on a fresh coat of paint.  And, they have told me that when they did the painting themselves in the past that they did not sand.  Big Mistake!

The purpose is sanding is to create a rough surface for the new layer of paint to adhere.  You may notice when you have your house painted that the painter will not sand before he puts on second coat of paint.  On the surface this seems to make little sense. Why sand the the old paint and not the layer which the final coat will rest.  The reasoning has to do with the curing of paint. 

Most  paint manufacturers recommend  to wait somewhere between two and four hours before applying a second coat of paint.  Despite being able to apply a second coat on the first coat, the first coat if far from fully curing. 

Have you ever had the problem of taking off an electrical plate off of a wall and have the paint under it come off with the plate.  Very annoying.  The reason this occurred is because whoever placed the plate on the wall had not waited long enough.  It takes almost one month for most paints to fully dry .  I always tell my customers to wait a week before they put anything back on the walls and to do not use any harsh abrasives on the paint for one month.  

This brings me back to why a painter will sand an old coat of paint and not between coats of the fresh paint.  When you hire a painter,  the paint that is already on the walls and trim has been there for a very long time, and is very hard.  Therefore is should (must) be sanded.  If it is not sanded the new coat will hot adhere properly.  However, the first coat of fresh paint is still soft and malleable, and can accept a second coat without  affecting the integrity of the second coat.

Of Coarse there are always exceptions to the rules.


by: Peter Martin (Pete the Painter)