Pete Martin The Painter Gloucester, MA

A fresh coat of paint can change the mood of a room.

Pete Martin the Painter, Gloucester, MA; Pete Martin the Painter, Rockport, MA; Pete Martin the Painter, Martin the Painter, Manchester, MA; Pete Martin the Painter, Essex, MA; Pete Martin the Painter, Ipswich, MA; Pete Martin the Painter, Wheham, MA;  Pete Martin the Painter, Hamilton, MA;  Pete Martin the Painter, Rowley, MA; Pete Martin the Painter, Beverly, MA;Pete Martin the Painter, Salem, MA:


Filtering by Tag: Painter Cape Ann

Exterior Painting....Why is it so Harder than Interior?

The exterior season is just around the corner, and I have a love hate relationship with exterior work. I enjoy it because I get to be outside, and as long as the weather cooperates I usually have no issues staying really busy. This year I am starting the season with four exteriors that I could not fit into my schedule last year. The hate…well it is exhausting work. Up and down ladders all day, and if there is a lot of scraping and sanding I will be shot at the end of the day. And there is all of the other stuff that can make it so much work….

Here are the things that you should be thinking about when you hire a painter to paint your exterior work. Most of these are why painting can be so difficult in the early spring and late autumn.

  • Air and surface temperature usually has be at 40 degrees or higher

    • So, if it is 50 degrees out and the area to be painted is in the shade chances are that it cannot be painted

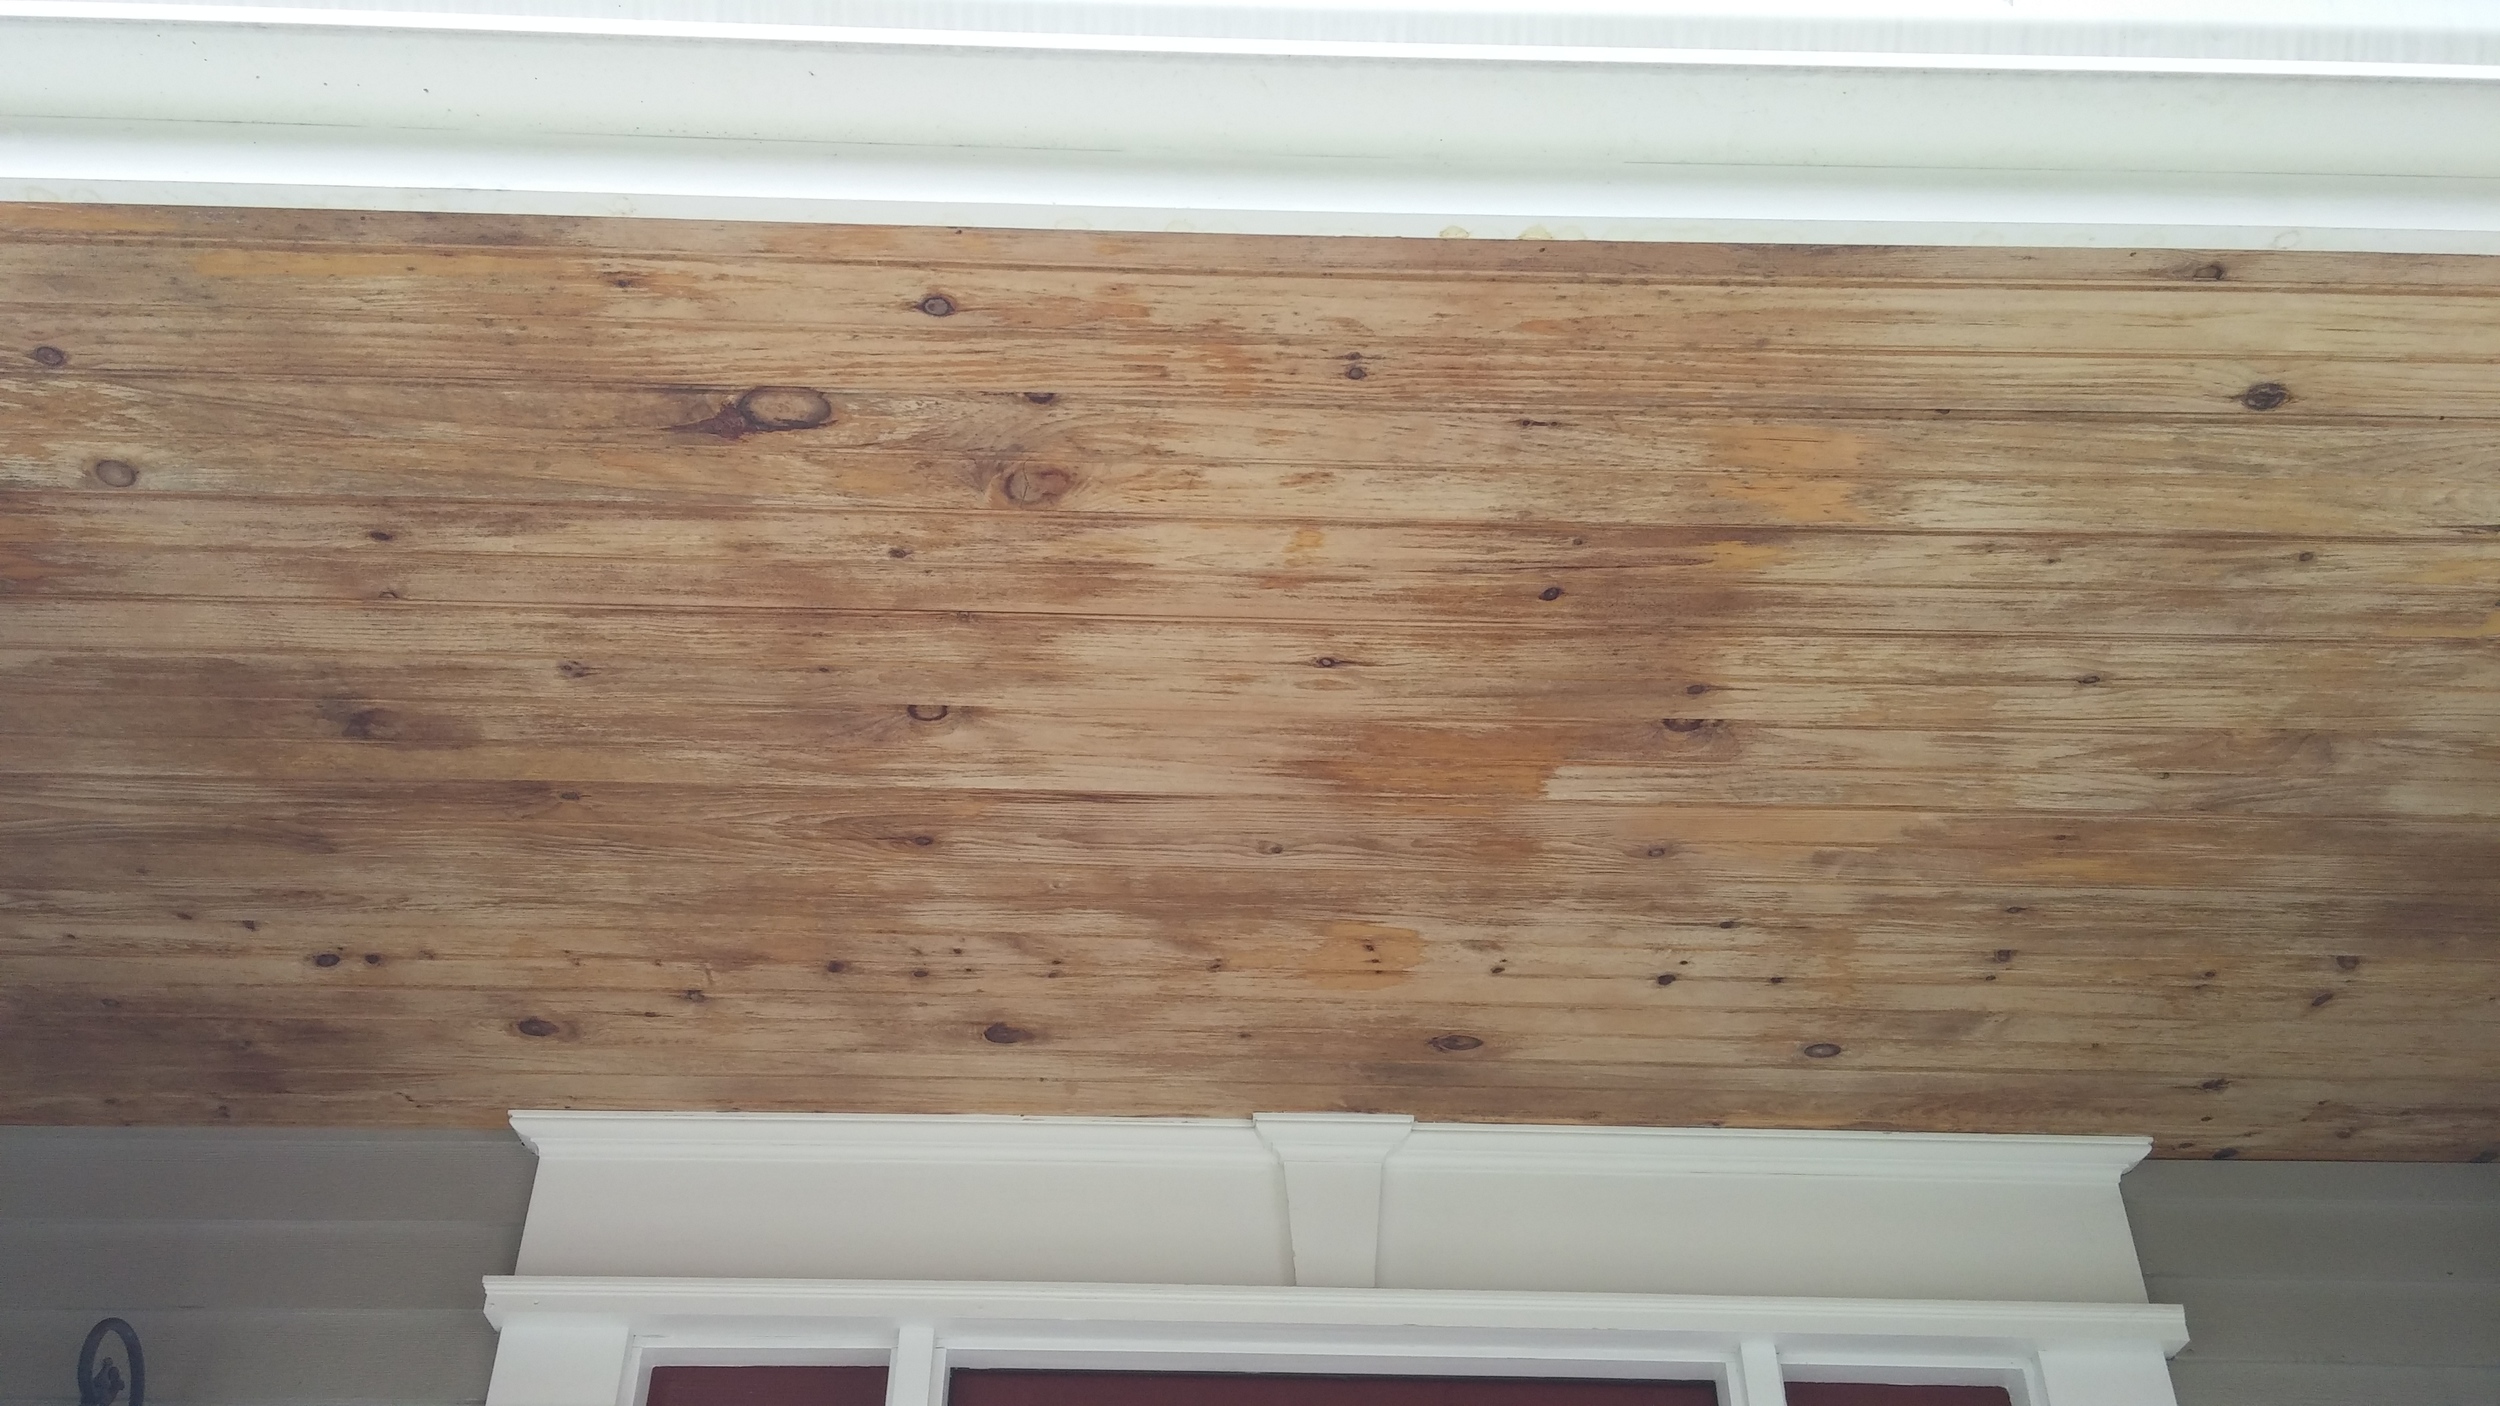
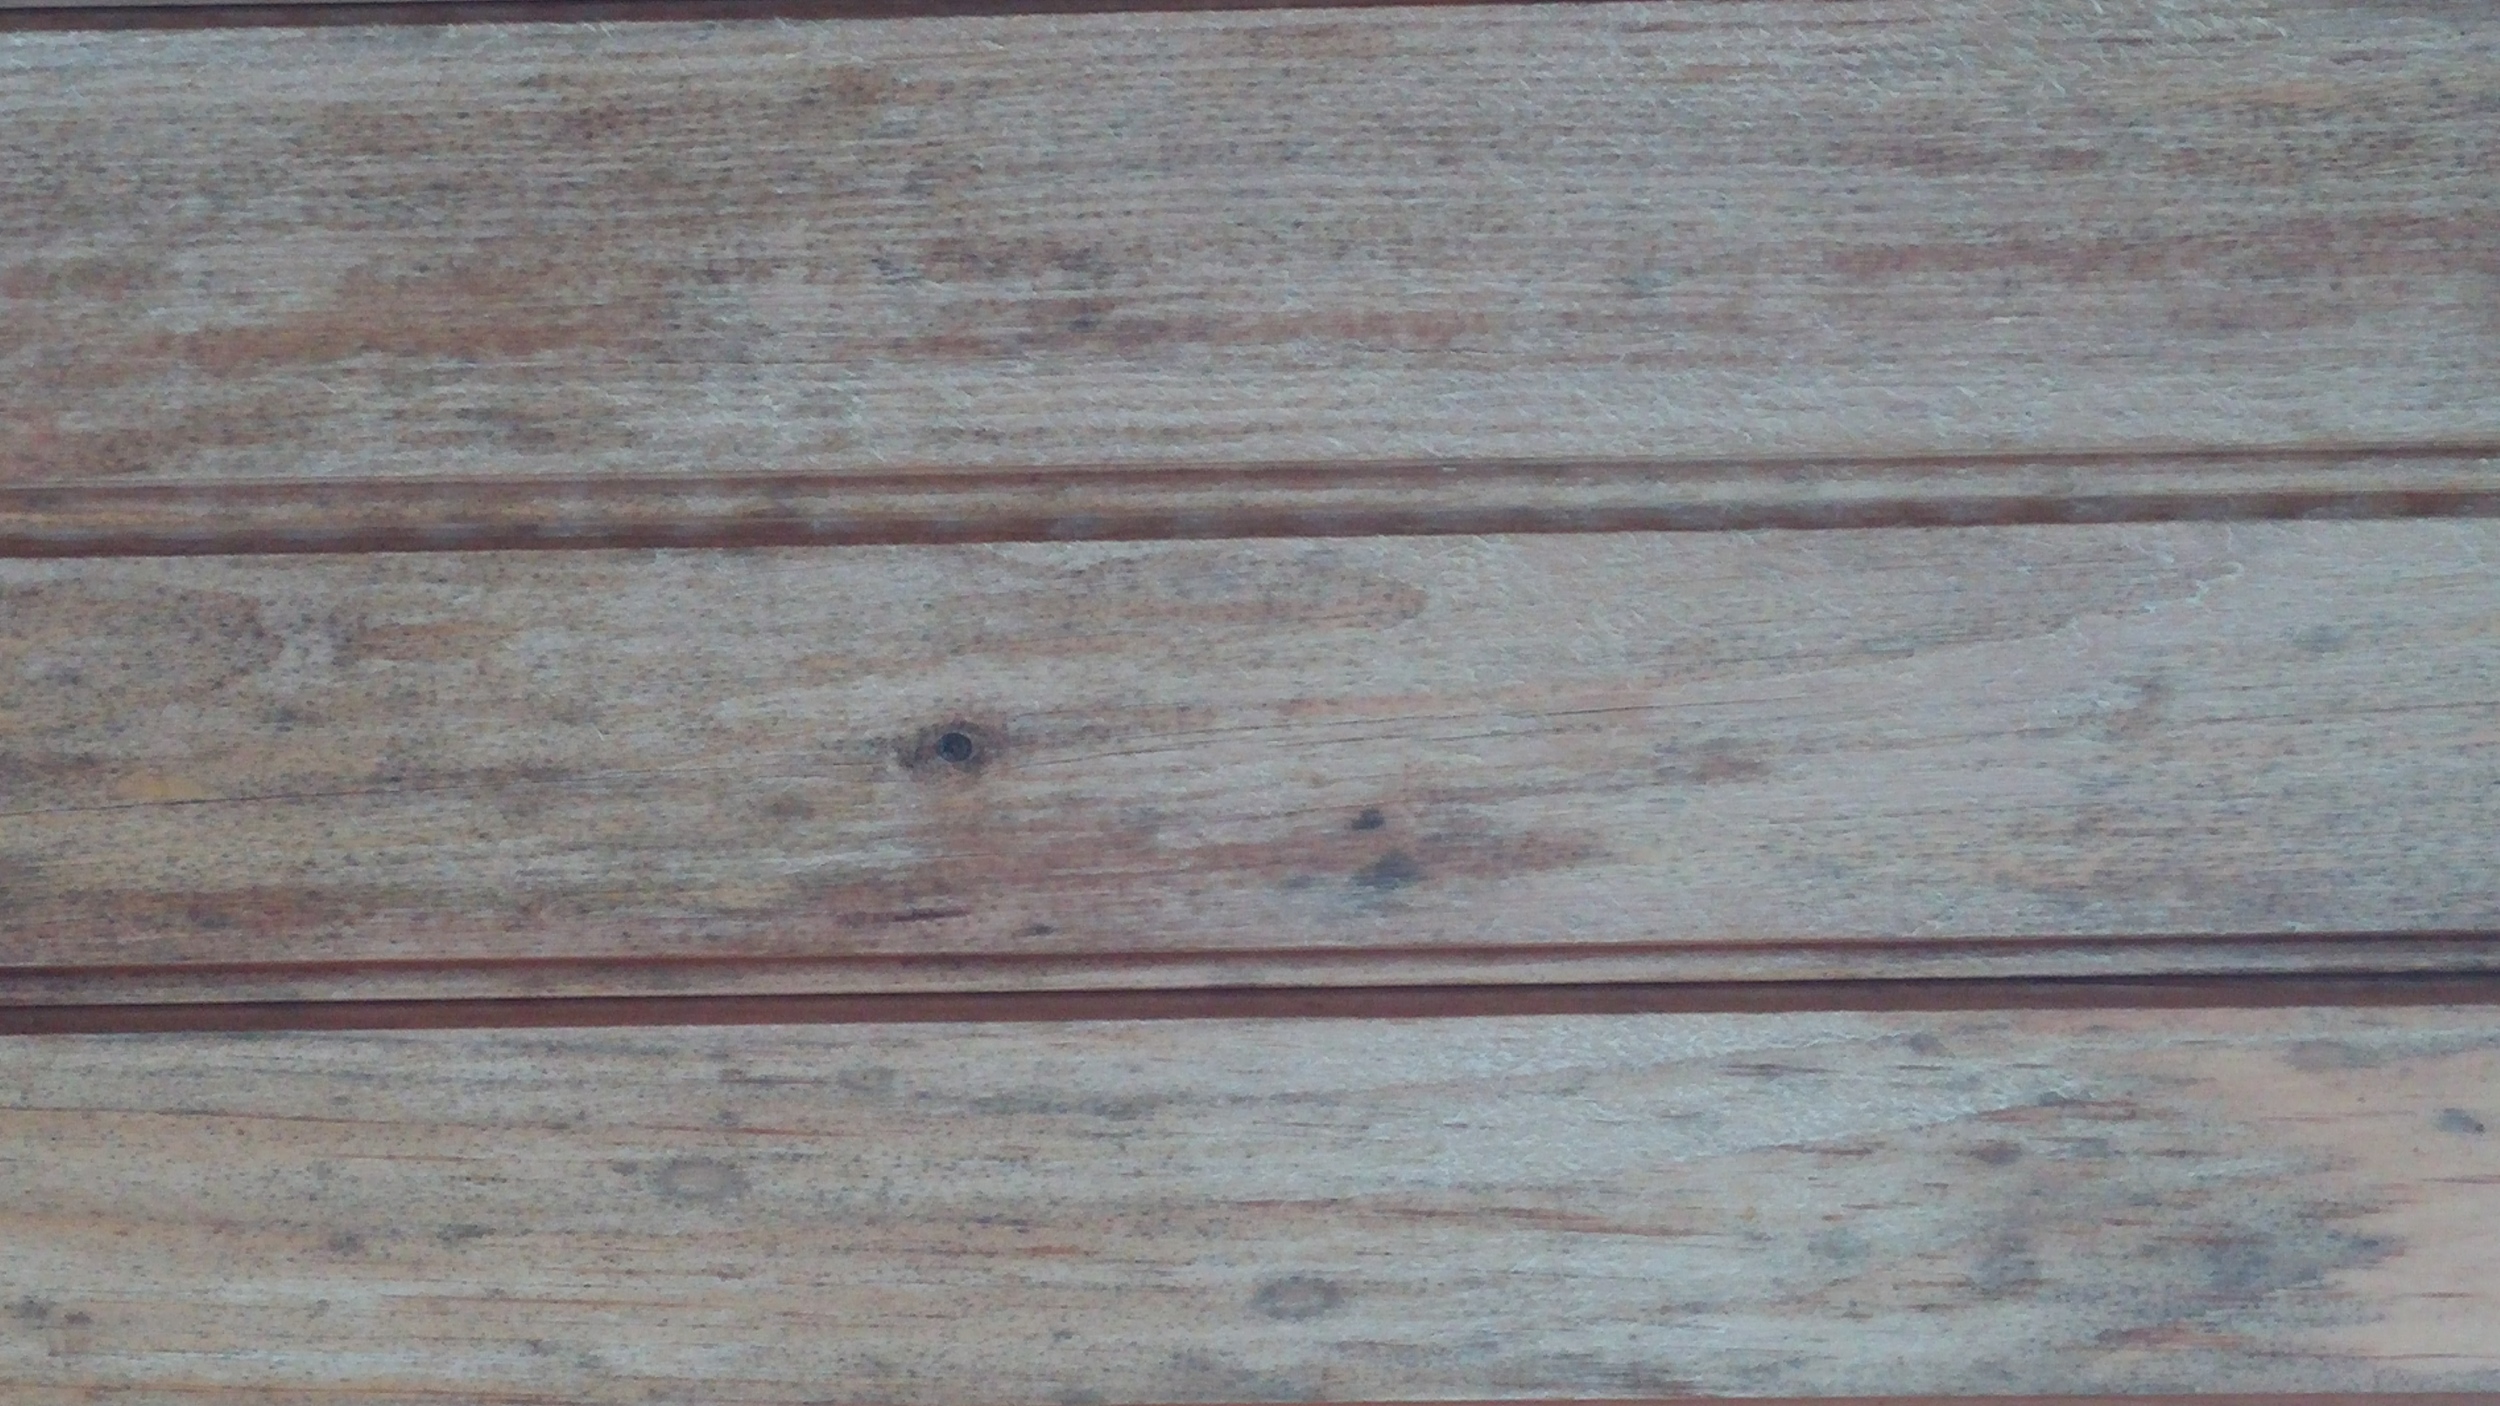
  • Grey wood (wood that looks aged) is no good, It has to be removed

    • Grey wood will not hold paint long

  • The house has to be cleaned

    • A layer of dirt under the new paint will lead to failure

  • As too cold is not good, most paint cannot not be applied when the air or surface temp is above 90 degrees

    • it is very easy for a dark surface to reach well above 90 degrees even when the air temp is below 90 degrees

      • I have seen temps as high as 140 degrees. Paint fries at that temp

  • Moisture…this one is the worst of them all.. Especially if you live right on the water

    • The moisture level of wood must be below 10%.

    • If there is dew or rain in the morning it can often take hours for wood to dry to a moisture level that will allow it to be painted

    • A little dew in the morning on the north or west side of a building can mean no painting can be done on that day.

Keeping up with New Technologies (An Educated Painter)

My grandfather use to paint. He painted steeples. I could never paint steeples for a living. I do not mind heights, but I have my limits. The painting profession has changed very little since the time that my grandfather painted…on the surface. But in reality better paints, better prep tools, and better safety tools are constantly being developed, and I want to try them all.

I am now working on my seventh year on my own. And, I have learned that there are essentially two types of painters when it comes to new technologies. Those that refuse to try new things, and those that are eager to try anything that makes their job easier and better. I am the latter. I am not saying that you cannot get a quality paint job from those that are set in their ways, but there is so much out there that can make painting easier on the painter and home owner, and hopefully make the job last longer.

Not everything that I try work. I have a lot of equipment in my storage garage that has not seen the light of day for quite some time. There are others that are game changers. I am going to talk about a couple of these briefly,

Festool

Festool is a German tool company. Although I am not a fan of Cadillac cars, the saying about them is apropos…Festool is the Cadillac of sanders. From what I have been told all of the tools that the company makes are top notch. I have a cousin that bought one of its sanders specifically designed for autobody shops. And, anytime that I have run into a carpenter that uses its tools they have high praise for them. I use the sanders. The reason that I use them is three fold. They are workhorses, they design a sander for almost every possible situation (I will soon purchase my sixth sander) and they are clean. The sanders attach to extractors (vacuums) that turn on when the sander is turned on and turn off five seconds after the sander is turned off. The extractor sucks up almost all of the dust…99% if the entire surface of the sandpaper is in contact with the surface being sanded. This means a much cleaner work site, and a lot less time spent cleaning.

Mad Dog Primers

Mad Dog Primers are a game changer. Essentially the primers are glue like. I use this primer on exterior jobs when the surface is in rough shape, or is difficult to prep properly. Such an example would be lead paint. Whenever I run into lead paint that is a really bad state of affairs I use Mad Dog. Mad Dog can be used over glossy paint without being sanded, and it can be used with somewhat weathered wood. When lead work is done, workers have to wear Tyvek suits, and plastic has to be laid out to keep dust from contaminating the ground. So, the less sanding the scraping the better. The company also claims that its primers allow the paint job to last up to twenty years. I have not been using it long enough to verify, but I have used it on wood that was so beat up that I felt it should not have been painted. Five years later and it still looks great.

Coffered Ceilings

Well, this was supposed to be a much bigger post about a recent job that I did in my own home removing wallpaper that was not installed properly. This resulting in a very time consuming removal and a lot of repairs before the walls were ready to be painted.  However, I posted the pictures on my phone on Facebook as a video, and for some reason I can no longer find them on my phone, nor can I get them in picture format from Facebook. I tried posting the video here, but I just could not get it to work.


Well, the other big part of the job was fixing the coffered ceiling. A coffered ceiling is a ceiling that is broken into sections by trim. When painted properly they look great. When the trim is painted the same color as the ceiling their is really nothing special about them...the trim blends into the ceiling and is lost. To make matters worse on this job was that that last time the trim was painted it was rolled and the stipple from the roller was on the trim. Trim is supposed to not have stipple on it.


Finley and Marlboro Blues

Here are a bunch of pictures from a recent repaint.  This is the job that I spoke about in my last blog concerning using paint samples which you can view here. As you can tell from the pictures, this was a fairly big job..a lot of the joint compound tape had to be removed and replaced.  I use Fibafuse which claims to be 70% stronger than paper, and has the added advantage of being porous.  This means that air bubbles under the tape, which can happen with paper, are not an issue.

Benjamin Moore Regal Select Finley Blue was used in the bedroom and Benjamin Moore Aura Marlboro Blue was applied in the bathroom.  Both were done in eggshell.  Advance white was applied to the trim and Benjamin Moore 508 ceiling paint, which is an ultra flat pain, was applied to the ceiling in the bedroom.  Aura eggshell white was put on the ceiling in the bathroom.

Paint Samples--Use Them to Avoid Disaster (well not quite a disaster)

I just finished a job that took a bit less than two weeks.  The job consisted of a bedroom, what I have been calling an entrance hallway. and a medium sized bathroom.  The hallway is attached to the bedroom, so that when you walked through the bedroom door you have to walk about 10-15 feet before you actually get into the bedroom.

In the bedroom, where the wall meets the ceiling, all of the joint compound tape, was failing. The ceiling was slanted going from about seven feet to about 12 feet. There were also several areas in the hallway and bathroom that had failing joint compound tape. Plus the room was full of furniture..not easy to move around in.

Before any paint was put on the wall the joint compound had to be fixed. This involved removing the old tape, sanding the ridge resulting from the removal of the old tape.  I am not sure if all painters do this step, and I generally only do int on corners.  I find it often very hard to apply the new tape without applying too much mud. I also had to add the additional step of putting Durabond into the gaps between the wall and the ceilings. This job was very similar to a job that I did in the fall of 2014.  You can check out the blog on this job here. The gaps were most likely the reason that the tape failed. Once the new tape and mud was applied everything had to be cleaned, then sanded. All of the new joint compound had to be primed before it was painted (no paint in primer in one will not work). On the ceiling areas that were primer were painted with ceiling paint, and then the entire ceiling was give a coat of Benjamin Moore 508 ceiling paint...great paint...usually one coat will do.  All of the trim was give one coat of Benjamin Moore Advance semi-gloss.

All of this work took me about 5 1/2 days.  then the walls paint went on.  I am not sure of the total surface area...I usually guesstimate and adjust the price of paint based on what I used.  The first coat in the bathroom and hallway took one gallon, so I am guessing the wall surface in was about 800 square feet.  I put on the paint on the largest of the walls before my morning break, and the the homeowner looked at it after it had dried a bit, and she did not like the color! Obviously, I had suggested to her that she might want to try a color sample, but she said that it was not needed. 

The home owner commented that she thought that the color would be darker, and it was a bit darker once I applied the second coat, but still not as dark as she thought it would be.  When first viewing the color she told me that she would get used to it.  And, I did go back several days later and she told me that she did like the color, and was very happy with the way the job turned out. She was lucky.  I have had customers learn that they dislike colors very much after I apply them.  This particular customer did tell me that she still was not overjoyed with the bathroom color, but she would get used to it.

When you factor in the price of labor and materials, paint is a small fraction of the overall cost of most paint jobs. However, if it is not the color you you expected, it can ruin the entire job. And, even though paint is not overly expensive, applying it can be costly.  Also, if you have a very large room that requires several gallons of paint, and the painters bought all of the necessary paint already, replacing it with a color you like can get expensive. Therefore, it is always a good idea to get a sample of the paint that you want to put on the walls. And, put it on several walls.  The walls in the room will not get the same light, and therefore will look different from one wall to the next throughout the day.  It is also best to view the color throughout the day.  The color will not look the same in the mid day light as it will in the evening when the only light source will be artificial light. 

What are you paying for when you hire a painter

I thought that this might be a good time to explain, for those that care to know, what goes into running a small painting company. And then perhaps they will better understand what goes into the cost of hiring a legitimate painting company.

Paint companies are not simply a DIY guys (or gals) that you are hiring to paint your room.  What I mean by this is that painting a room for a professional painter is more than just purchasing a couple brushes, a roller, drop cloths and a couple gallons of paint and then painting your room for a fee.

Painters have a ton of equipment that they do not charge home owners for directly.  When I write up a contract, the expenses that I charge to home owners go into four categories: labor, expenses, paint, and materials.  Labor and paint are pretty straight forward.  The difference between materials and expenses might need a little explanation.  Materials encompasses the sundries that can be easily quantified and charged to the home owner.  Such items include such things as sandpaper, blue tape, and joint compound.   Expenses, although they sound much like materials, are costs that really can not be directly charged to a home owner, but must be accounted for in order to ensure that a painting company can make a decent profit.

 I try to only take the equipment that I need to a job.  This way I take up as little space as possible space in the clients home.  However, even as a one man show, I own fifteen ladders. Why? different jobs require different ladders. I own a three piece, sixteen foot extension ladder.  Since it has three sections, instead of two, it is very compact when it is not extended, which makes it easier to move around the inside of home.  It is very useful when I paint stairwells. I also own a couple of ladders that allow me to set them up on stairs.  Even though I own these ladders, I do not use them on every job. 

Ladders are a fairly durable item, and they will last a long time. But there are many tools that will eventually need to be replaced. And, pros do not like to purchase cheap equipment.  Paint brushes can cost anywhere from $15 to $40 and not every paint brush is appropriate for every job.  Many painters, including myself, have certain paint brushes that they use for each type of paint they use.  Paint brushes have a fairly short life span if used a lot.  There are also tools that last longer, but will need maintenance and eventual replacement.  These include items such as sanders, dusters, brush cleaners...ect

Other expenses that must be accounted for by paint contractors, in order for them to run a profitable business, are the costs such as insurance, fees, and rental space costs.  Registering a company with the state cost money.  If a contractor is certified to work with lead, he must figure in the cost to take the class and the license from the state.  Liability and vehicle insurance, and workers compensation (if he has employees) are all necessary if he runs a legitimate company.

Thus, when a paint contractor gives you an estimate, he is giving you a price based on what it will cost him toto cover his expenses and make a profit.  He cannot simply only figure in the costs of the specific items (roller cover, paint brush, blue tape, paint) used on the job, and the amount of time that it will take to complete the job.  Doing so, would quickly lead to the painter to look for employment in another field.

Dirty Tongue and Groove Ceiling

This exterior ceiling was cleaned about a month before I started the rest of the job.  When I cleaned it, it was very dirty.  House is near a heavily used road and the ceiling was essentially black.  There was no intention to refinish the ceiling, but when I came back to do the other work, I noticed that most of the urethane was almost gone.

The grime had stained the wood, and it was a lot of work to get it looking good again.  I was not able to get all of the stains out, but I was very happy with the end result.

The images progress from the condition that I found it when I arrived, partially sanded, totally sanded, and two coats of spar urethane (it still needs one more).


Why Sand?

At a recent job the client that I was working for wondered out loud why the walls in the house looked so bad--the paint came off very easily.  I asked her if she had sanded before she painted. She said no. 

The purpose of sanding is to create a surface for the new coat of paint to grab on to.  The only time that it really is not necessary is when painting over flat paint, but even then I sand just for extra piece of mind--except on flat ceilings of course.

At another job, i was working on a stairwell and the paint on the skirts was peeling off very easily.


Oil paint was not sanded before painting with a latex paint

Oil paint was not sanded before painting with a latex paint

There really is only one solution to this problem: scrape, wash, sand, clean of dust and paint.  I could have just sanded and painted.  However, the substrate, the old paint that I would have been painting over, was still unstable--it was not adhering properly.  And the new paint would not look good long.  One ding, which is easy on stairs, and the peeling would start up again.

Luckily there was only a little bit of scraping to do.  Imagine if I had en entire wall, or many walls that this was happening.  An, easy repaint will quickly become very expensive.


Wallpaper Removal

Some before, during, and after pictures from a recent wallpaper removal that I did in Rockport.  The wallpaper came off easy--did not have to use any Dif, but as you can see from the pictures some of the gypsum board did get damaged, which required a skim coat. I forgot to take a picture of the areas skim coated.  I only painted the walls and the ceiling in this room.