Pete Martin The Painter Gloucester, MA

A fresh coat of paint can change the mood of a room.

Pete Martin the Painter, Gloucester, MA; Pete Martin the Painter, Rockport, MA; Pete Martin the Painter, Martin the Painter, Manchester, MA; Pete Martin the Painter, Essex, MA; Pete Martin the Painter, Ipswich, MA; Pete Martin the Painter, Wheham, MA;  Pete Martin the Painter, Hamilton, MA;  Pete Martin the Painter, Rowley, MA; Pete Martin the Painter, Beverly, MA;Pete Martin the Painter, Salem, MA:


PSA and Some Self Promotion

Now that the exterior season is almost here many are looking to get the outside of there house painted. I try to not do a whole lot of exterior work nowadays. I am fifty-four and I work by myself. I consider myself to be in pretty good shape, but up in down ladders all day is hard on everyone and the older you get the harder it gets to recover. But that is not why I am writing this post.

When home owners hire a painter, or in fact any contractor, they expect that they know what they are doing. And, often, since home owners have little experience painting, they have little knowledge of proper painting practices.

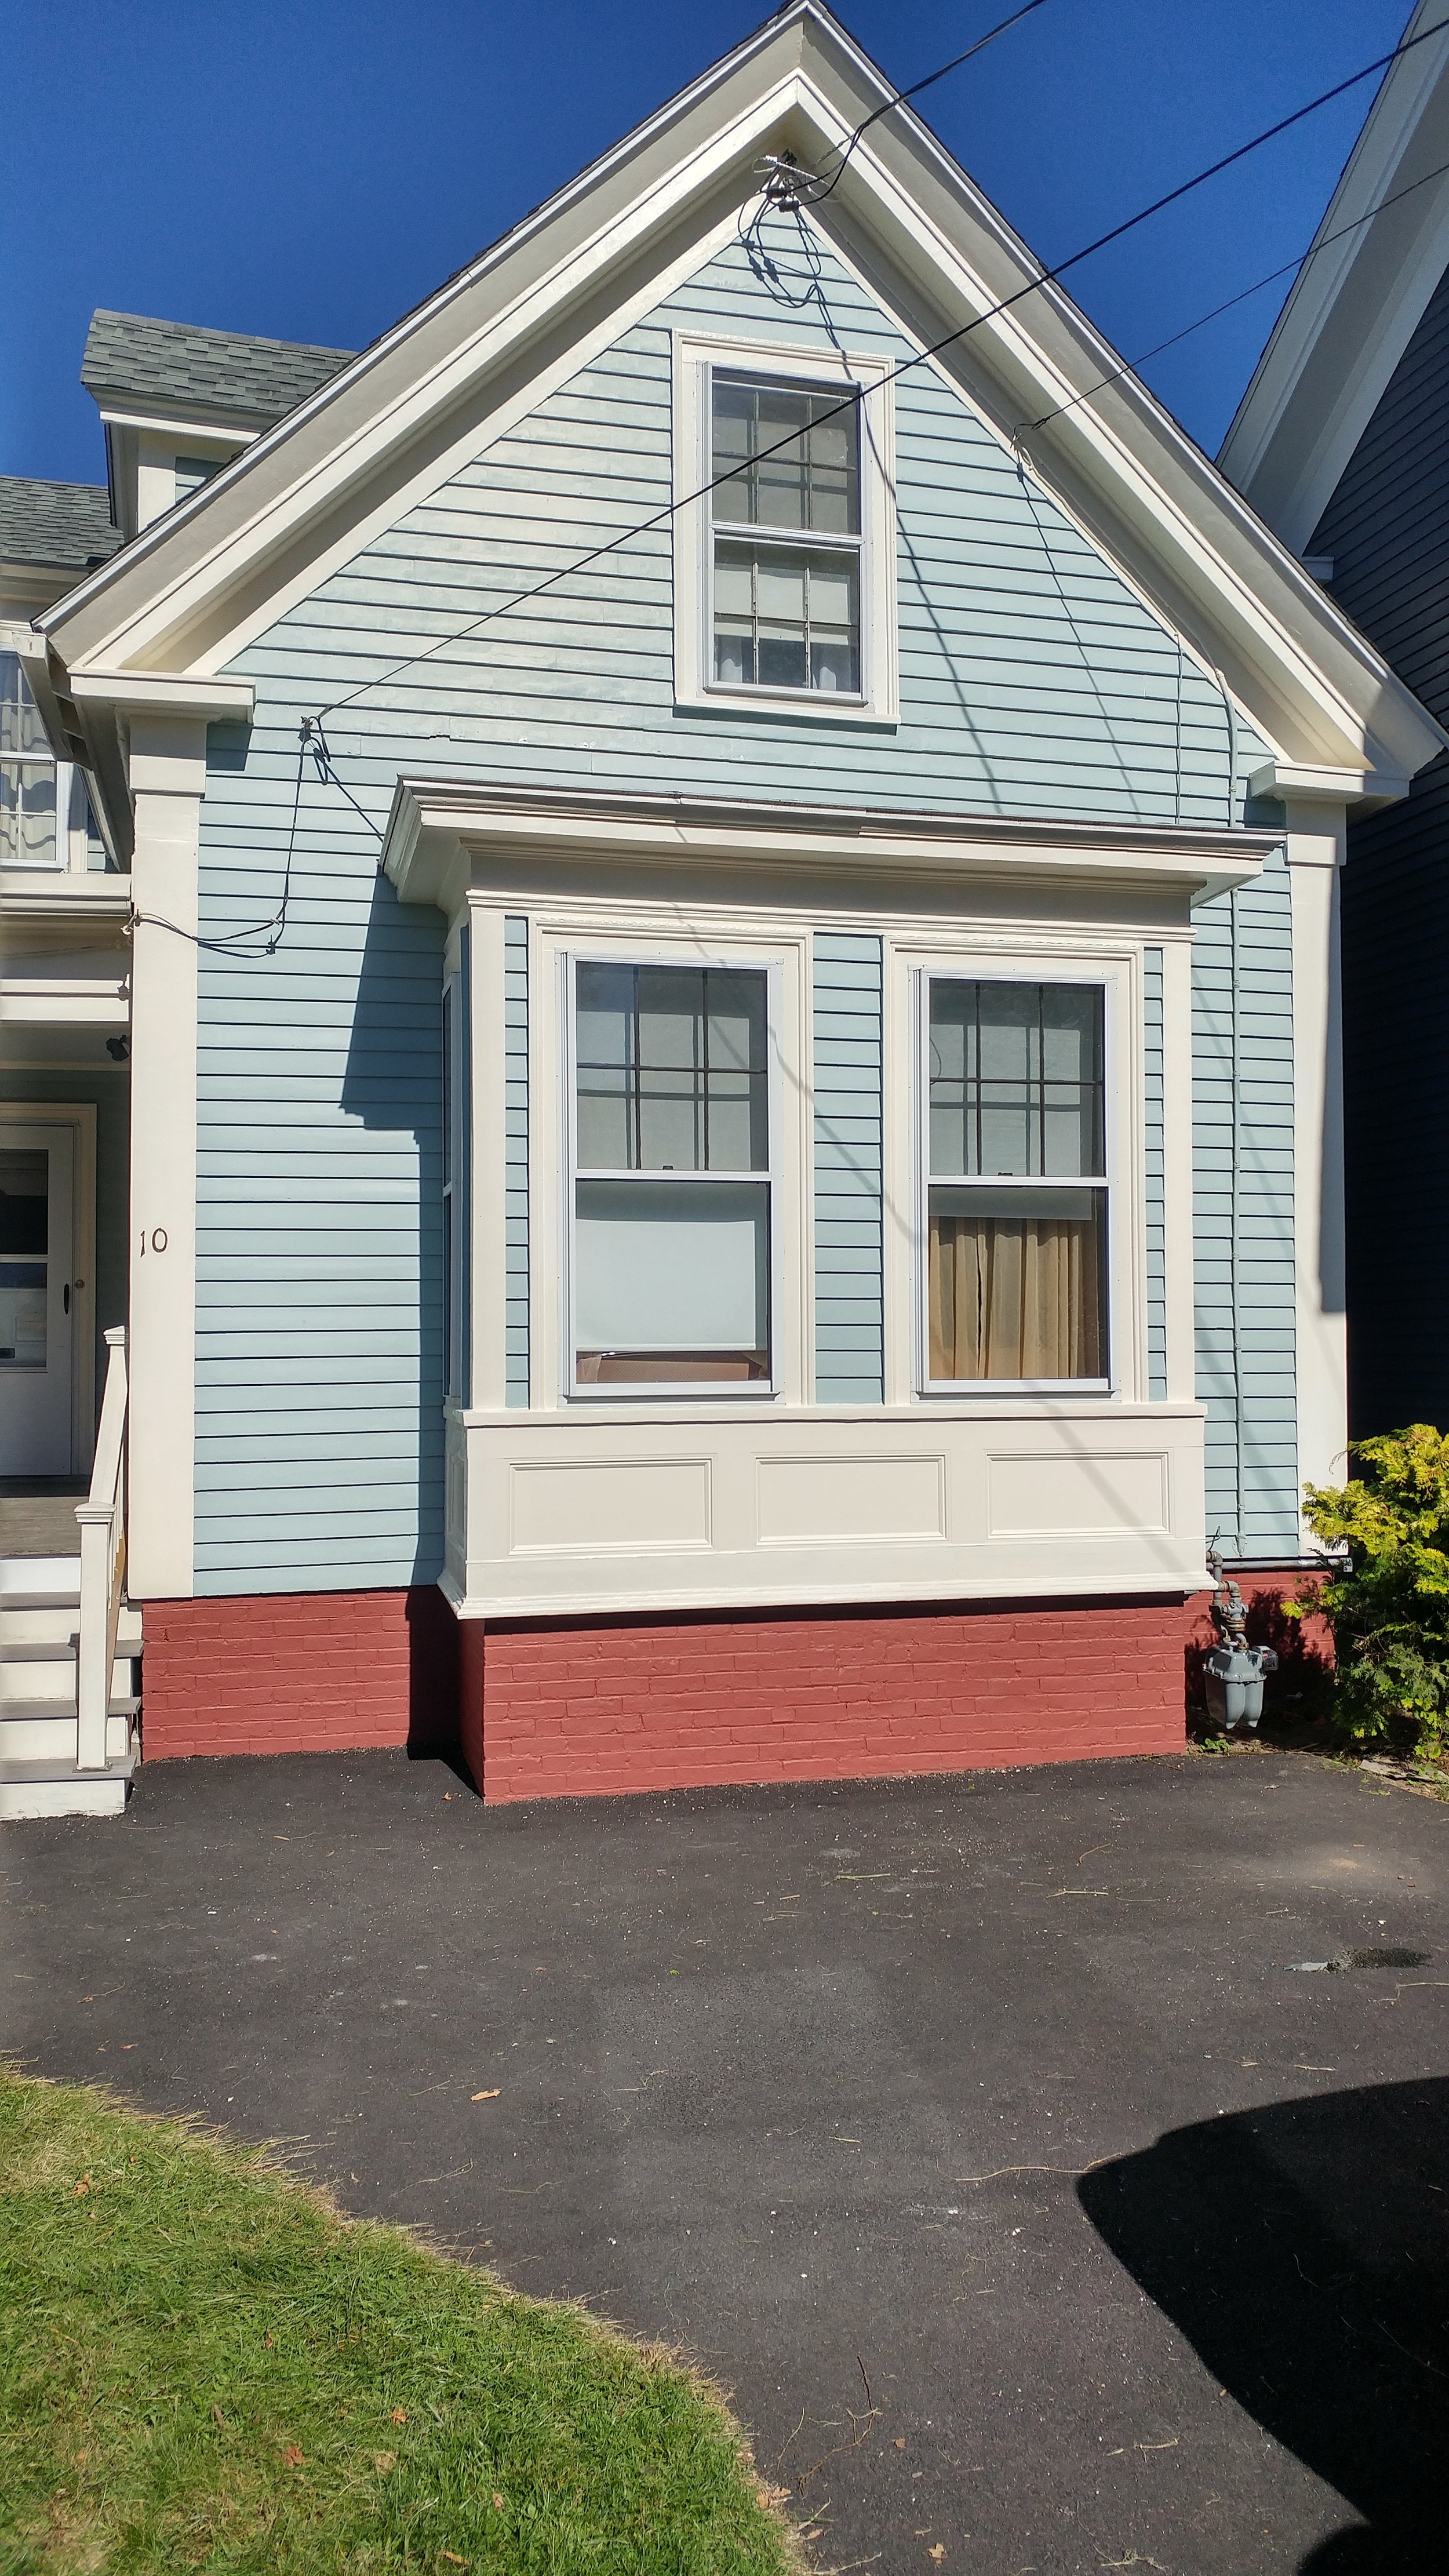
The truth of it is that put painting on a wall is not that hard. Put paint on a brush or roller, place said brush or roller on the surface to be painted, and move it back and forth. But, making it look good is a skill.

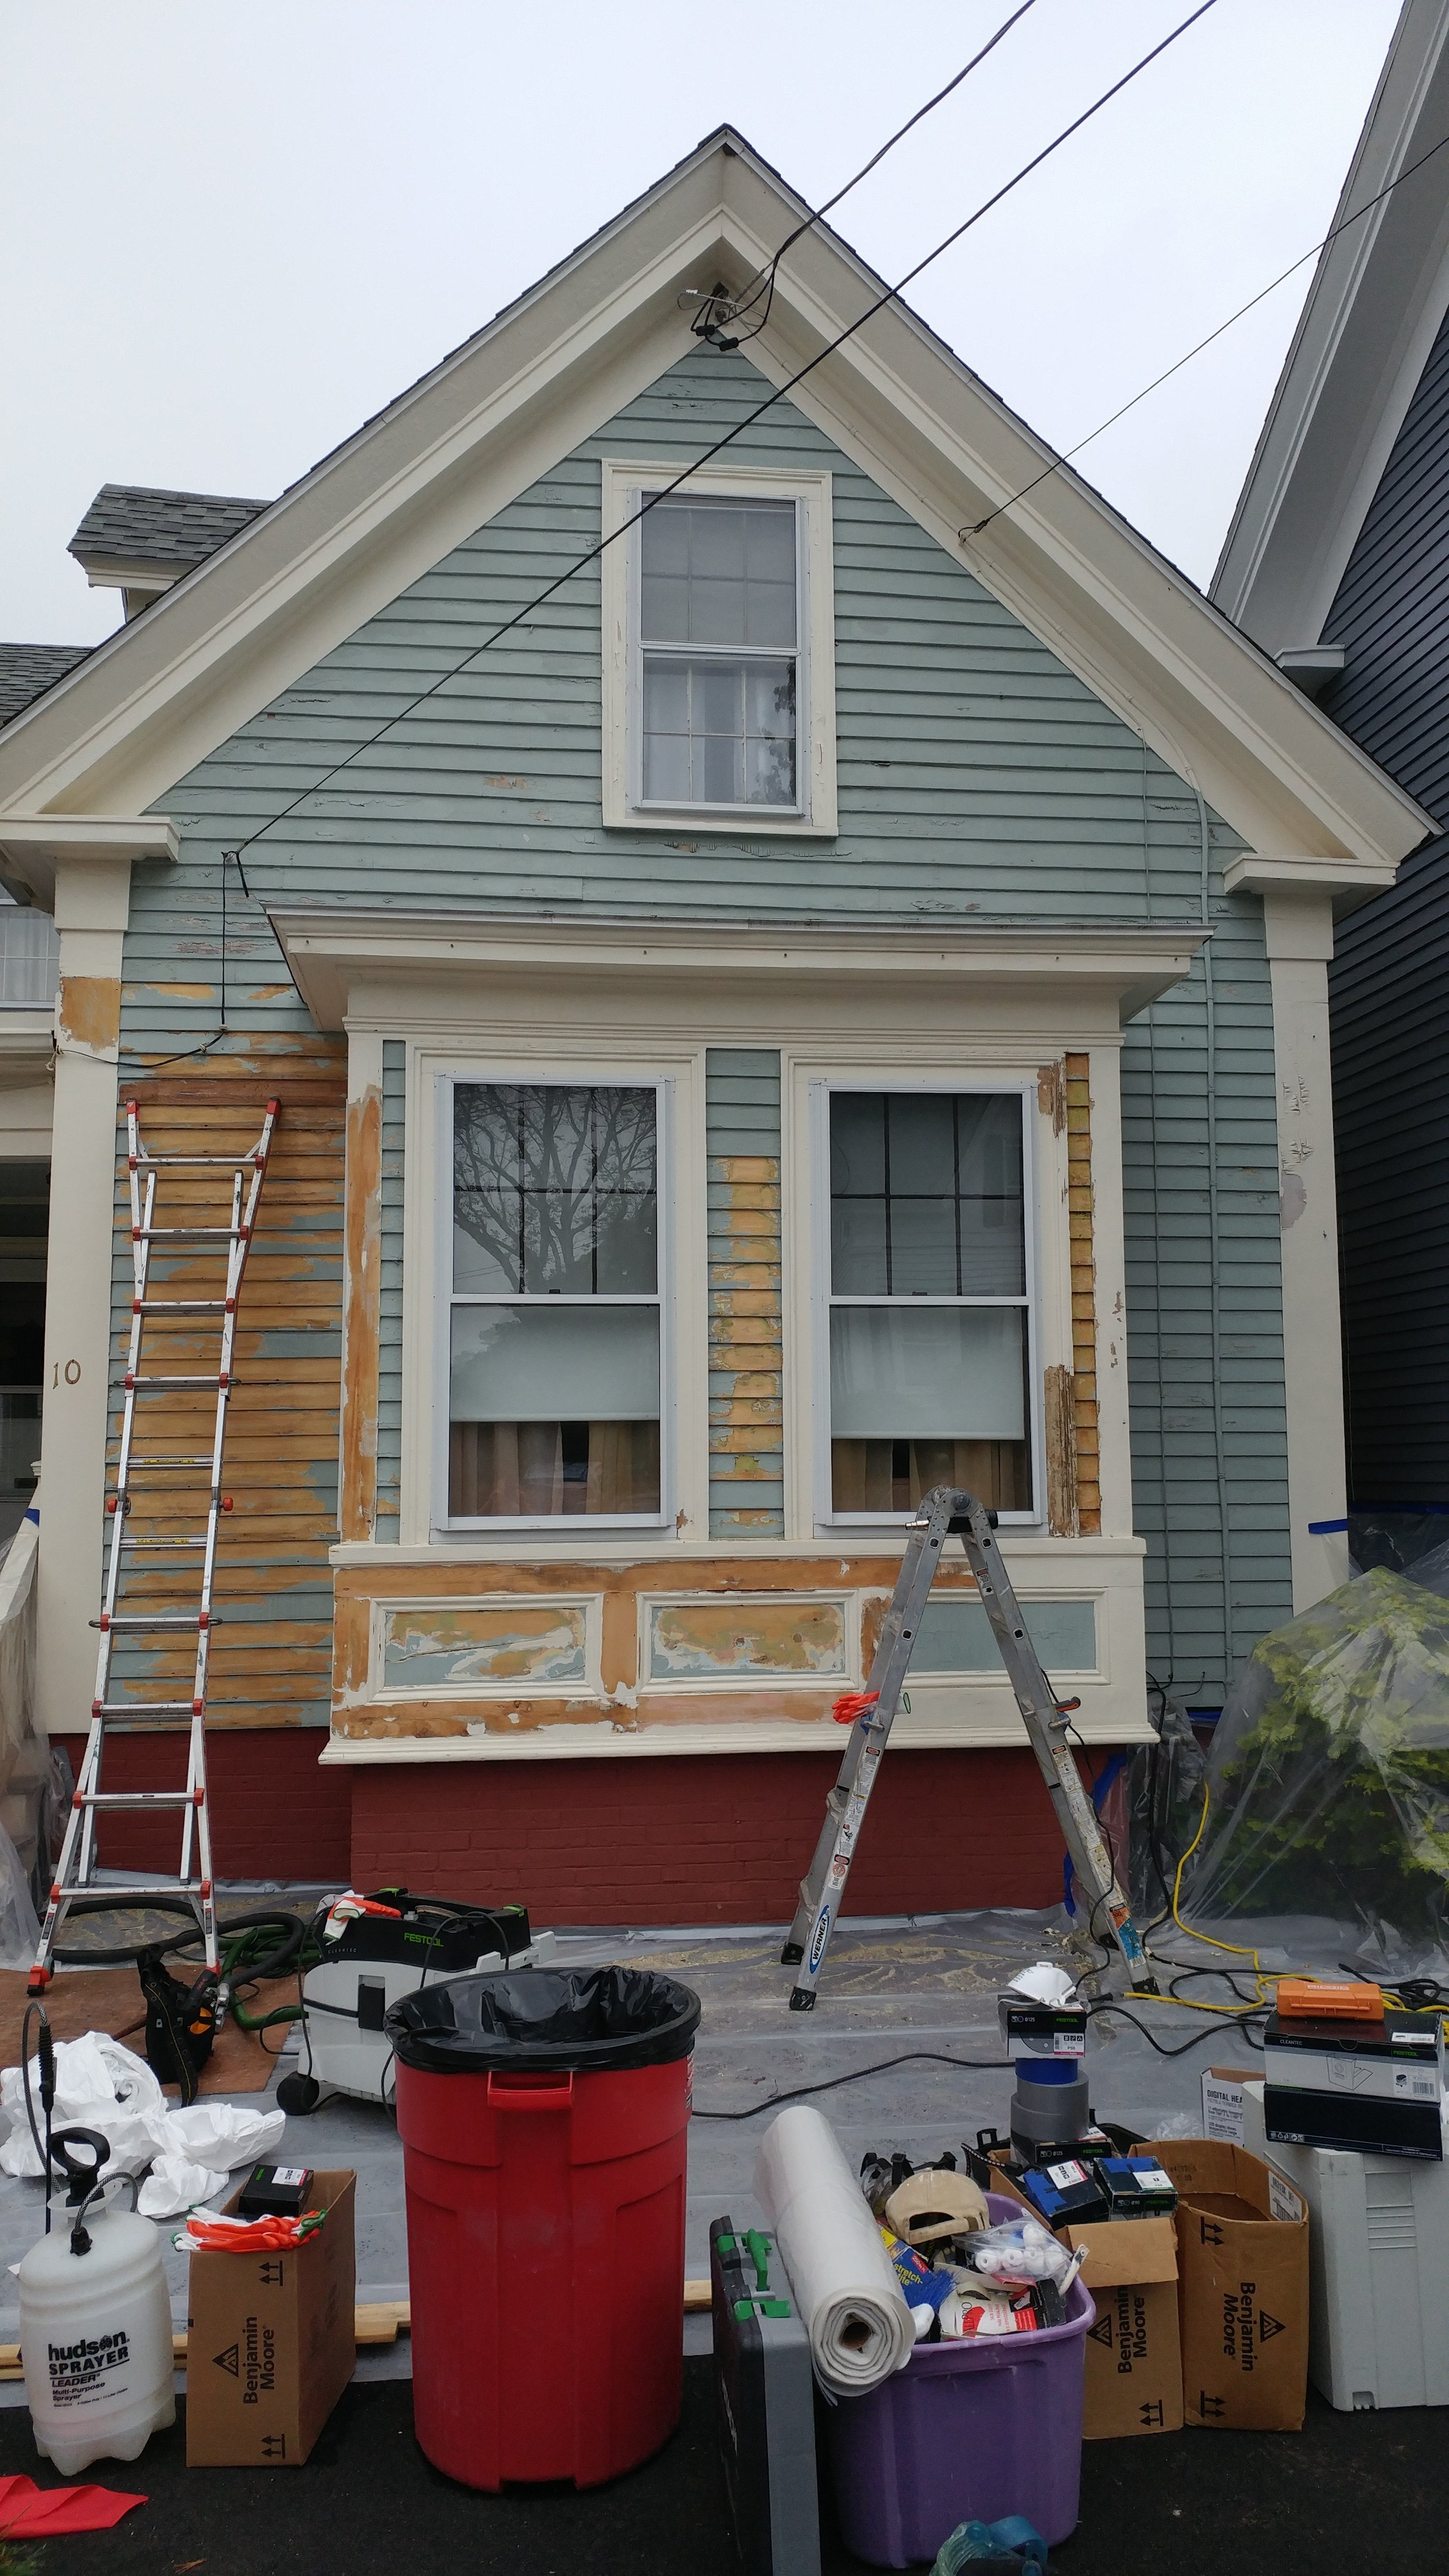
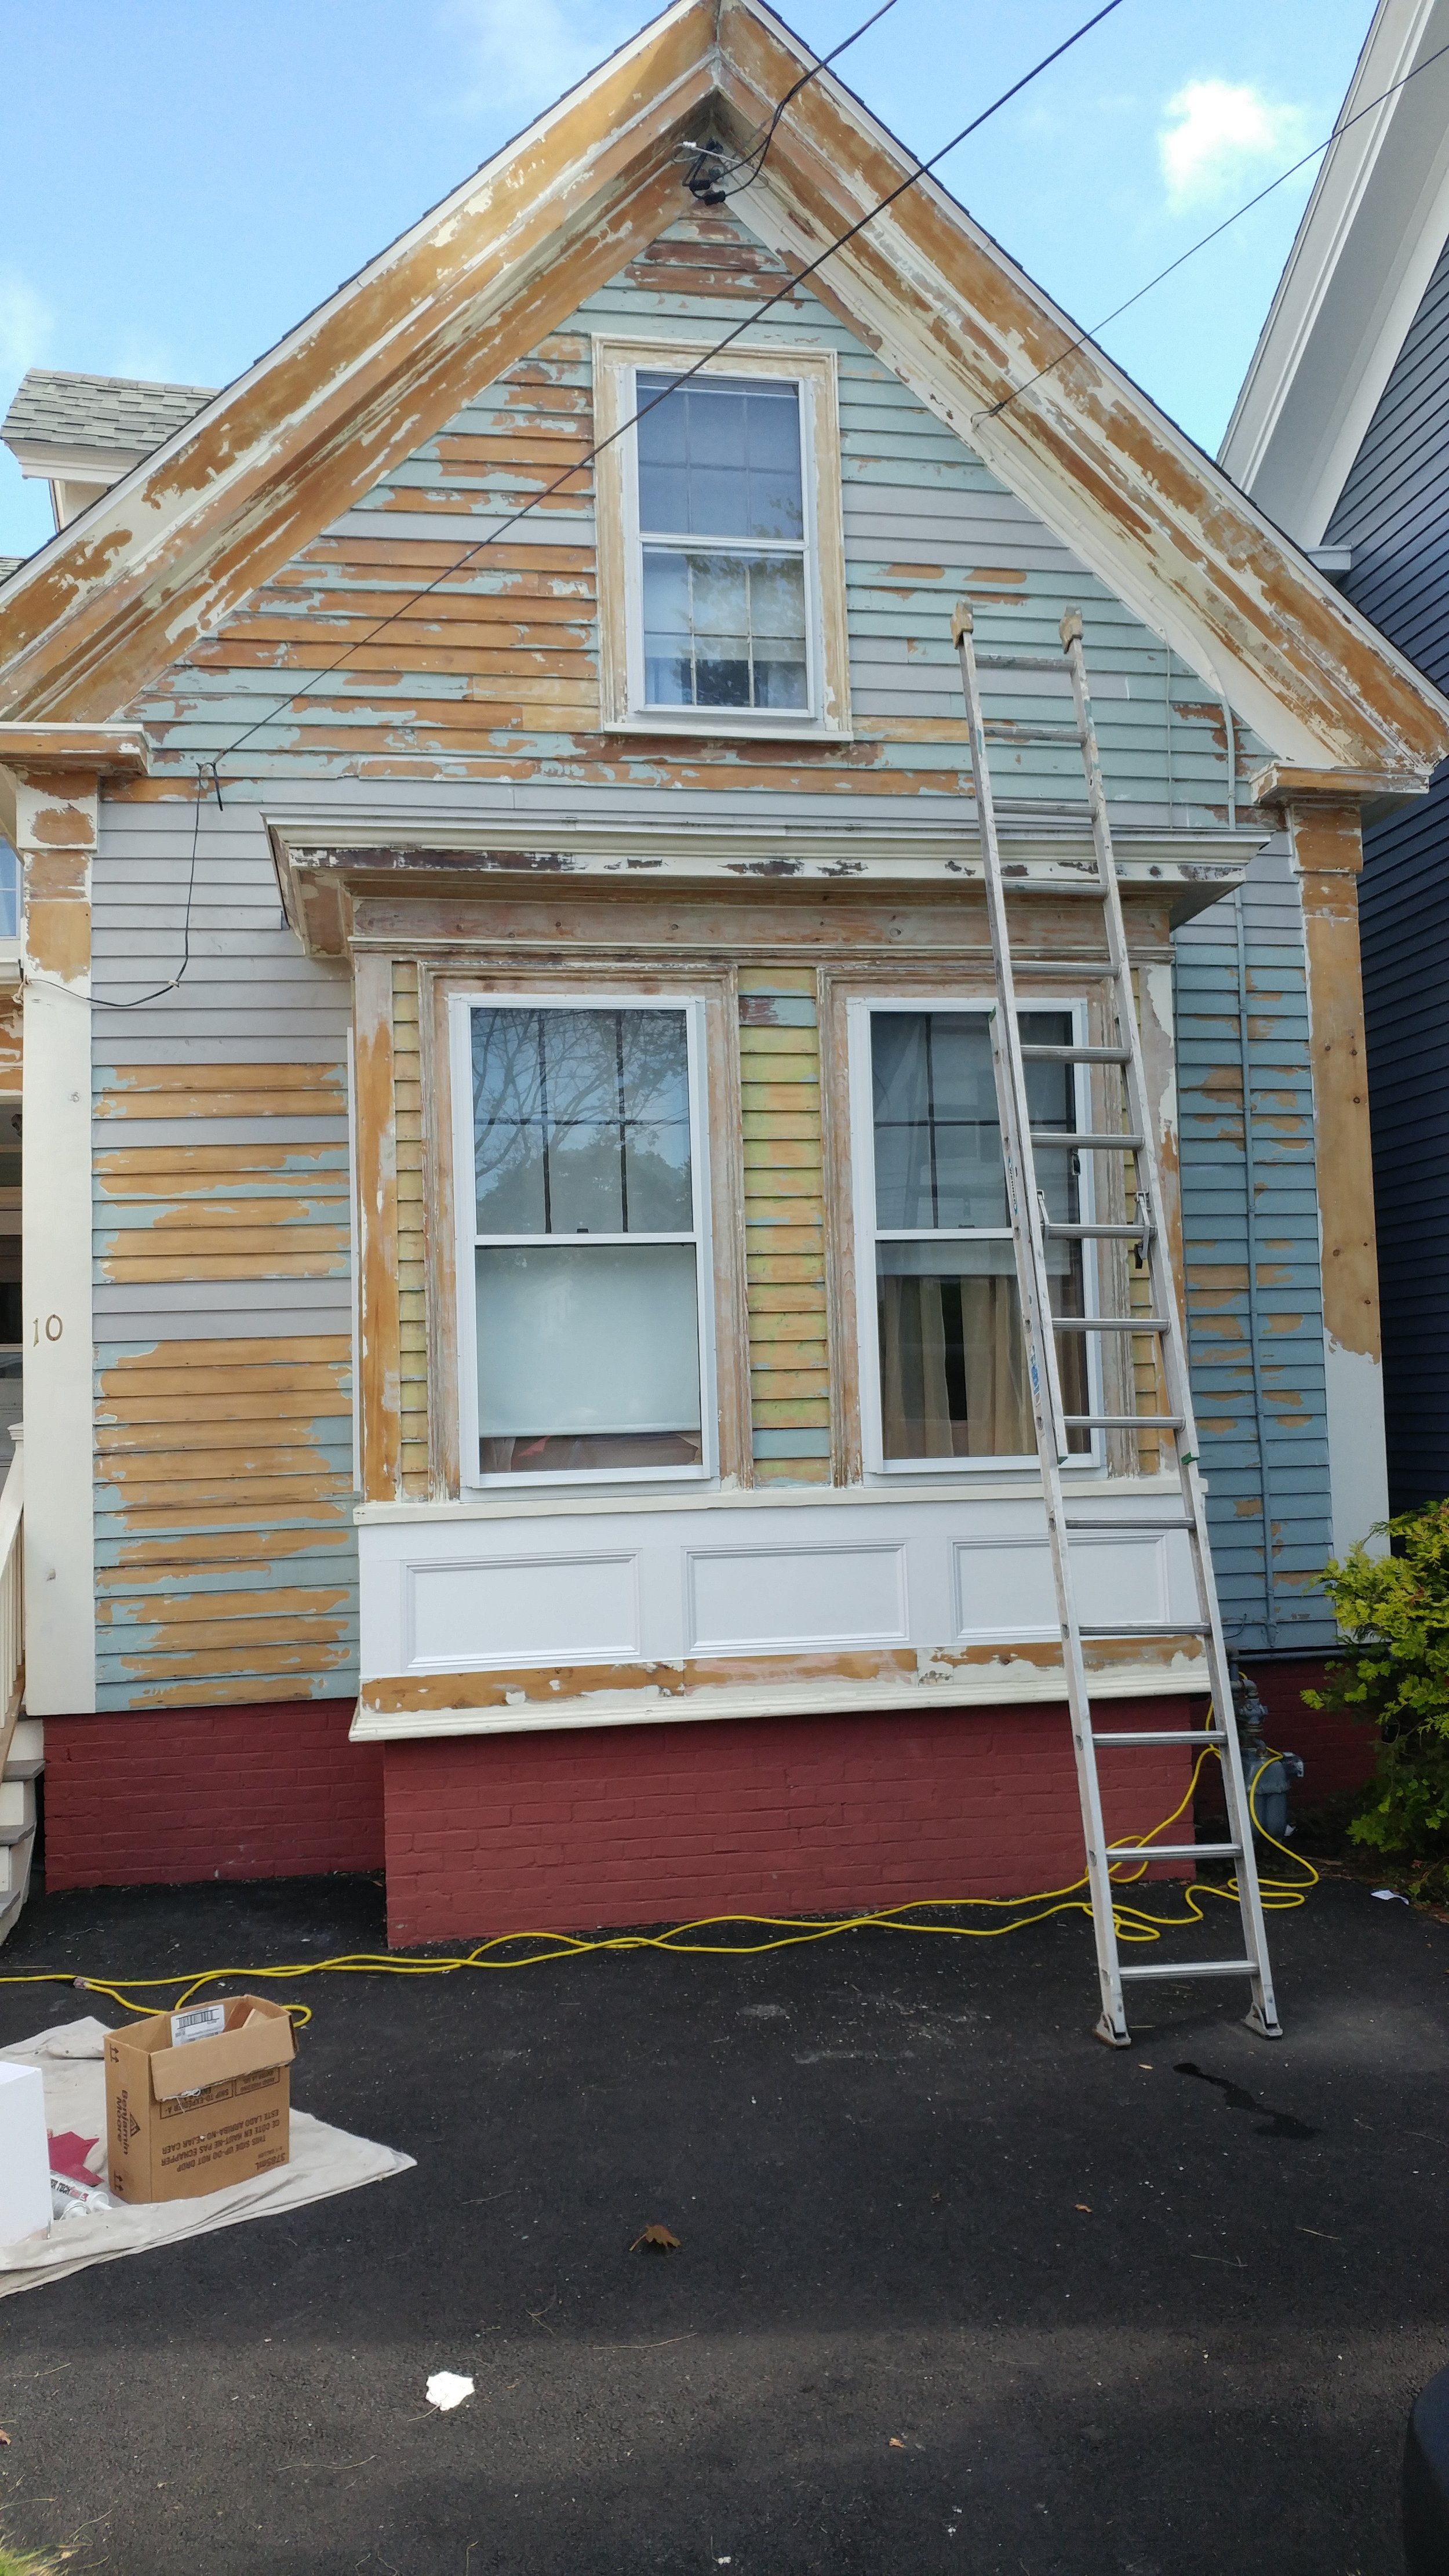
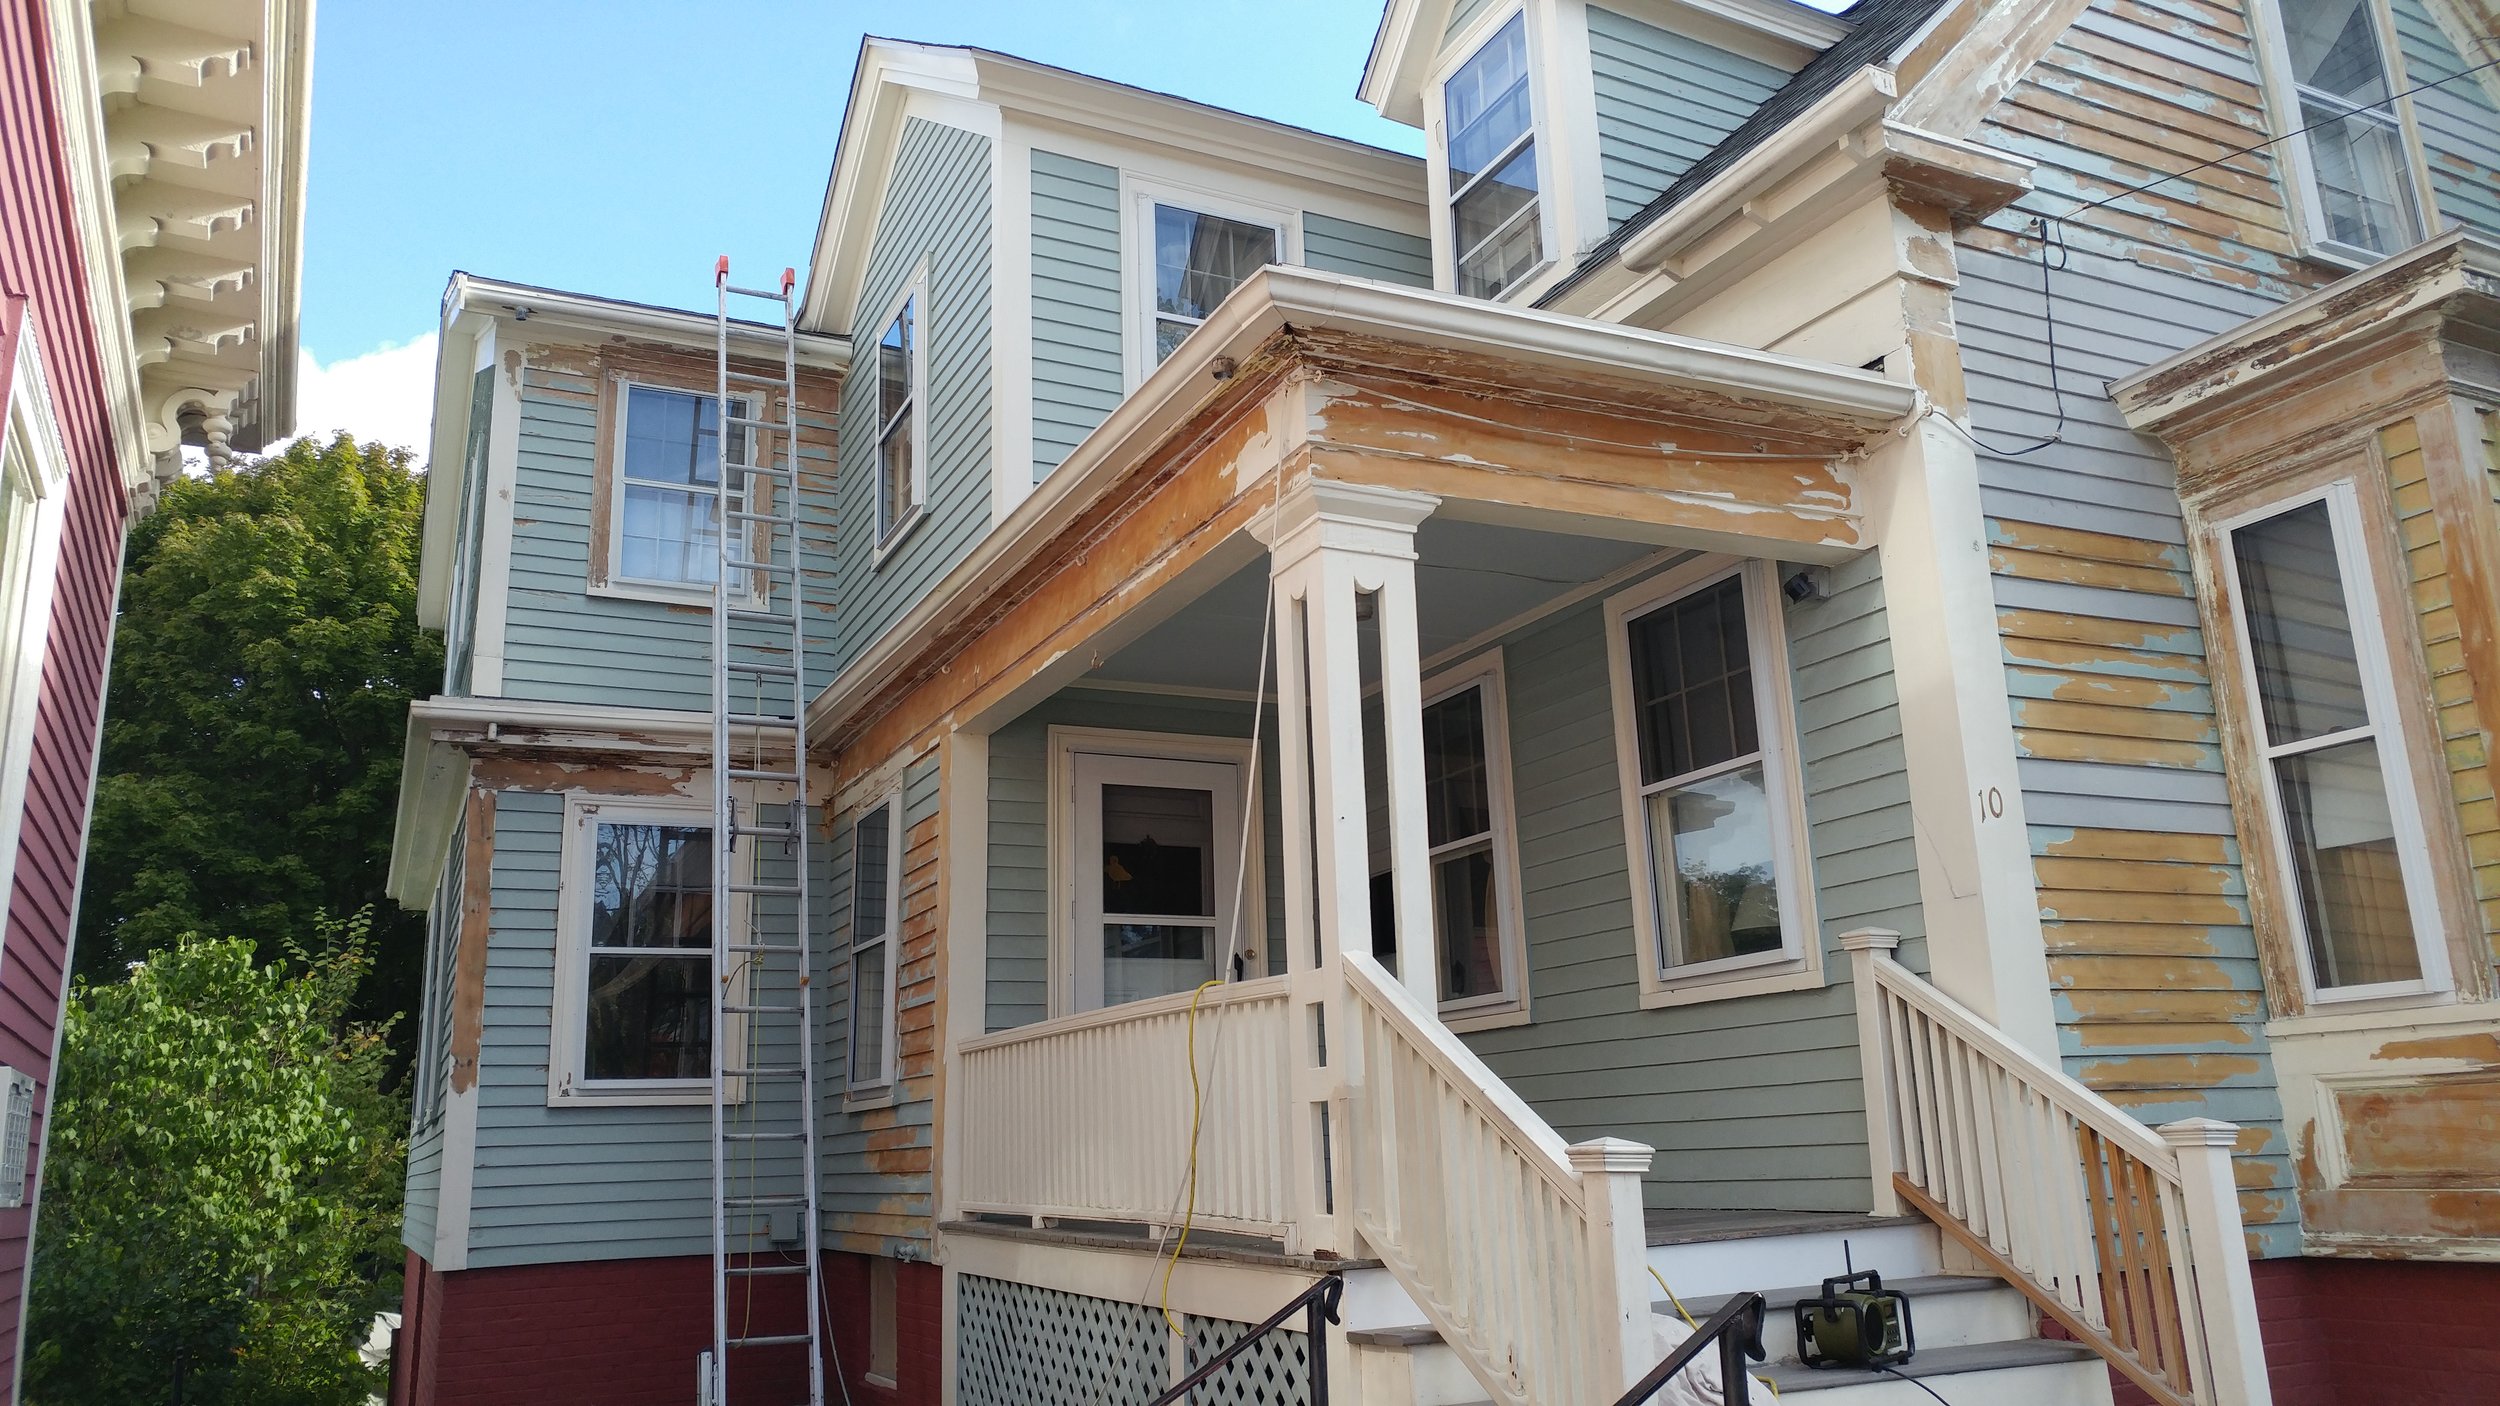
BUT,the most important part of a paint job is the preparation. It is cleaning, sanding off old gray wood, caulking gaps in the wood, and ensuring that the wood is dry or that the surface to be painted is not too hot.

I own and often use a moisture meter and an infrared thermometer to ensure that the surface is both dry and below 90 degrees.

Even interiors have special issues that many home owners would not consider. New unpainted wood needs to be sanded to remove the mill glaze prior to being primed. Mill glaze is the result of the metal blades used to cut the wood.

Why am I telling you this? Getting a house painted can be expensive, even an interior of a home which is usually easier and less expensive than an interior can bet expensive, and finding out that the the professional that you hired did not prop properly can cost a lot of money to fix, if it can be fixed at all.

These are just some of the issues that I have seen or been told about in the past few years:

  • New raw wood fence painted right after a half day of rain

  • Home owner being told that the painters will not be cleaning that house because they are doing a lot of sanding

  • Putting Bondo on top of wet rotting wood

  • Not sanding interior trim before painting

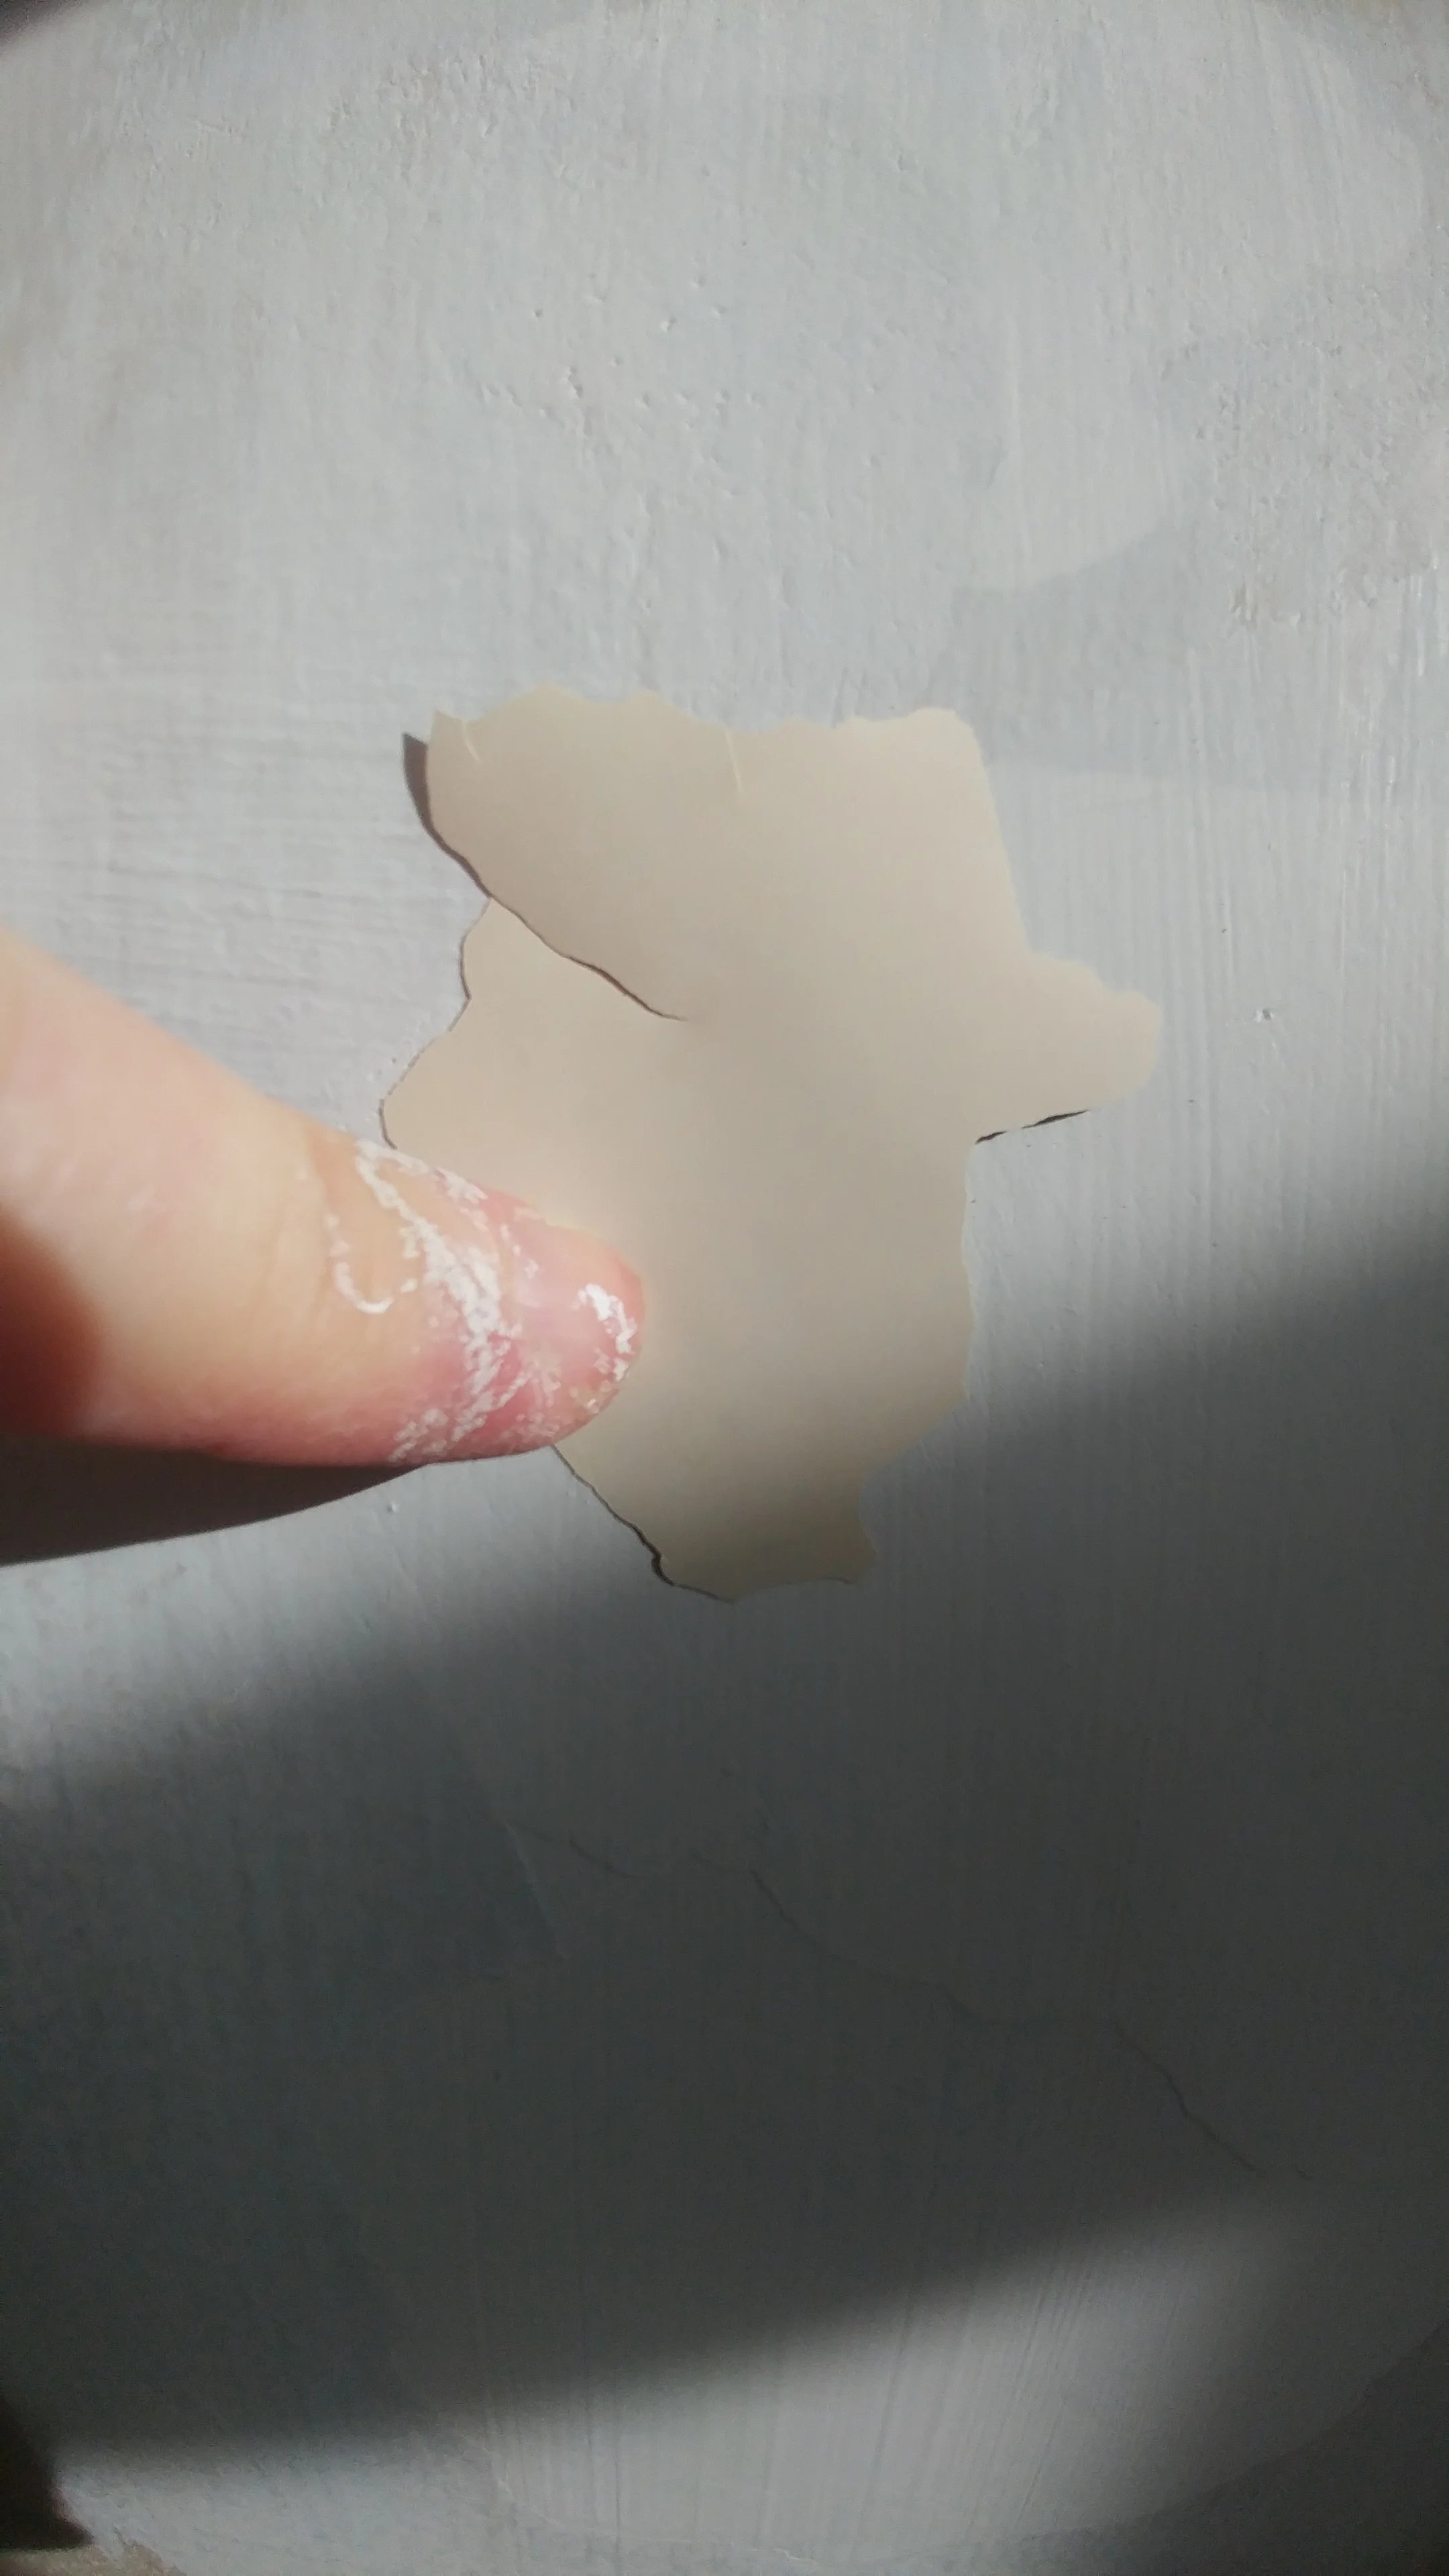
  • Not priming new sheet rock before painting

  • Stripping all the paint off a house in the Fall and painting the entire house after a rainy morning (there is no way that house was dry)

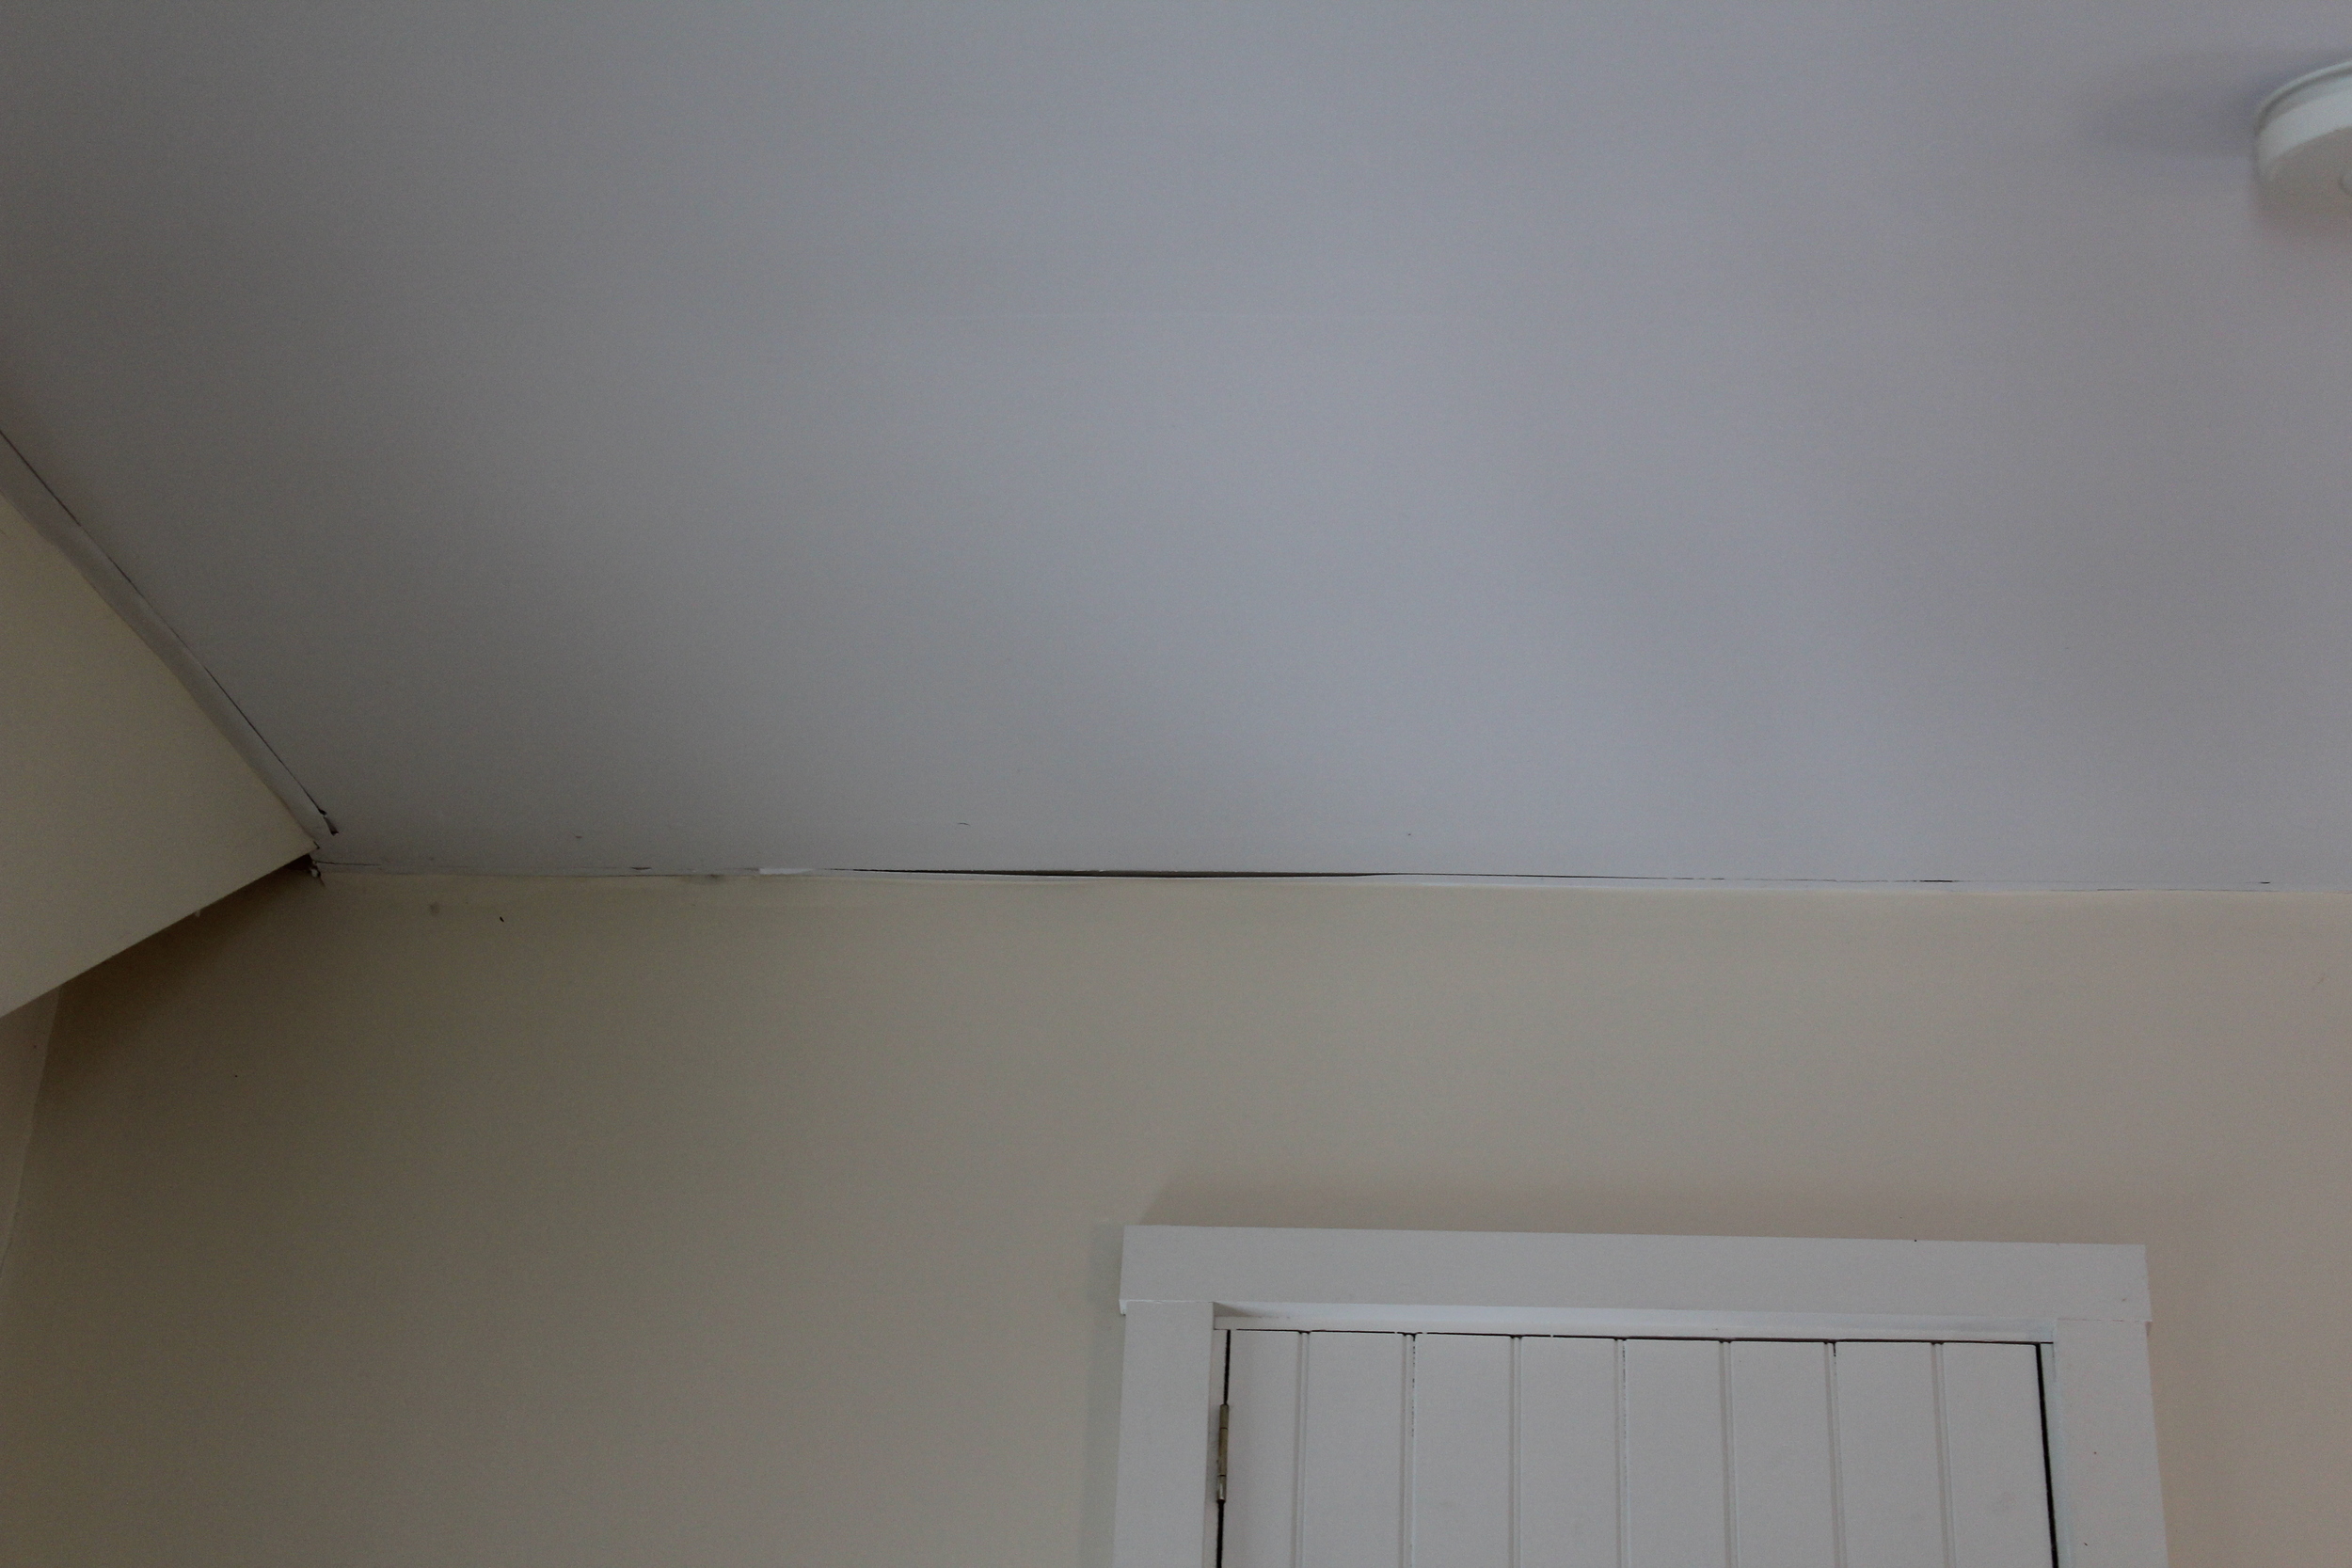
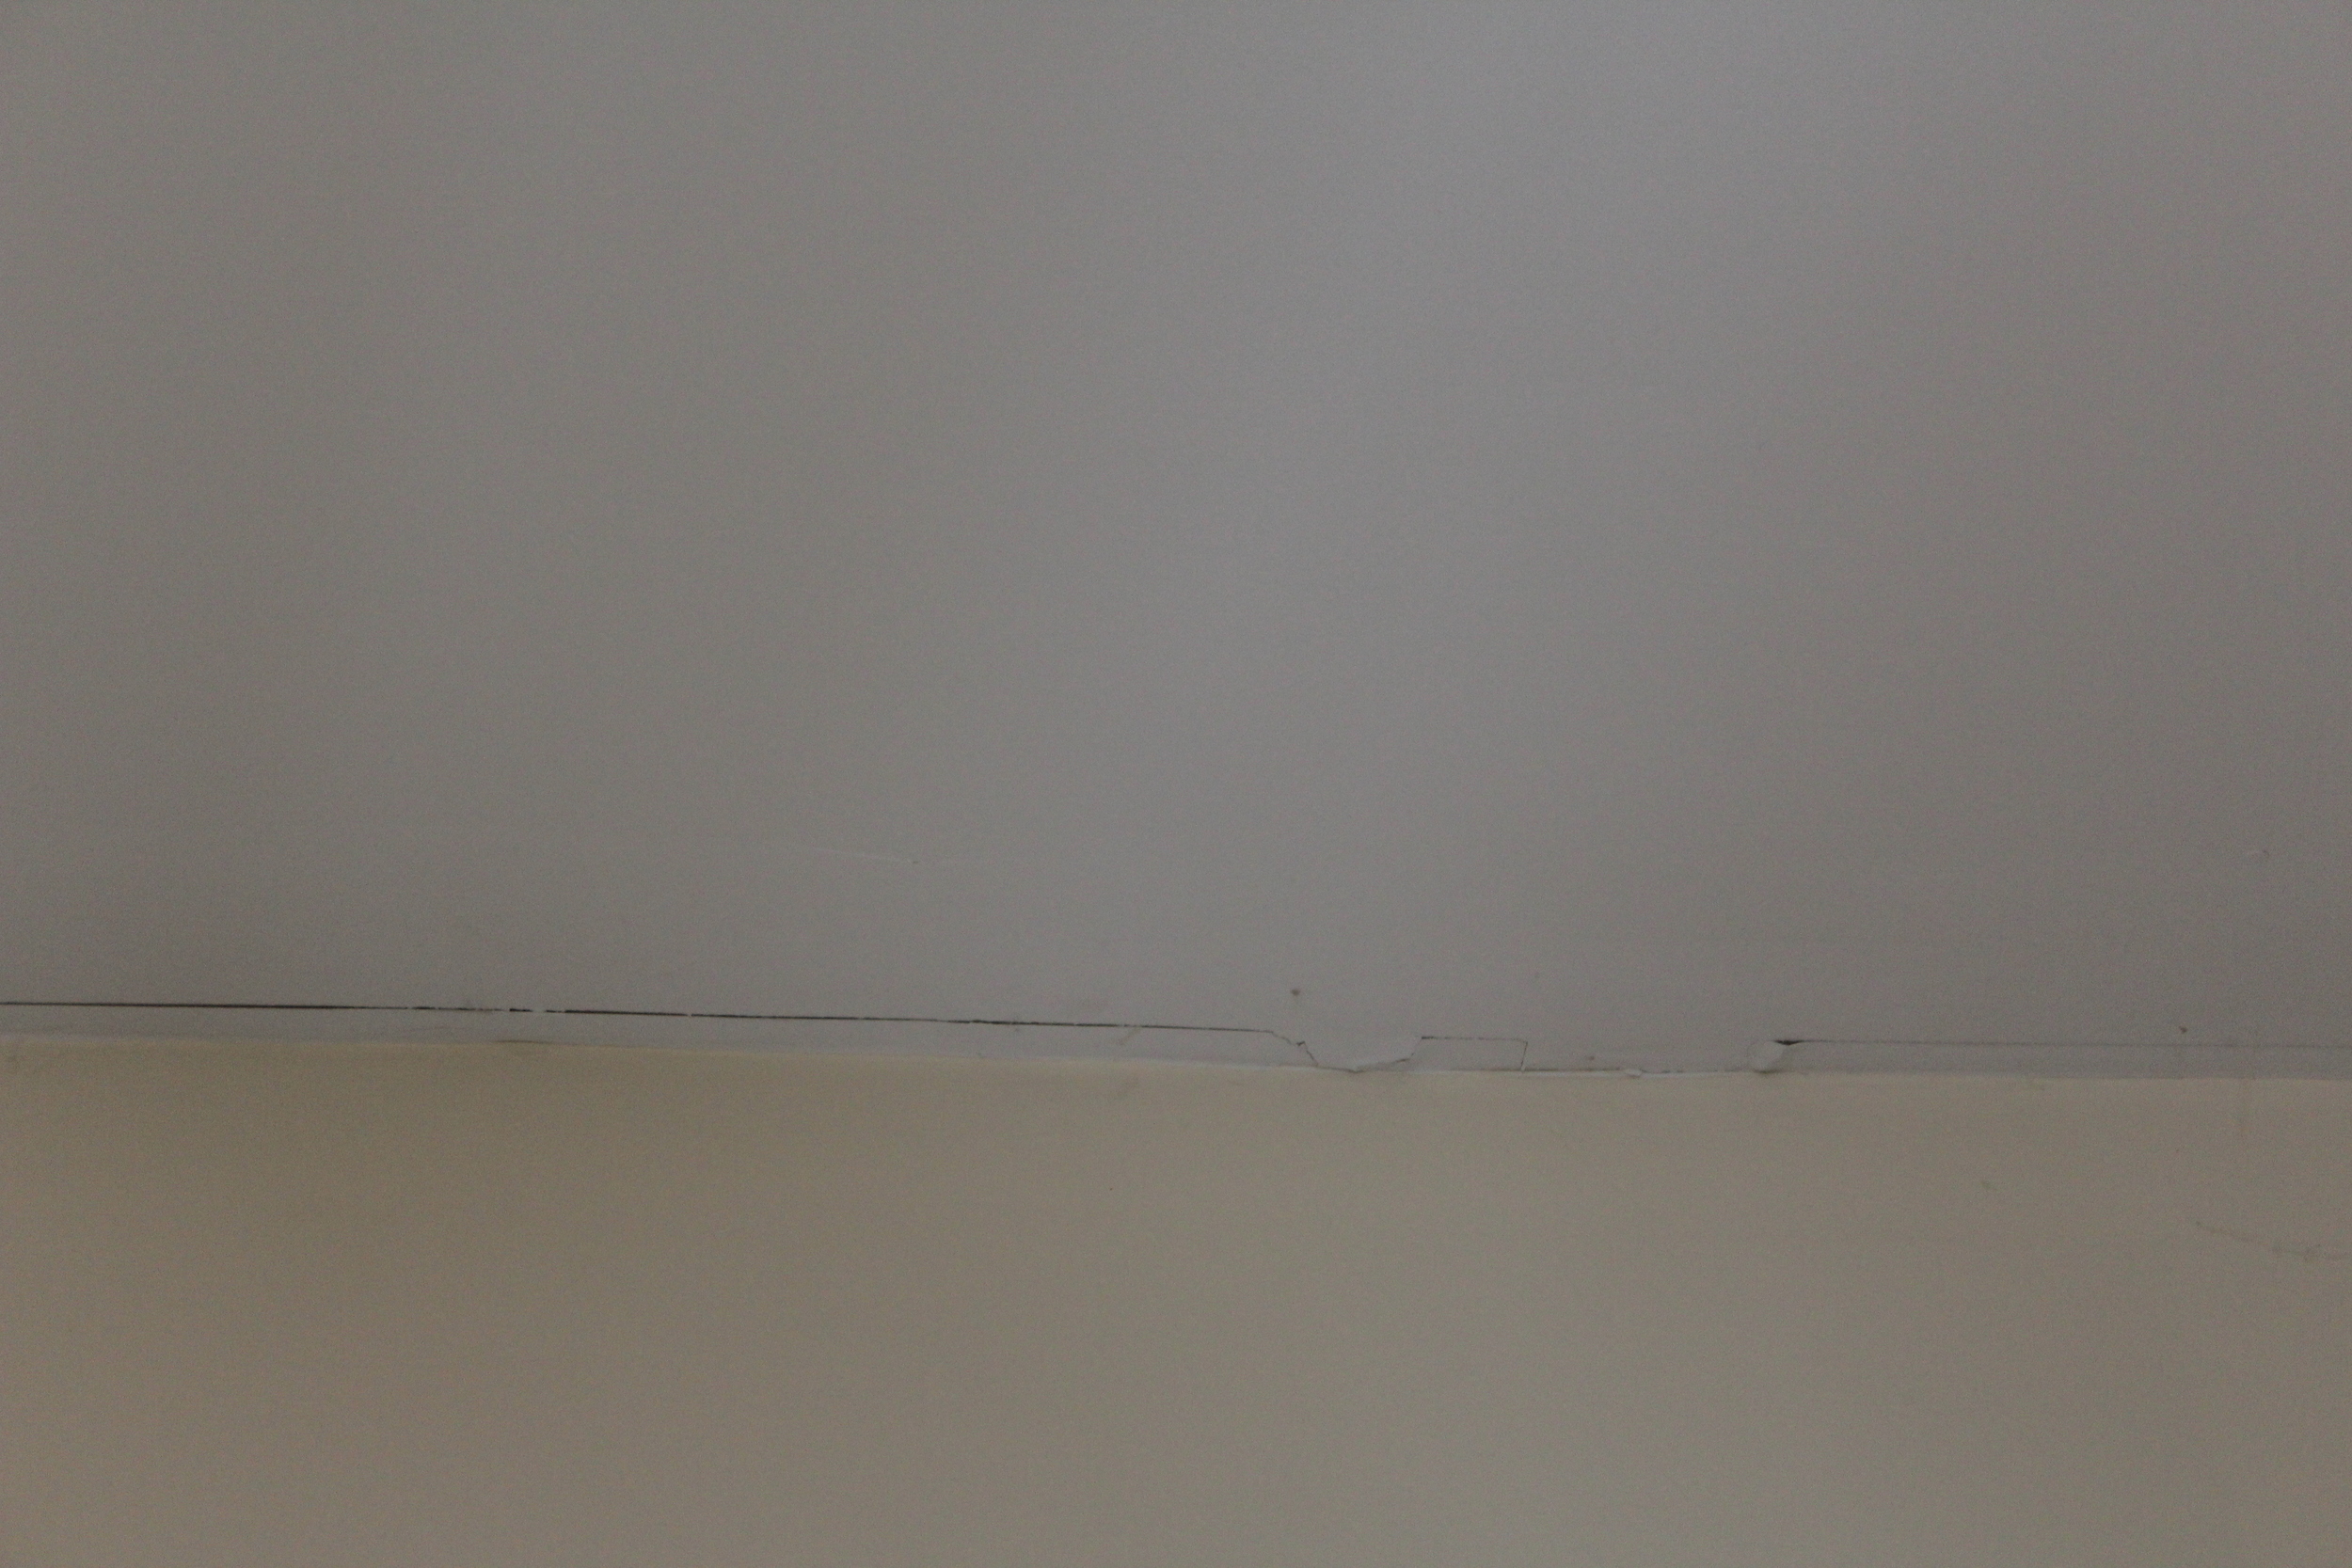
  • I did a job once where the previous painted caulked under all of the clapboards. This is not supposed to be done. It keeps the wood from breathing. Which can lead to paint failure and rotten wood and I am sure some other issues too.

I am not a master painter. Is that even a thing? There are many things that I do not know. Such as doing epoxy floors. My solution to my lack of knowledge is to either ask others who know more than me, if I think it is something I can do. Or, if it is something that I know I cannot do, I do not take on the job. I think a lot of painters out there have absolutely no idea of what they are doing. They believe that you do not have to prime if you get painter and primer in one. Of that painting is simply slapping pain on a wall. Or, they know what to do, and they do not care that they are ripping their customer off.

polyurethane to paint

Many houses that were built in the 1980s have natural wood trim with polyurethane. Sometimes the wood is stained. Many home owners no longer like the look. I usually have a least one job a year painting natural wood. It is a lot of work. The poly needs to be cleaned and a really good sanding. Usually the nail holes have to be filled and the sparkle sanded smooth. Then a bonding primer. Then caulking, and finally two coats of finish paint. On this job I am also removing the chair rail before painting.

It is not just "Slapping Paint on a Wall"...Why all that Equipment

When I arrive on a worksite, my truck’s, which is a Toyota Tacoma, bed is usually full with equipment. I tell my customers that I like to bring all of my equipment just in case. It is easier to drag it all to the worksite, than it is to discover that the one tool I need it back at my storage.

To do a good job painting requires a lot of equipment. I am not saying that painters are on the same level as a general contractor. I do not anticipate that I will ever require a trailer to haul my equipment. But, what I bring along with me requires many storage totes and boxes.

I know what you are thinking. Doesn’t painting only require some paint, a roller, and a paint brush and small ladder. Well, yes. But that is a bit of an over simplification. if that walls were 8 feet high, there there no preparation required before painting. But, let’s face it, if that was the only type of job that there was, than there would be little need for professional painters.

Ninety percent of the equipment that I own was purchased for two reasons: The first is to get to high areas safely. The second are tools for preparation.

Working in a stairwell, might require a PiVit Ladder Tool, a Little Giant ladder, or a plank , or a combination of all three. Before I even get up on the ladder, I will need a bucket and sponges to clean, nail sets to set nails, perhaps a screw gun to set screws, putty knives to fill holes, caulking gun to fill gaps in the trim.

If there are cracks in the wall I will need to fix them, I have an entire tote full of tools to do joint compound work.

I might need to putt nails out….I have four tools to do that. Each one has a specific purpose.

Once all the cracks are fixed and walls are repaired that walls and trim will need to be sanded. I own six Festool sanders. They are great sanders wand when used with Festool extractors most of the dust is sucked up.

Thus, many customers are a bit amazed when I show up at their door with a truck load of equipment. But, once they see me get to work and noticed all the tools that I use and see how much easier each tool makes my job, they understand why we have to find a place to put all of my stuff.

Exterior Painting....Why is it so Harder than Interior?

The exterior season is just around the corner, and I have a love hate relationship with exterior work. I enjoy it because I get to be outside, and as long as the weather cooperates I usually have no issues staying really busy. This year I am starting the season with four exteriors that I could not fit into my schedule last year. The hate…well it is exhausting work. Up and down ladders all day, and if there is a lot of scraping and sanding I will be shot at the end of the day. And there is all of the other stuff that can make it so much work….

Here are the things that you should be thinking about when you hire a painter to paint your exterior work. Most of these are why painting can be so difficult in the early spring and late autumn.

  • Air and surface temperature usually has be at 40 degrees or higher

    • So, if it is 50 degrees out and the area to be painted is in the shade chances are that it cannot be painted

  • Grey wood (wood that looks aged) is no good, It has to be removed

    • Grey wood will not hold paint long

  • The house has to be cleaned

    • A layer of dirt under the new paint will lead to failure

  • As too cold is not good, most paint cannot not be applied when the air or surface temp is above 90 degrees

    • it is very easy for a dark surface to reach well above 90 degrees even when the air temp is below 90 degrees

      • I have seen temps as high as 140 degrees. Paint fries at that temp

  • Moisture…this one is the worst of them all.. Especially if you live right on the water

    • The moisture level of wood must be below 10%.

    • If there is dew or rain in the morning it can often take hours for wood to dry to a moisture level that will allow it to be painted

    • A little dew in the morning on the north or west side of a building can mean no painting can be done on that day.

Keeping up with New Technologies (An Educated Painter)

My grandfather use to paint. He painted steeples. I could never paint steeples for a living. I do not mind heights, but I have my limits. The painting profession has changed very little since the time that my grandfather painted…on the surface. But in reality better paints, better prep tools, and better safety tools are constantly being developed, and I want to try them all.

I am now working on my seventh year on my own. And, I have learned that there are essentially two types of painters when it comes to new technologies. Those that refuse to try new things, and those that are eager to try anything that makes their job easier and better. I am the latter. I am not saying that you cannot get a quality paint job from those that are set in their ways, but there is so much out there that can make painting easier on the painter and home owner, and hopefully make the job last longer.

Not everything that I try work. I have a lot of equipment in my storage garage that has not seen the light of day for quite some time. There are others that are game changers. I am going to talk about a couple of these briefly,

Festool

Festool is a German tool company. Although I am not a fan of Cadillac cars, the saying about them is apropos…Festool is the Cadillac of sanders. From what I have been told all of the tools that the company makes are top notch. I have a cousin that bought one of its sanders specifically designed for autobody shops. And, anytime that I have run into a carpenter that uses its tools they have high praise for them. I use the sanders. The reason that I use them is three fold. They are workhorses, they design a sander for almost every possible situation (I will soon purchase my sixth sander) and they are clean. The sanders attach to extractors (vacuums) that turn on when the sander is turned on and turn off five seconds after the sander is turned off. The extractor sucks up almost all of the dust…99% if the entire surface of the sandpaper is in contact with the surface being sanded. This means a much cleaner work site, and a lot less time spent cleaning.

Mad Dog Primers

Mad Dog Primers are a game changer. Essentially the primers are glue like. I use this primer on exterior jobs when the surface is in rough shape, or is difficult to prep properly. Such an example would be lead paint. Whenever I run into lead paint that is a really bad state of affairs I use Mad Dog. Mad Dog can be used over glossy paint without being sanded, and it can be used with somewhat weathered wood. When lead work is done, workers have to wear Tyvek suits, and plastic has to be laid out to keep dust from contaminating the ground. So, the less sanding the scraping the better. The company also claims that its primers allow the paint job to last up to twenty years. I have not been using it long enough to verify, but I have used it on wood that was so beat up that I felt it should not have been painted. Five years later and it still looks great.

Why I Do Not Like Behr Paint

I recently did a job that I used Behr paint. As every time that I use Behr, I did not purchase the paint. The home owner bought it. I have worked for these customers before, and they are very nice people, and I enjoyed working for them very much, but by the end of the job I had had enough of working with Behr. I essentially have a policy that as long as the customer is willing to spend the time to get the paint, I will use Behr. However, I am seriously considering adding on extra labor hours when using the paint. And, here are the reasons why:

  • Drag: When I cut in the ceiling and trim the paint dragged. The average person might not f drag. But, if you paint for a living you will feel it. The best way to describe it is that you have to work much harder to get a nice straight line in the cut. The paint is essentially working against you.

  • Drips: When I moved the paint from the cut can to the wall drips would go all over the place. This does not happen with higher quality paints. Why does this matter to a painter. When you step off the ladder and step on the drop cloth there is a good chance your foot is going to step in wet paint, which can then be tracked all over the house.

  • Drips and Sags on the Wall:. A drip is pretty self explanatory to most. A sag is like a really wide drip. I rolled out the wall and go back latter on to find drips and sags all over the place. This happens every time that I use Behr, and it is a pain to go back to fix, and I am always concerned that I am missing some. If you are a professional painter, you do not want to have to constantly going back to look for sags and drips.

  • HIde: This is the ability of a paint to hide the color underneath it. Some colors have a really hard time doing this, such as reds and some yellows and oranges. I was covering a blue with a peach. This should have not be a problem, but I had to roll a third coat of the peach.

  • Backrolling: This was only a problem with the ceiling paint, which I believe was Behr’s lowest quality ceiling paint. When you roll a wall or ceiling, the roller is often moved all over the place to make sure that everything is covered. Periodically a back roll is done. This is done with a dry (not a lot of paint on it) roller. The roller is very lightly rolled over the paint in a straight line. This is to get a smooth and even appearance. The Behr ceiling paint set up so fast that it was almost impossible to back roll. And, in general just rolling with it was like working with paste. It did not want to roll.

There are also some things that home owners should really think about when purchasing Behr.

  • .Touch Ups: Behr paint does not retain its color very well. The few times that I have attempted to touch up with Behr it has not gone well. One time I had to repaint an entire great room because a few small touch ups stuck out like a sore thumb.

  • Knowledge: The people working at Home Depot behind the paint counter know nothing about paint. They are not the people to ask about advice. Over the summer I painted an exterior with Behr. After I had gotten a big chuck of the first coat on, I took a close look at the paint I was using. The Home Depot store had given the home owner interior paint.

  • Cost: The argument that I always make to customers is it really worth the cost and time to drive well out or your way to purchase a few gallons of paint that is of lower quality just because it cost $10 less a gallon

  • Trust Your Painter: I did a big repaint of an entire house. Customer bought the Behr paint. He bought way too much. I could have purchased a much better paint and a more appropriate paint (they bought paint for the trim that really was not well suited for trim) for less money than what they spent on the Behr paint.

Stains

I recently painted a two car garage ceiling (pictures are below). It had a lot of stains on it. When home owners want me to fix stains, they almost always assume that I am going to use Kilz. This product has be marketed as a great stain blocker. It might block some stains, but not all. In the past it has failed to work for me. Therefore, if I am dealing with stains, I use Zinsser’s Bin. It has never failed. Bin is a nasty product to work with. I always use a throw away brush, or assume that the brush that I am using will be trashed after I am done.

Bin is a shellac based product, and has a very watery consistency. If you are doing a big job (like an entire ceiling) you will need to vent, or if it is too cold out to vent, wear a mask. I suggest using a mask for any big job with Bin. For job that is in the pictures below, I used a mask, wore long sleeves, a hat, rubber gloves, and work glasses that covered the side of my eyes. the glasses and my my gloves were covered with paint specks. Luckily I was able to clean off the glasses with denatured alcohol.

Unfortunately, I forgot to take a picture after using the Bin. One coat did a great job at covering the stains. Sometimes, two coats are needed. But, it is important to ethat even if the stains can still be seen, the shellac keeps the stain from coming through to the latex finish coat. Only when the stain is still really noticable after a first coat of Bin, will I use a second. On this job, the Bin did such a great job with one coat, that I was able to finish the job with only one coat of flat white paint. This was a garage ceiling, so the home owner was not overly concerned with the ceiling looking perfect. If I was painting a bedroom or living room, it is most likely that I would have applied a second coat of ceiling paint.

Fixing Corner Bead on Plaster Wall

I recently finished up a new construction home. The job that was done by the the plasterers was, to say the least, sub par.  We noticed that one of the entrance ways in the kitchen had a long crack about 1 1/2 inch away from the corner all the way up the side of the entrance. This is a good sign that the corner bead is separating from the wall. When I knocked out the plaster to repair it, I found that there was no wall for the corner bead to attach. The plasters had put no blue board behind the bead board.

Durabond (a very strong type of joint compound) was put in the gap, and then fibafuse (a fiberglass joint compound tape that is seven times stronger than paper tape) was used to help ensure that the crack does not come back. It looks brand new once sanded, primed and painted.


0514180827.jpg
0514180949.jpg
0517180823.jpg

You Must Prime! "Paint and Primer" in one wil not work

I recently painted a living room that had a few areas were the paint was failing.  One area was much worse than the rest. For this I followed my typical procedure. I got rid of all of the loose paint. and then put some spackle on area that had no paint. I must note that spcakle is really not designed for this purpose. It is more of a hole filling product. If I had more than one area that needed attention then I would have used joint compound to skim coated. But, when you want a quick turn around, on a small job, I find that spackle works well.  I use the spackle  to obtain a smoother appearance. Once the spackle  was dry, I sanded the area. When I did this more of the paint came loose. So, I once again took off the loose paint and used the spackle. This time I used a hair dryer to speed the drying time of the spackle. When I used the dryer, paint on the area below the patch was flapping (like in the wind).....more loose paint! What was going on?  I looked at  a piece of paint and found that the back of it was not white. This indicates that the walls were not primed before they were painted. Sometimes painters use tinted primer, but this was not the case.

This picture shows the backside of the paint I pulled off the wall. Behind it is pure white primer.

This picture shows the backside of the paint I pulled off the wall. Behind it is pure white primer.

So, the only real solution to the problem is to take off all of the old paint, fix any imperfections that come with removing the paint, sand, prime and then paint. Most people do not want to pay for this to be done. I informed the home owner of what was going on, and why it is happening. What I wound up doing is I put a coat of primer on the failing area, put some spackle over it, sanded and painted. It is not a perfect fix, and most likely there will be an issue in the future with failing paint.

The lesson is that there is no such thing as paint and primer in one. Primer is designed to have more grip to it than finish coat paints. If you have raw wood, plaster, blue board...ect., the best practice is to prime with an appropriate primer and then paint with a finish coat.

Horse Hair Plaster Repair

These walls were in really rough shape. The home owner wanted the wallpaper removed and then painted. I suspected that the horse hair was in poor condition, and boy was I right. When touched the plaster would crumble, there were numerous cracks, and in many places the plaster had broken away from the lathing, which resulting in the wall moving when touched.

To stabilize the plaster I used Mad Dog Deck Fix, which was recommended by Mad Dog. Around twenty-five plaster buttons were used to secure the plaster to the lathers, and copious amounts of joint compound and a fair amount of joint compound tape was used to fix the cracks and smooth out the walls.

One Old House Transformed with New Trim Color

I thought the same thing that the home owner did when I saw this house....grey and yellow do not go well together on this house built in the 1700s. I would like to take credit for the color choices, but that was all the homeowner. We changed the trim from a yellow to brown, and the doors were changed from a maroon to a golden orange. The results were drastic, and the feel of the house was transformed.

This was a lead job, which is why there are a couple of pictures of us in tyvek suits. The home owner took these pictures.

There are a few spots, you may notice, that have not been painted. These areas are being repaired by a handyman, and we will return later in the summer to finish it up,. The home owner is also having us paint the gutters and down spouts brown when we return.

When to Look for a Painter

Good contractors, in my experience, are hard to come by. What do I mean by good? Shows up on time, returns calls, texts, and emails in a timely (notice I did not say within a few minutes) fashion, knows his or her trade (can do the work properly), knows his or her limitations (a one man show should not take on jobs that should require a large crew).

Since good contractors are in high demand, they are generally pretty busy. So, if you call a guy to paint your house that has been in business for ten years, and he tells you he can start tomorrow it might be a red flag. There are of course always exceptions to the rules.  When I first started a little over four years ago I was hardly ever booked out more than a couple months. The winter is the slow season for many painters...so, they might be available tomorrow. Maybe a big job has been delayed, and you happen to call him when he is scrambling to fill the void.

 If you have a time line forwhen you want the work done, you should call a painter as soon as possible.  Especially if it is exterior work.  Exterior work is for many painters their bread and butter.  Many home owners will take on interior work, but do not want to deal with exterior work. Also, the importance of doing the job right is that much more important on exterior work...so, home owners hire professionals.  Often, painters will start booking exterior work the Fall before the forthcoming exterior season, which usually begins around mid-May in southern New England.    Therefore, if you want to have your deck done prior to your annual Forth-of-July BBQ, it is best to not wait until the first week of June to find a painter.  If you have a graduation party that you want work done prior to, it is best to call many, many months ahead of time.  If you own a seasonal property, do not wait until you open the house in May to start looking for painters for work that you want done (this includes interior and exterior). By the time you get the work done, the season may be almost over....call painters towards the end of the season, and they should be able to put you on their list so that as soon as the new season begins they can start the work.

The point I am trying to get across, is that good painters are busy. And, unless they have just started their business, they do not have open schedules just waited for a phone call so that they can have work for the week.  And, there really is not such thing as a painting emergency...getting a dinning room painted before the guests arrive for your Christmas party might be a priority for you, but few painters will be willing to rearrange their schedules and tell other customers they have to wait in order to get the work done. It is best for you to decide what you want done well in advance, and they start calling painters right away.

Coffered Ceilings

Well, this was supposed to be a much bigger post about a recent job that I did in my own home removing wallpaper that was not installed properly. This resulting in a very time consuming removal and a lot of repairs before the walls were ready to be painted.  However, I posted the pictures on my phone on Facebook as a video, and for some reason I can no longer find them on my phone, nor can I get them in picture format from Facebook. I tried posting the video here, but I just could not get it to work.


Well, the other big part of the job was fixing the coffered ceiling. A coffered ceiling is a ceiling that is broken into sections by trim. When painted properly they look great. When the trim is painted the same color as the ceiling their is really nothing special about them...the trim blends into the ceiling and is lost. To make matters worse on this job was that that last time the trim was painted it was rolled and the stipple from the roller was on the trim. Trim is supposed to not have stipple on it.


Painted Beams! Fixed

Do you own home that has exposed beams.  There are a lot of them in the northeast. They are beautiful, unless they are painted.  I recently bought a 200 year old home. The downstairs apartment had beams in them that were painted. It was a lot of work, and I was not able to get all of the paint out of the crevices, but I am very happy with the results.  If you have painted beams, give me a call.

Someone decided that painting 200 year old beams was a good idea! 

Someone decided that painting 200 year old beams was a good idea!


I think that this looks a lot better.

I think that this looks a lot better.

New Face for an old House

First looked at this house last year.  It was built around 1860, so it has 150 years of paint on it. And a lot of the paint was lead.  The paint job was ugly.  Essentially, at one point some of the paint on the clapboards had been strip while some of the old lead paint had be left in place.  Wherever the lead paint remain it was just an eyesore. It was thick, and cracking and in many places just falling off the wood.

There are a lot of challenges to removing lead paint.  The home owner wanted all of the ugly stuff gone. First, it is a lead job, so we have to follow all of the regulations when dealing with lead. Second, lead paint is as hard as nails.  Most of this paint had to be taken off with a paint shaver, or we used heat guns on the trim.  Even our most powerful Festool sanders were no challenge to the lead paint on the house.  The sandpaper would gum up in no time at all.  Using the heat guns was a slow and meticulous process. And the paint shaver can be really rough on the wood.

As a side note, we were not doing an abatement job. Those types of jobs are an entirely different beast. We were just working with lead safely, and we were not removing all of it.

Also, we are doing this house in stages. Essentially this stage included the walls that face the road, not including the porch area.  Some of the work that is not completed is due to waiting for the carpenter to complete his work. To give you an idea of the extent of such work, it took two guys approximately eight days to do this work...but in the end they were very happy with the end results


Kitchen Cabinets

Just finished these up last week. They were cleaned with TSP, sanded, primed with Zinnser Cover Stain, sanded, and then two coats of California Ultraplate. I brushed them, as opposed to spraying. 

Let's Talk About Decks, Porches, and Front Stairs

It is that time of year...early Spring with thoughts of enjoying long warm days outside, and ending your day with a grilled steak and cold beer on your beautiful deck.  The problem is that when you look outside your back window that deck is far from beautiful.  Although structural sound, the last time it was cleaned or stained was well over a decade ago. Before you decide to do anything to the deck, take a quick glance at this blog which will hopefully help you moving forward.

Decks Take a Beating

It is important to realize that decks take a pounding.   In the Winter they are bombarded with snow, ice and sleet.  It the Summer they are in constant sun, or shade which can encourage mold and mildew. And, they are constantly walked on, and have furniture dragged across them in the warmer months.  The reason for pointing this all out is that unlike the rest of the exterior of your home, whatever you put on a deck it will not last as long as the paint or stain on the rest or your home.  For the horizontals (the stuff you walk on), you can expect to have to stain every couple of years, if you want to protect the wood and keep it looking good.

There is no Quick Fix

A lot of companies such as Behr and Rustoleum are selling products that you just roll or brush on your deck without and prep and it will restore the beauty to your once ugly deck.  These products are nothing more than thick paint and they do not work.  Go online, not to the website of the company that sells the product, and read the results.  I am often find online reviews very dubious, but in this case they are right on.  I have seen failures of this stuff many times.  And, once they fail you have not only wasted your time and money, it is now going to be more difficult to do the job correctly due to the need to remove the "quick fix" before a real stain is applied.

Preparation is Key

If the deck has grey wood it needs to be removed.  This can be done with sanding or with chemicals.  If it is big deck I recommend chemicals.  It will also need to be cleaned.  Some products will remove grey wood and clean. You will also need to neutralize the chemicals that remove the grey wood. 

Choose the Correct Stain

No matter what stain company you decide to go with there a few things you should consider.  Solid stains should not be used on the deck (the part that you will walk on and drag furniture across). Solid stains are only made in acrylic and they do not penetrate into the wood as non-solid stains do.  Therefore they will begin to wear soon after they are applied.  Go with a semi-solid, semi-transparent or transparent stain on the deck.  If you really do want the solid stain look on the deck, you can do something called a wet coat with the a semi-solid. This requires the second coat to be applied before the first coat is dry.  Therefore you have a coat of stain that has penetrated the wood, but looks like a solid.  Although there are many good acrylic stains, I still prefer oil over acrylic. I think that they just last longer. 

The Key is Maintenance

Once you spend the time or money (or both) getting your deck to look nice, the key is to not let it deteriorate to a level that it will once again need grey wood removed.  Cleaning and applying a fresh coat is much easier and cheaper than a total redo.


Finley and Marlboro Blues

Here are a bunch of pictures from a recent repaint.  This is the job that I spoke about in my last blog concerning using paint samples which you can view here. As you can tell from the pictures, this was a fairly big job..a lot of the joint compound tape had to be removed and replaced.  I use Fibafuse which claims to be 70% stronger than paper, and has the added advantage of being porous.  This means that air bubbles under the tape, which can happen with paper, are not an issue.

Benjamin Moore Regal Select Finley Blue was used in the bedroom and Benjamin Moore Aura Marlboro Blue was applied in the bathroom.  Both were done in eggshell.  Advance white was applied to the trim and Benjamin Moore 508 ceiling paint, which is an ultra flat pain, was applied to the ceiling in the bedroom.  Aura eggshell white was put on the ceiling in the bathroom.